


Adding the Grammarly Extension to Mozilla Firefox
Introduction
This comprehensive guide walks you through the step-by-step procedure to add the Grammarly extension to Mozilla Firefox.
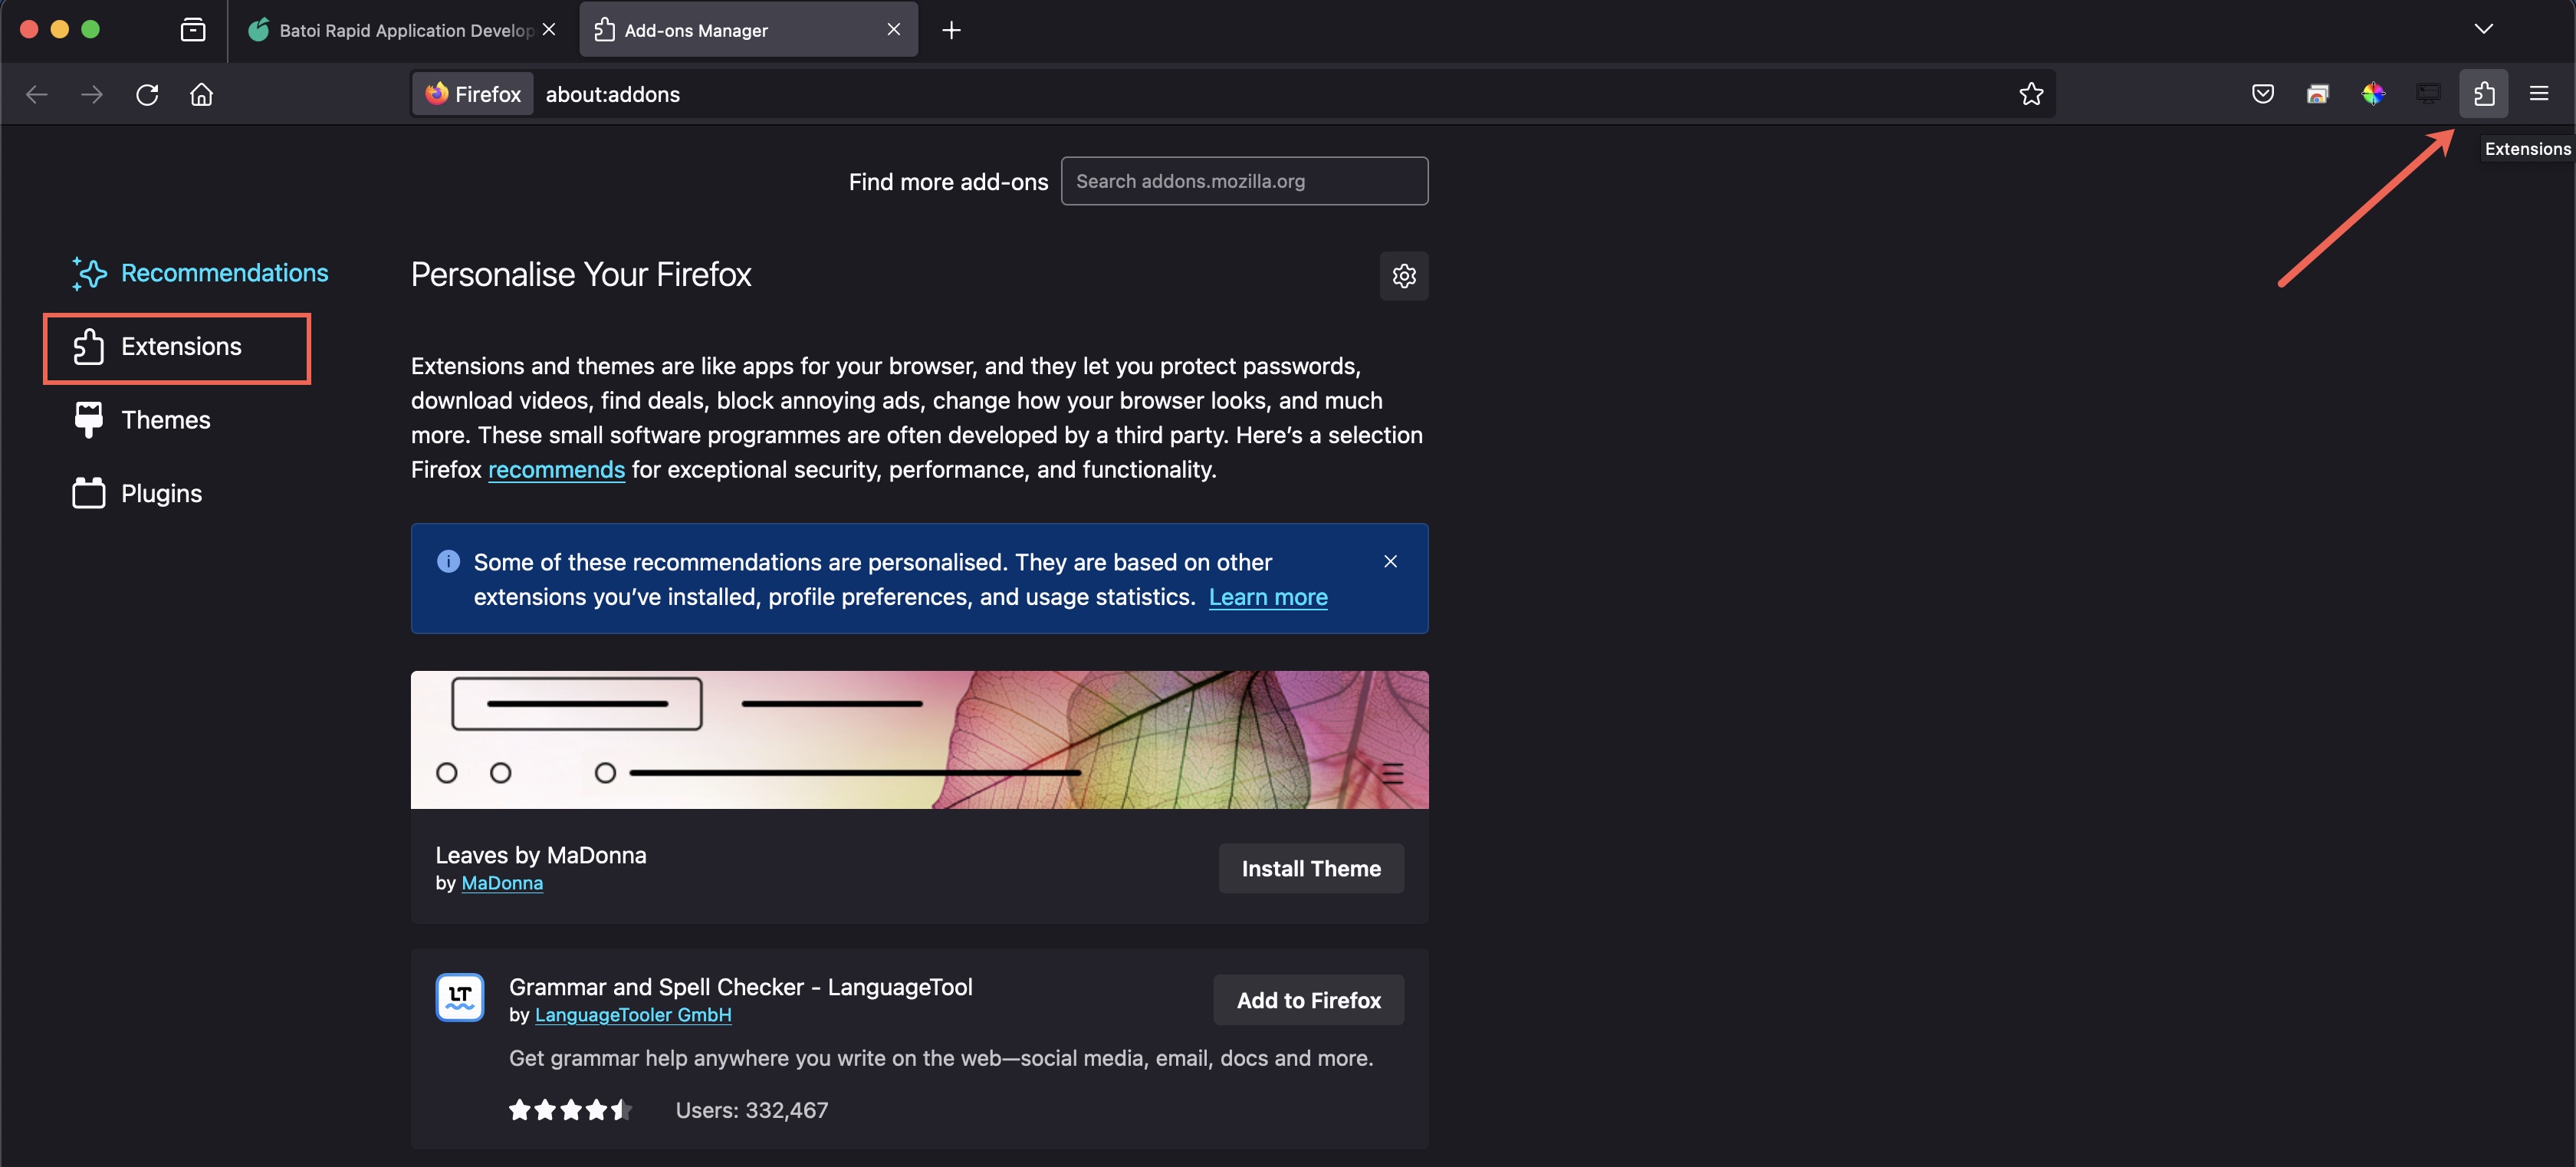
Open the Firefox browser and click the Extensions icon, as illustrated in Figure 1 below.
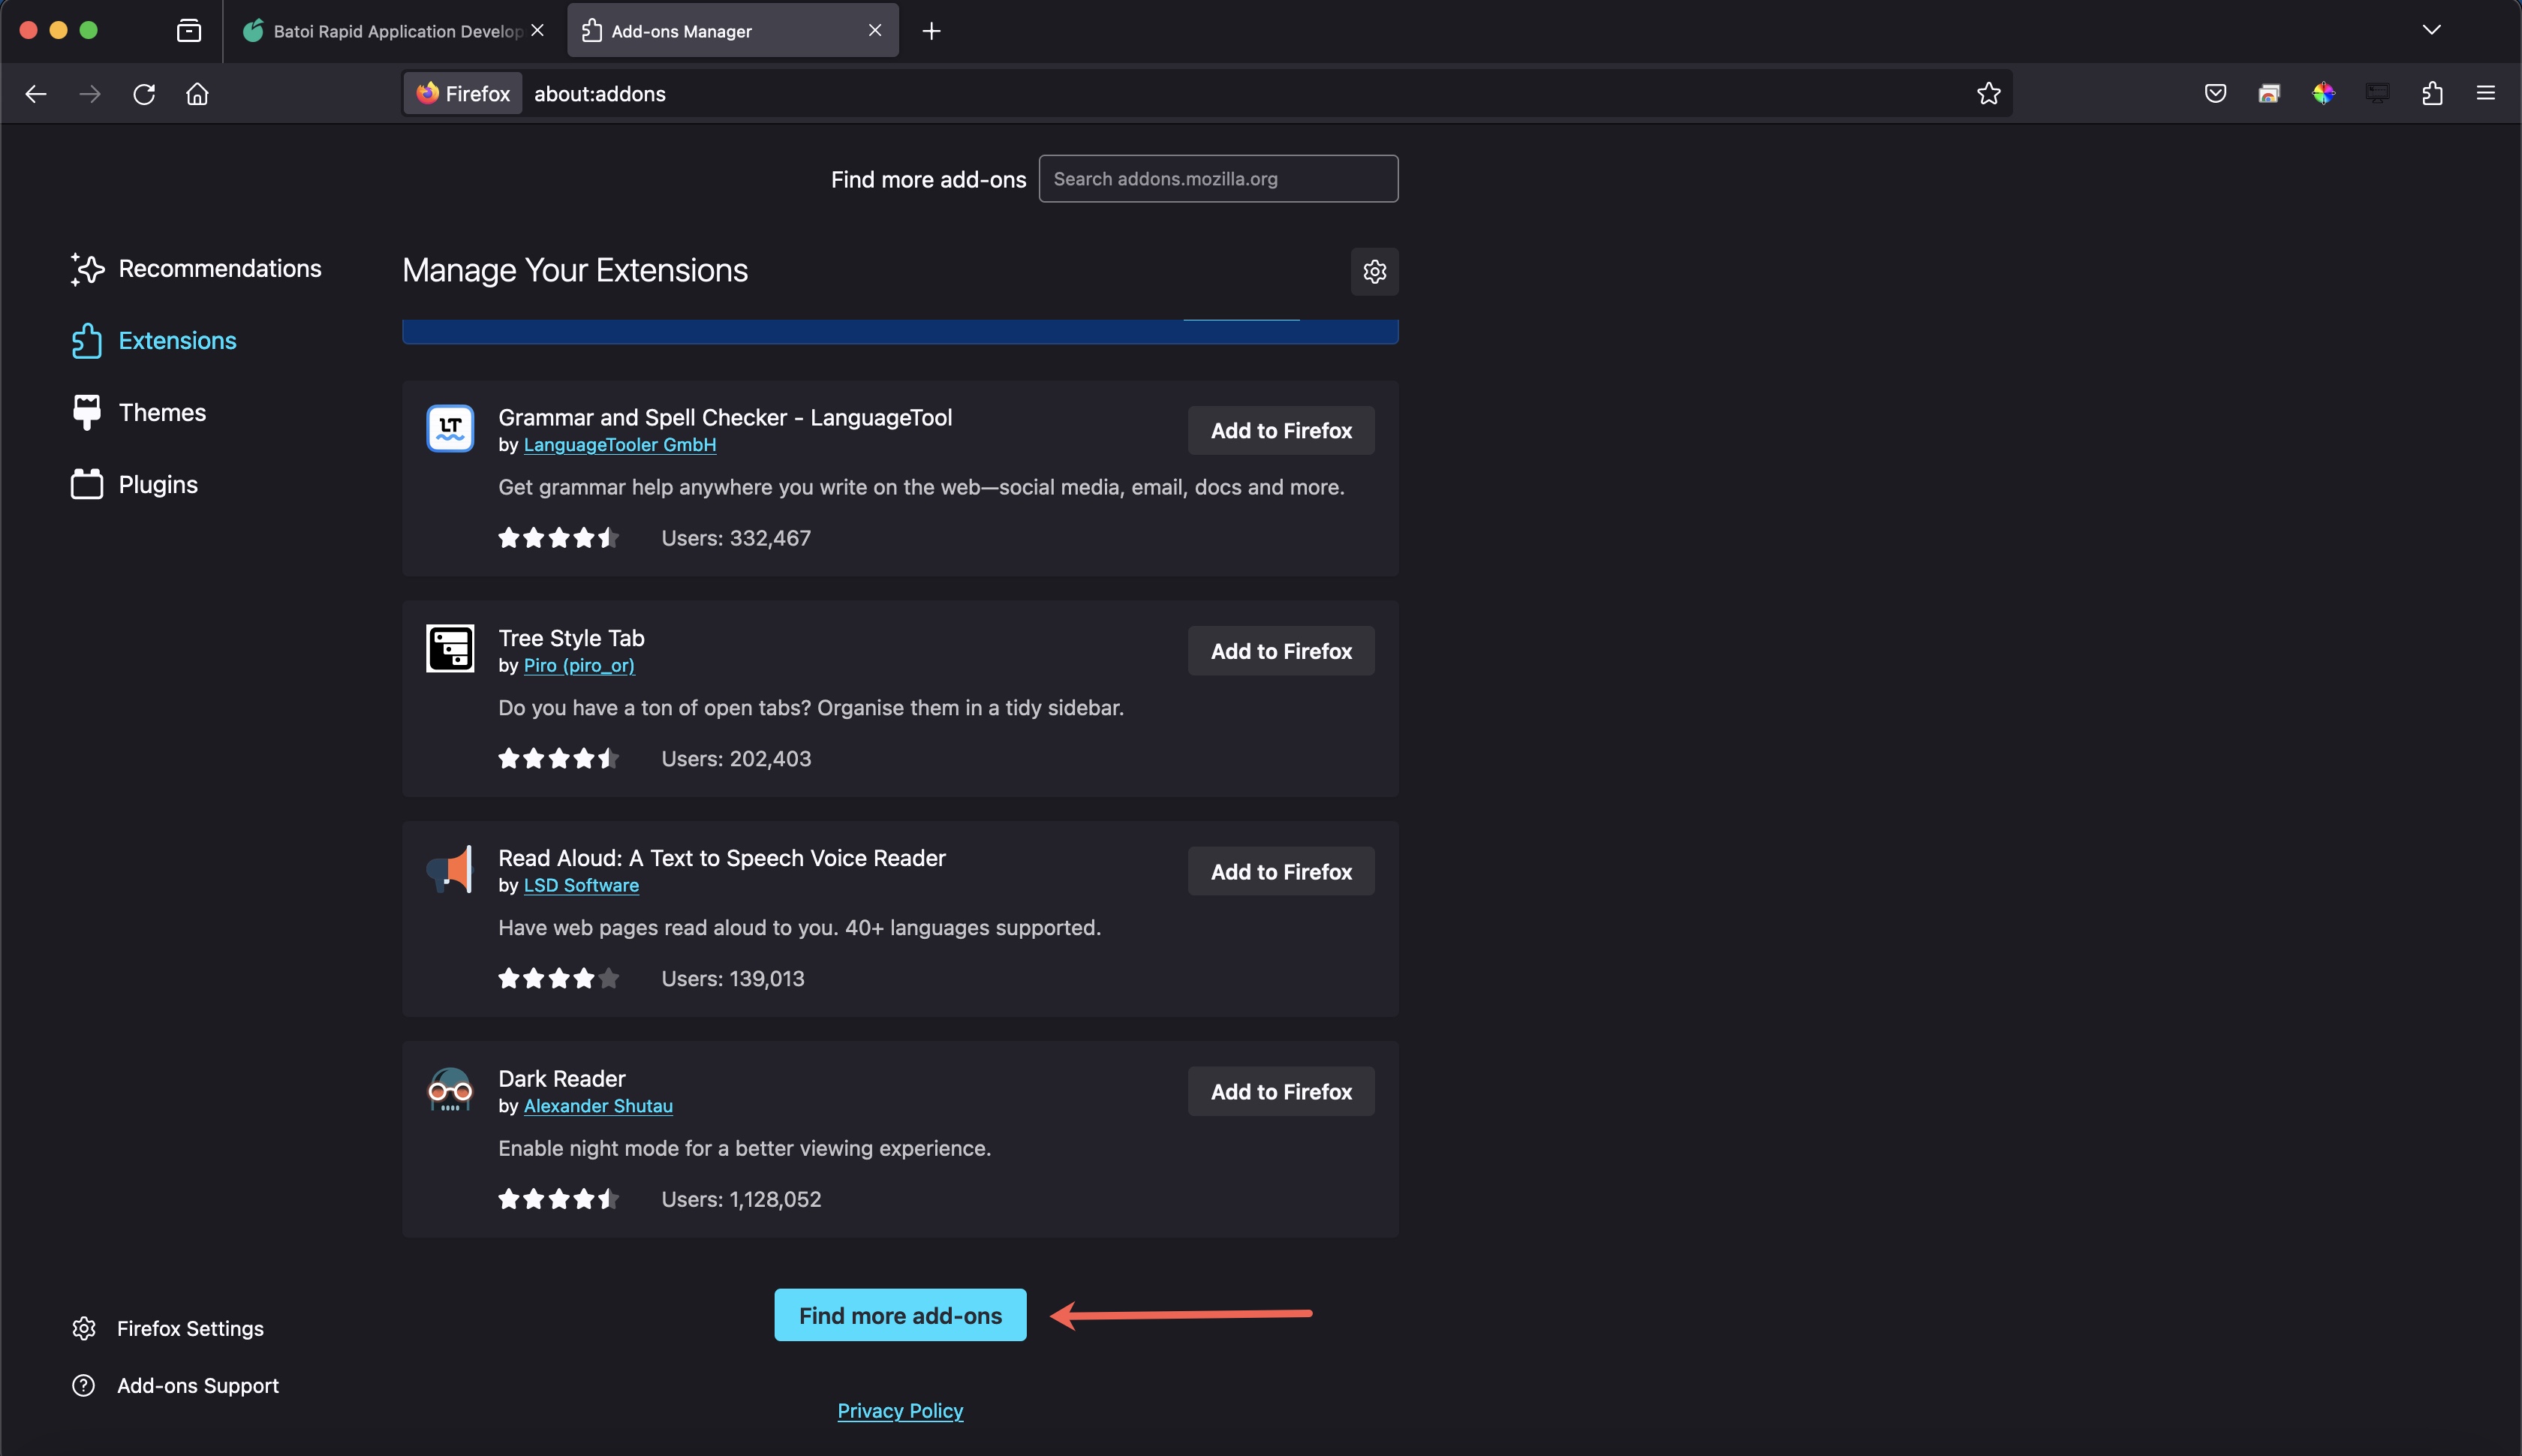
Scroll down to the bottom of the page and click the Find more add-ons button, as illustrated in Figure 2 below.
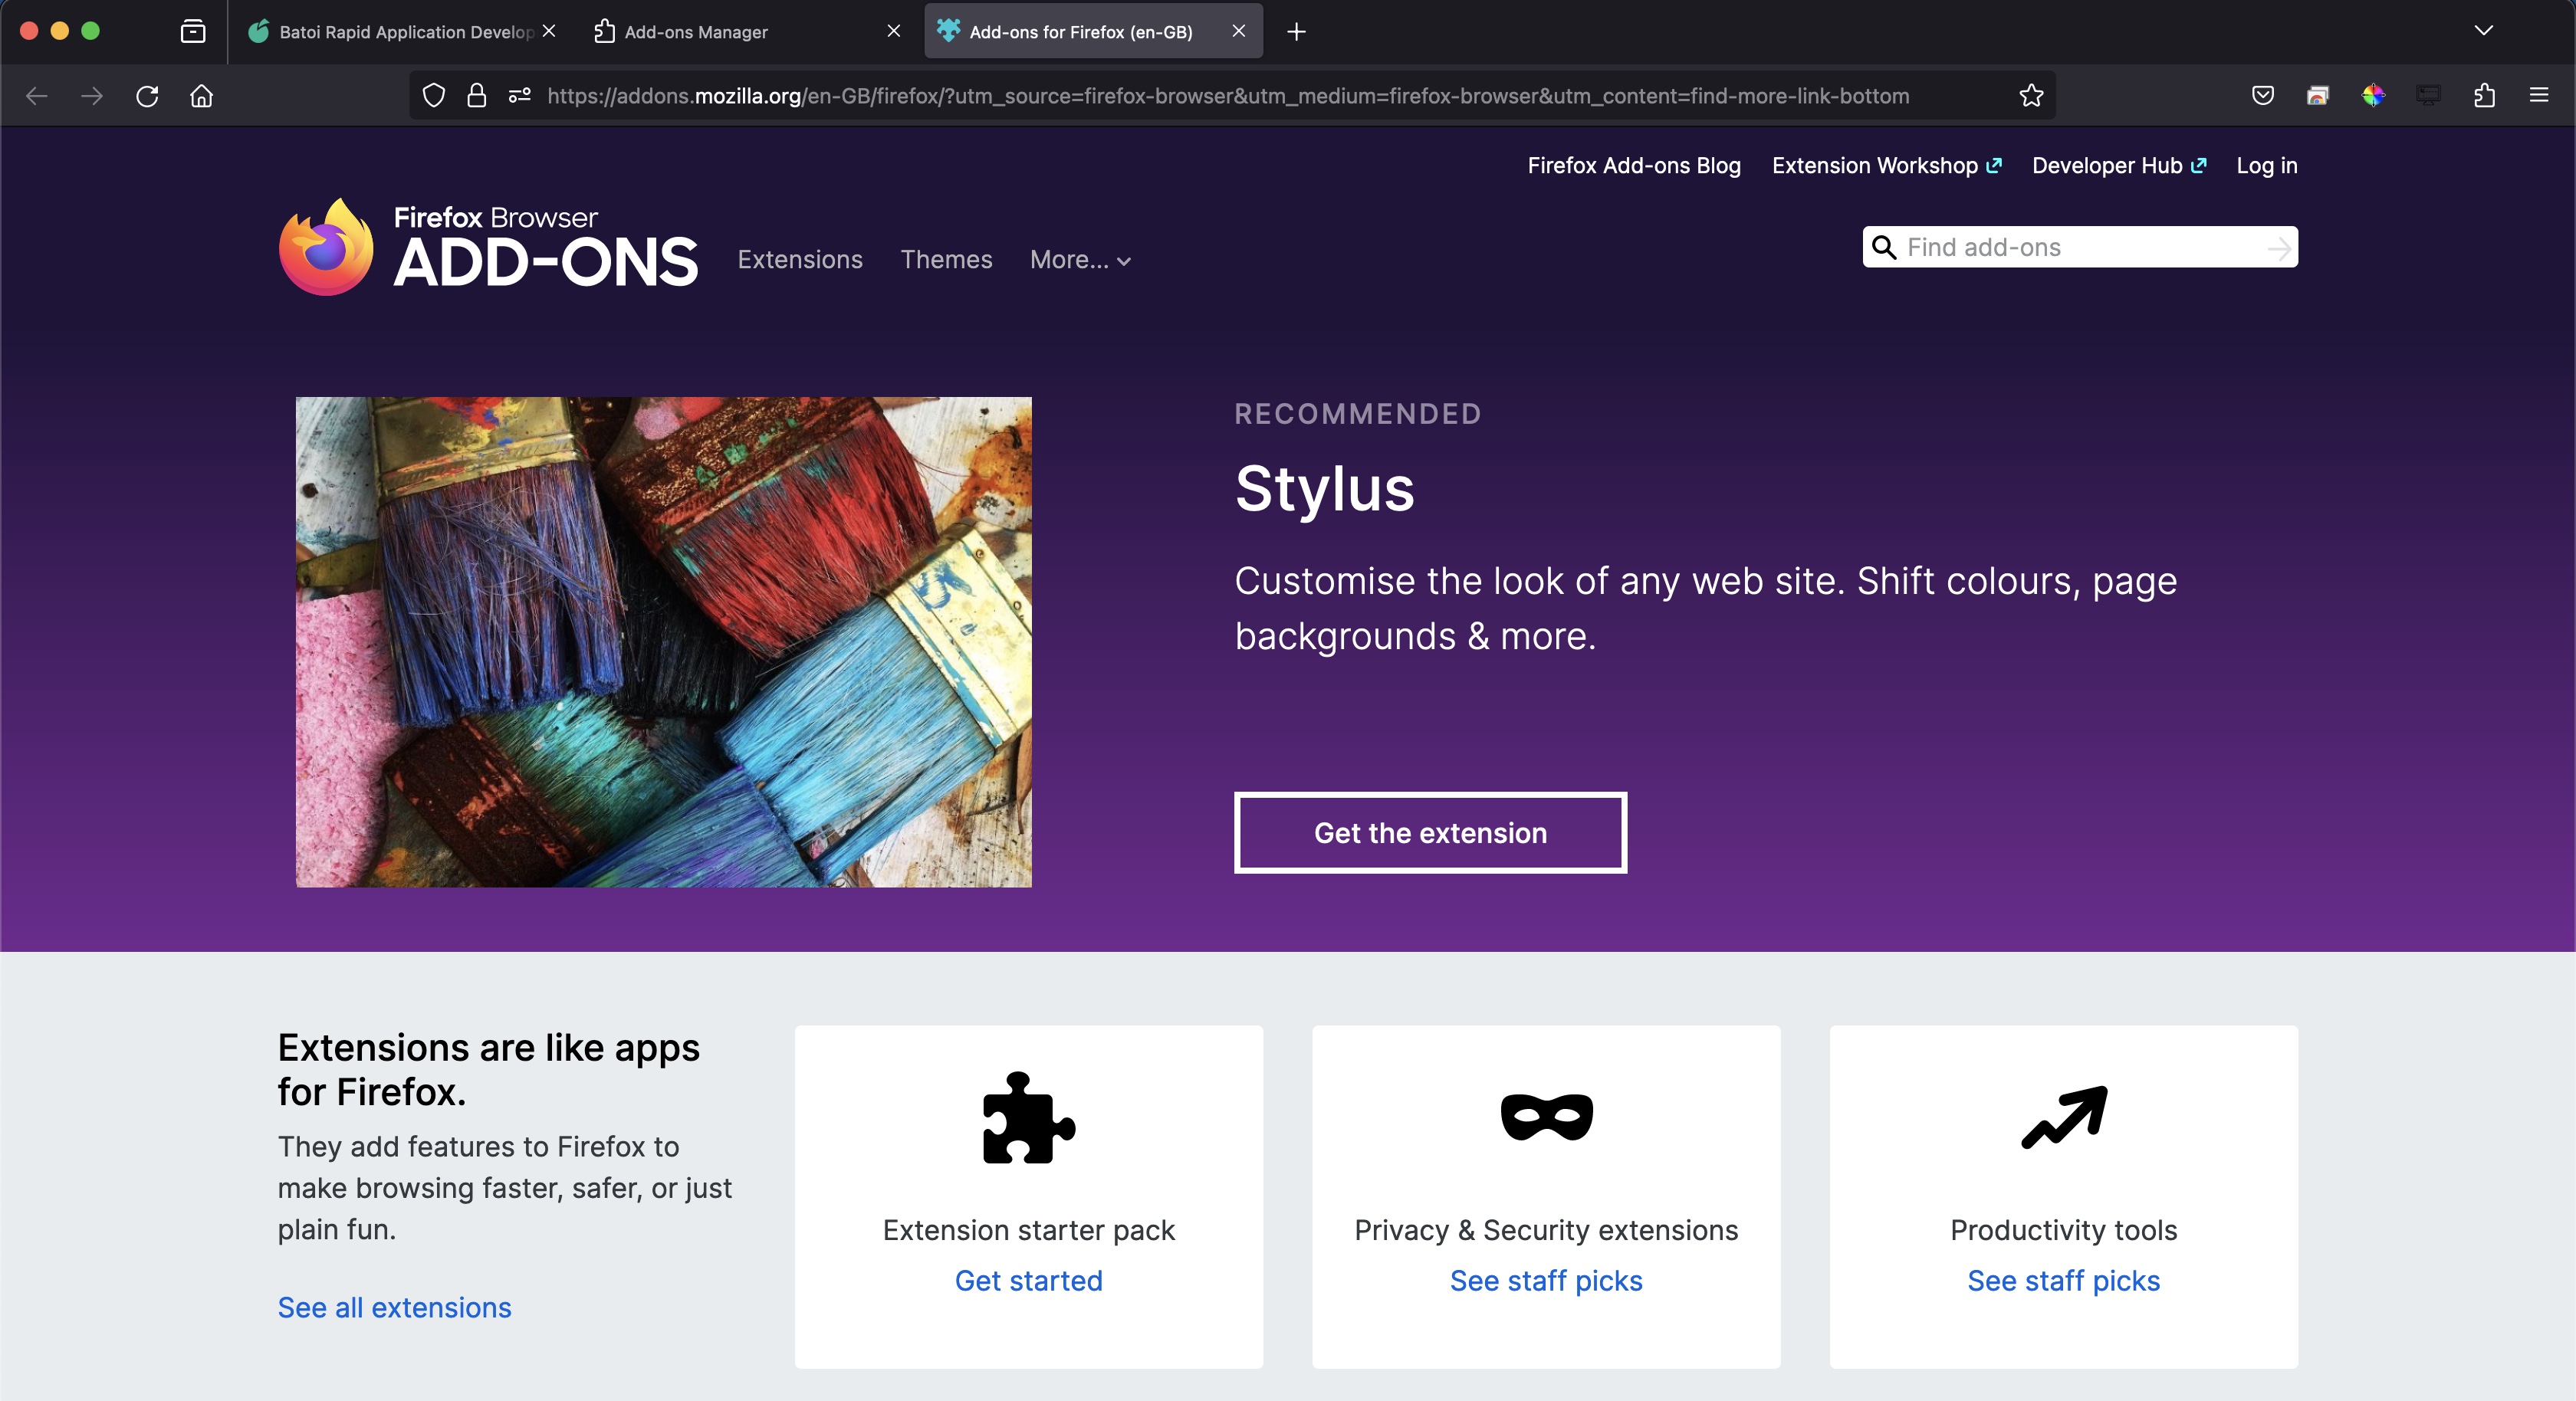
You will be redirected to the extension add-ons dashboard by clicking the button, as illustrated in Figure 3 below.
Click the search icon and type ‘Grammarly’; you will find the extension in the dropdown list, as illustrated in Figure 4 below.
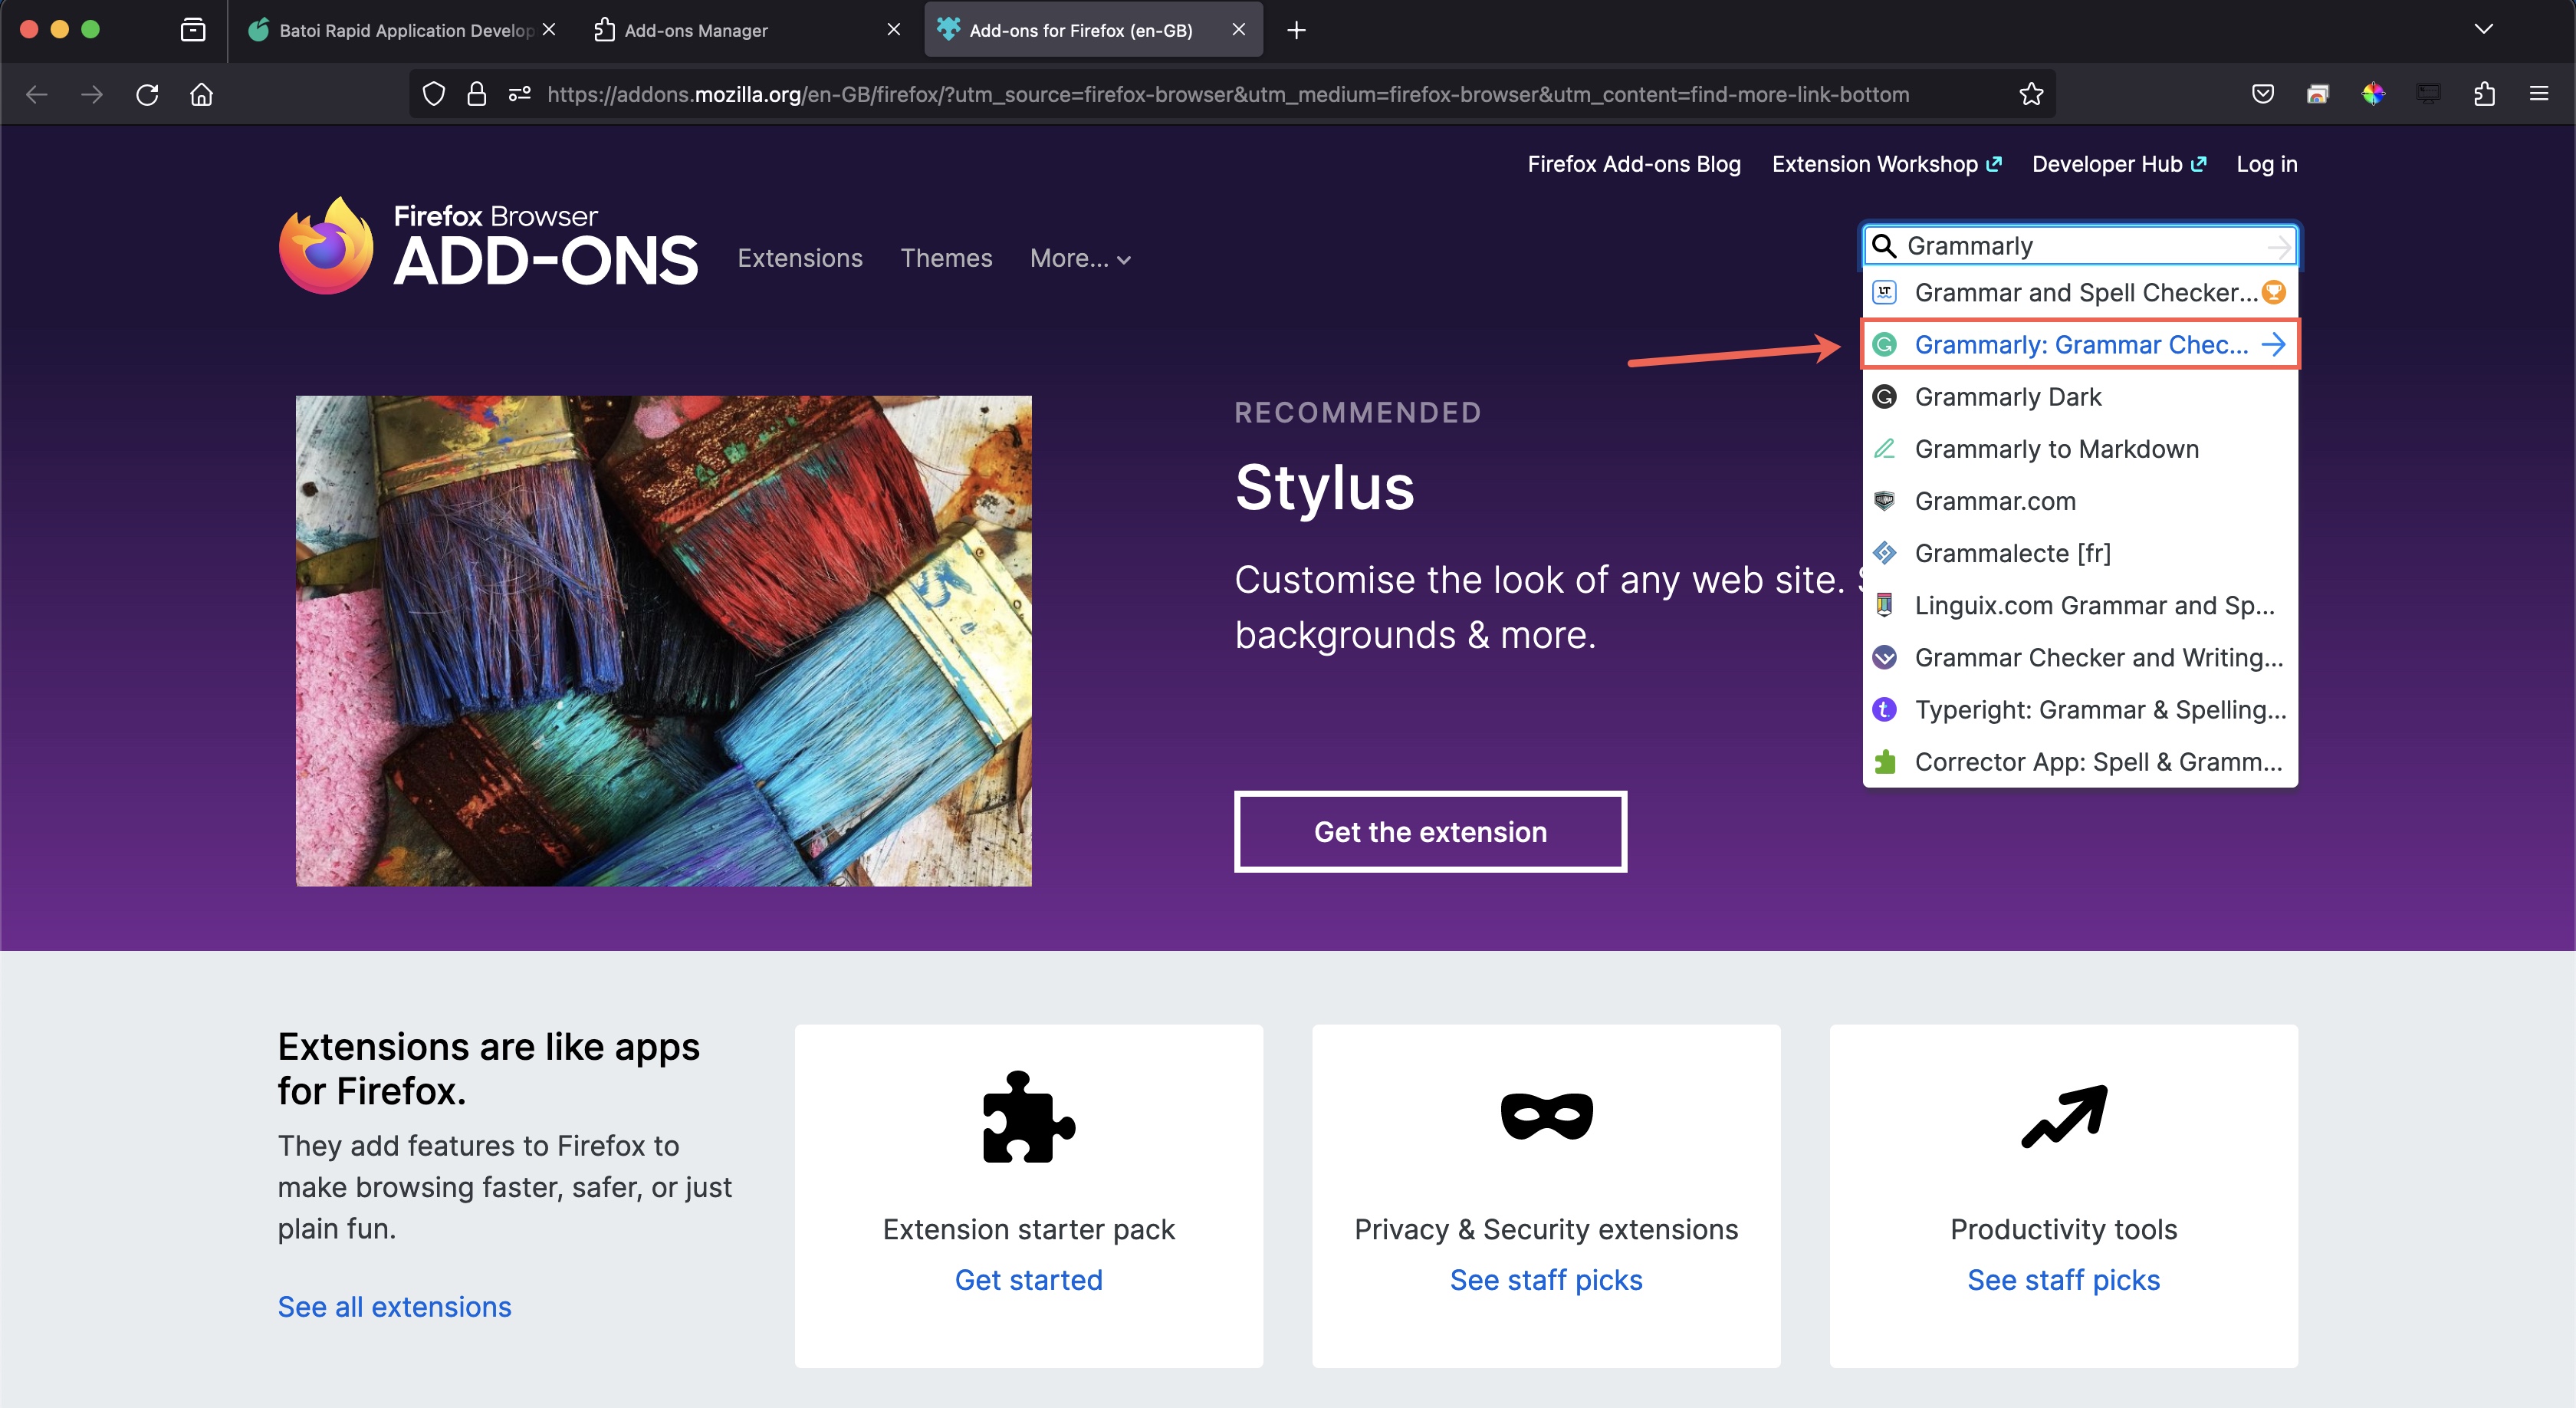
Click the link ‘Grammarly: Grammar Checker and AI Writing App’, as illustrated in Figure 4 above. You will be redirected to the ‘Grammarly’ extension dashboard page, as shown in Figure 5 below.
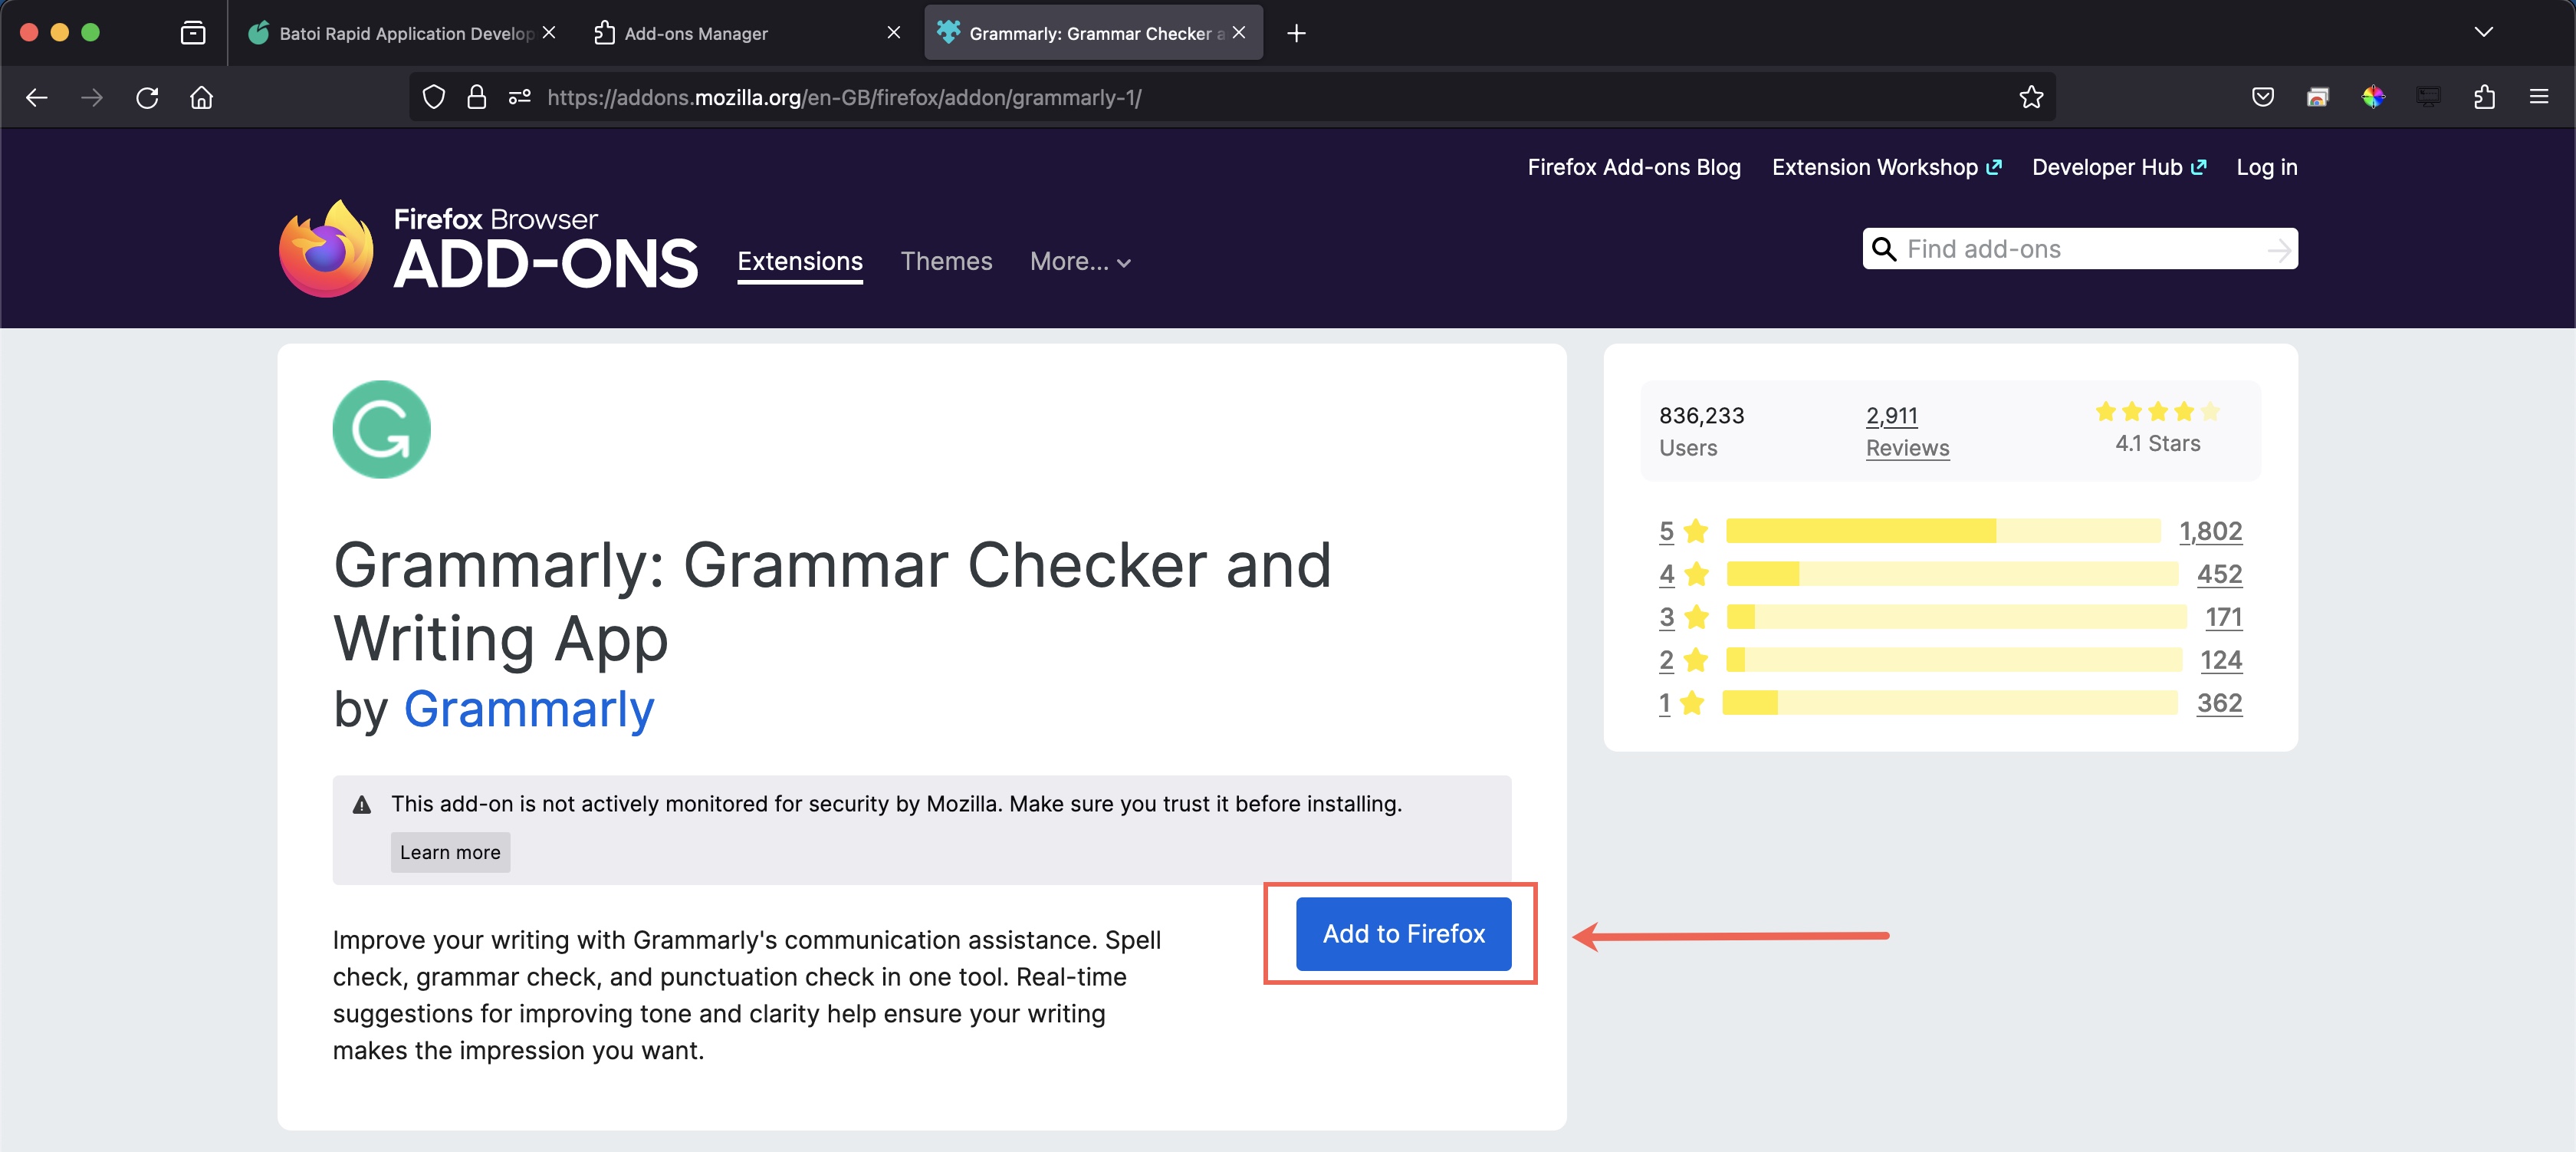
Click the Add to Firefox button on the screen, as illustrated in Figure 5 above, and a pop-up window will appear to grant permission, as shown in Figure 6 below.
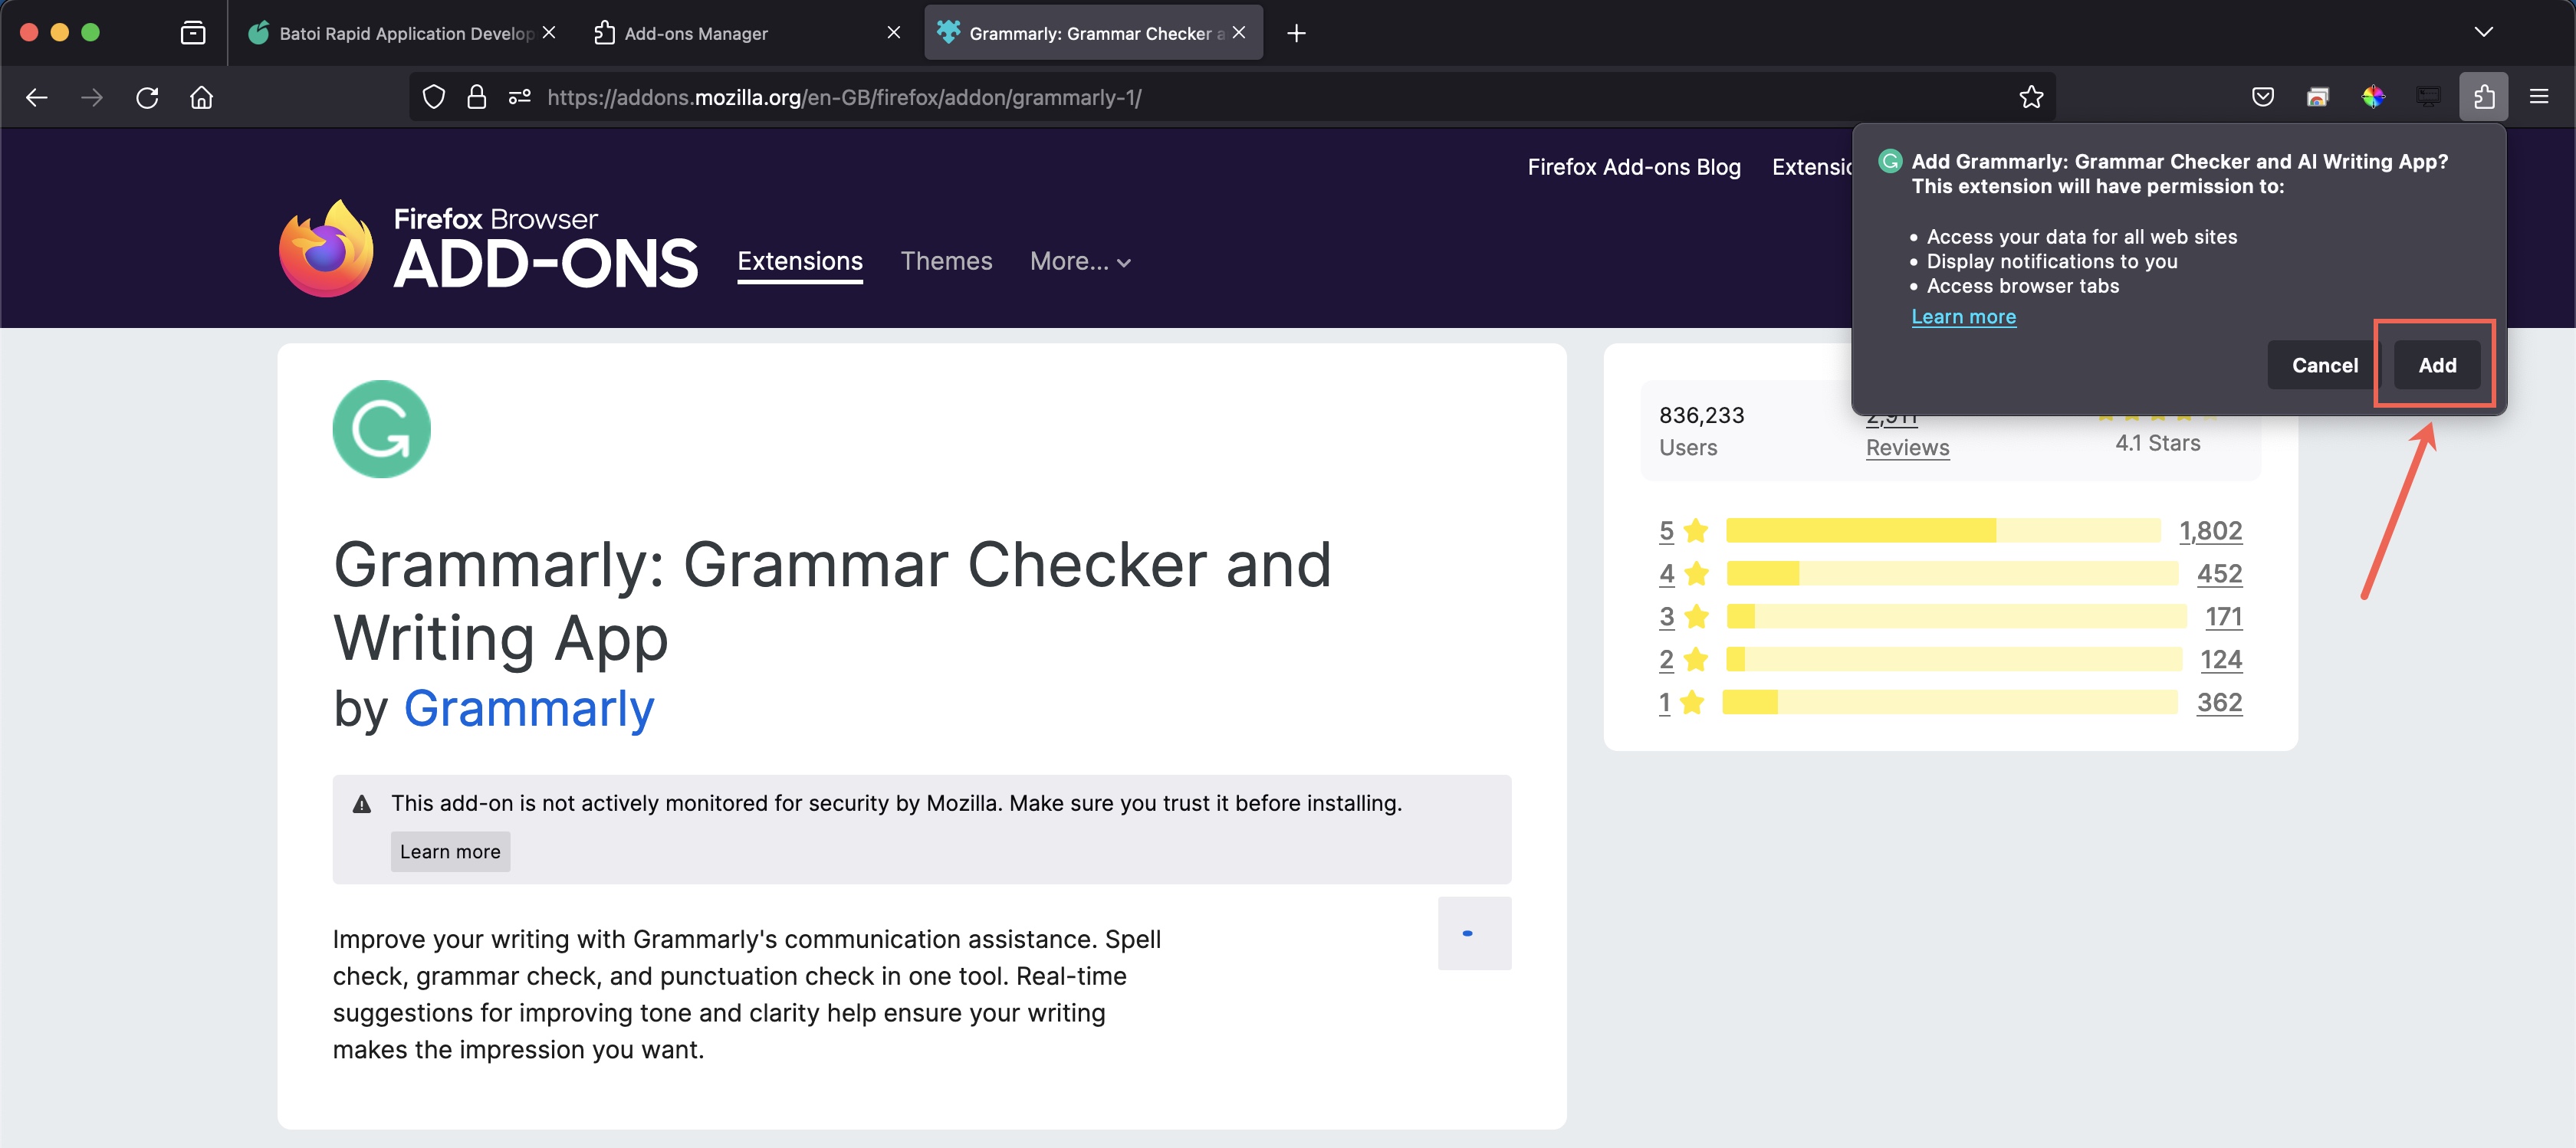
Click the Add button, as illustrated in Figure 6 above, and Firefox will install the extension for you. Once installed, you will be redirected to the activation page, as shown in Figure 7 below.
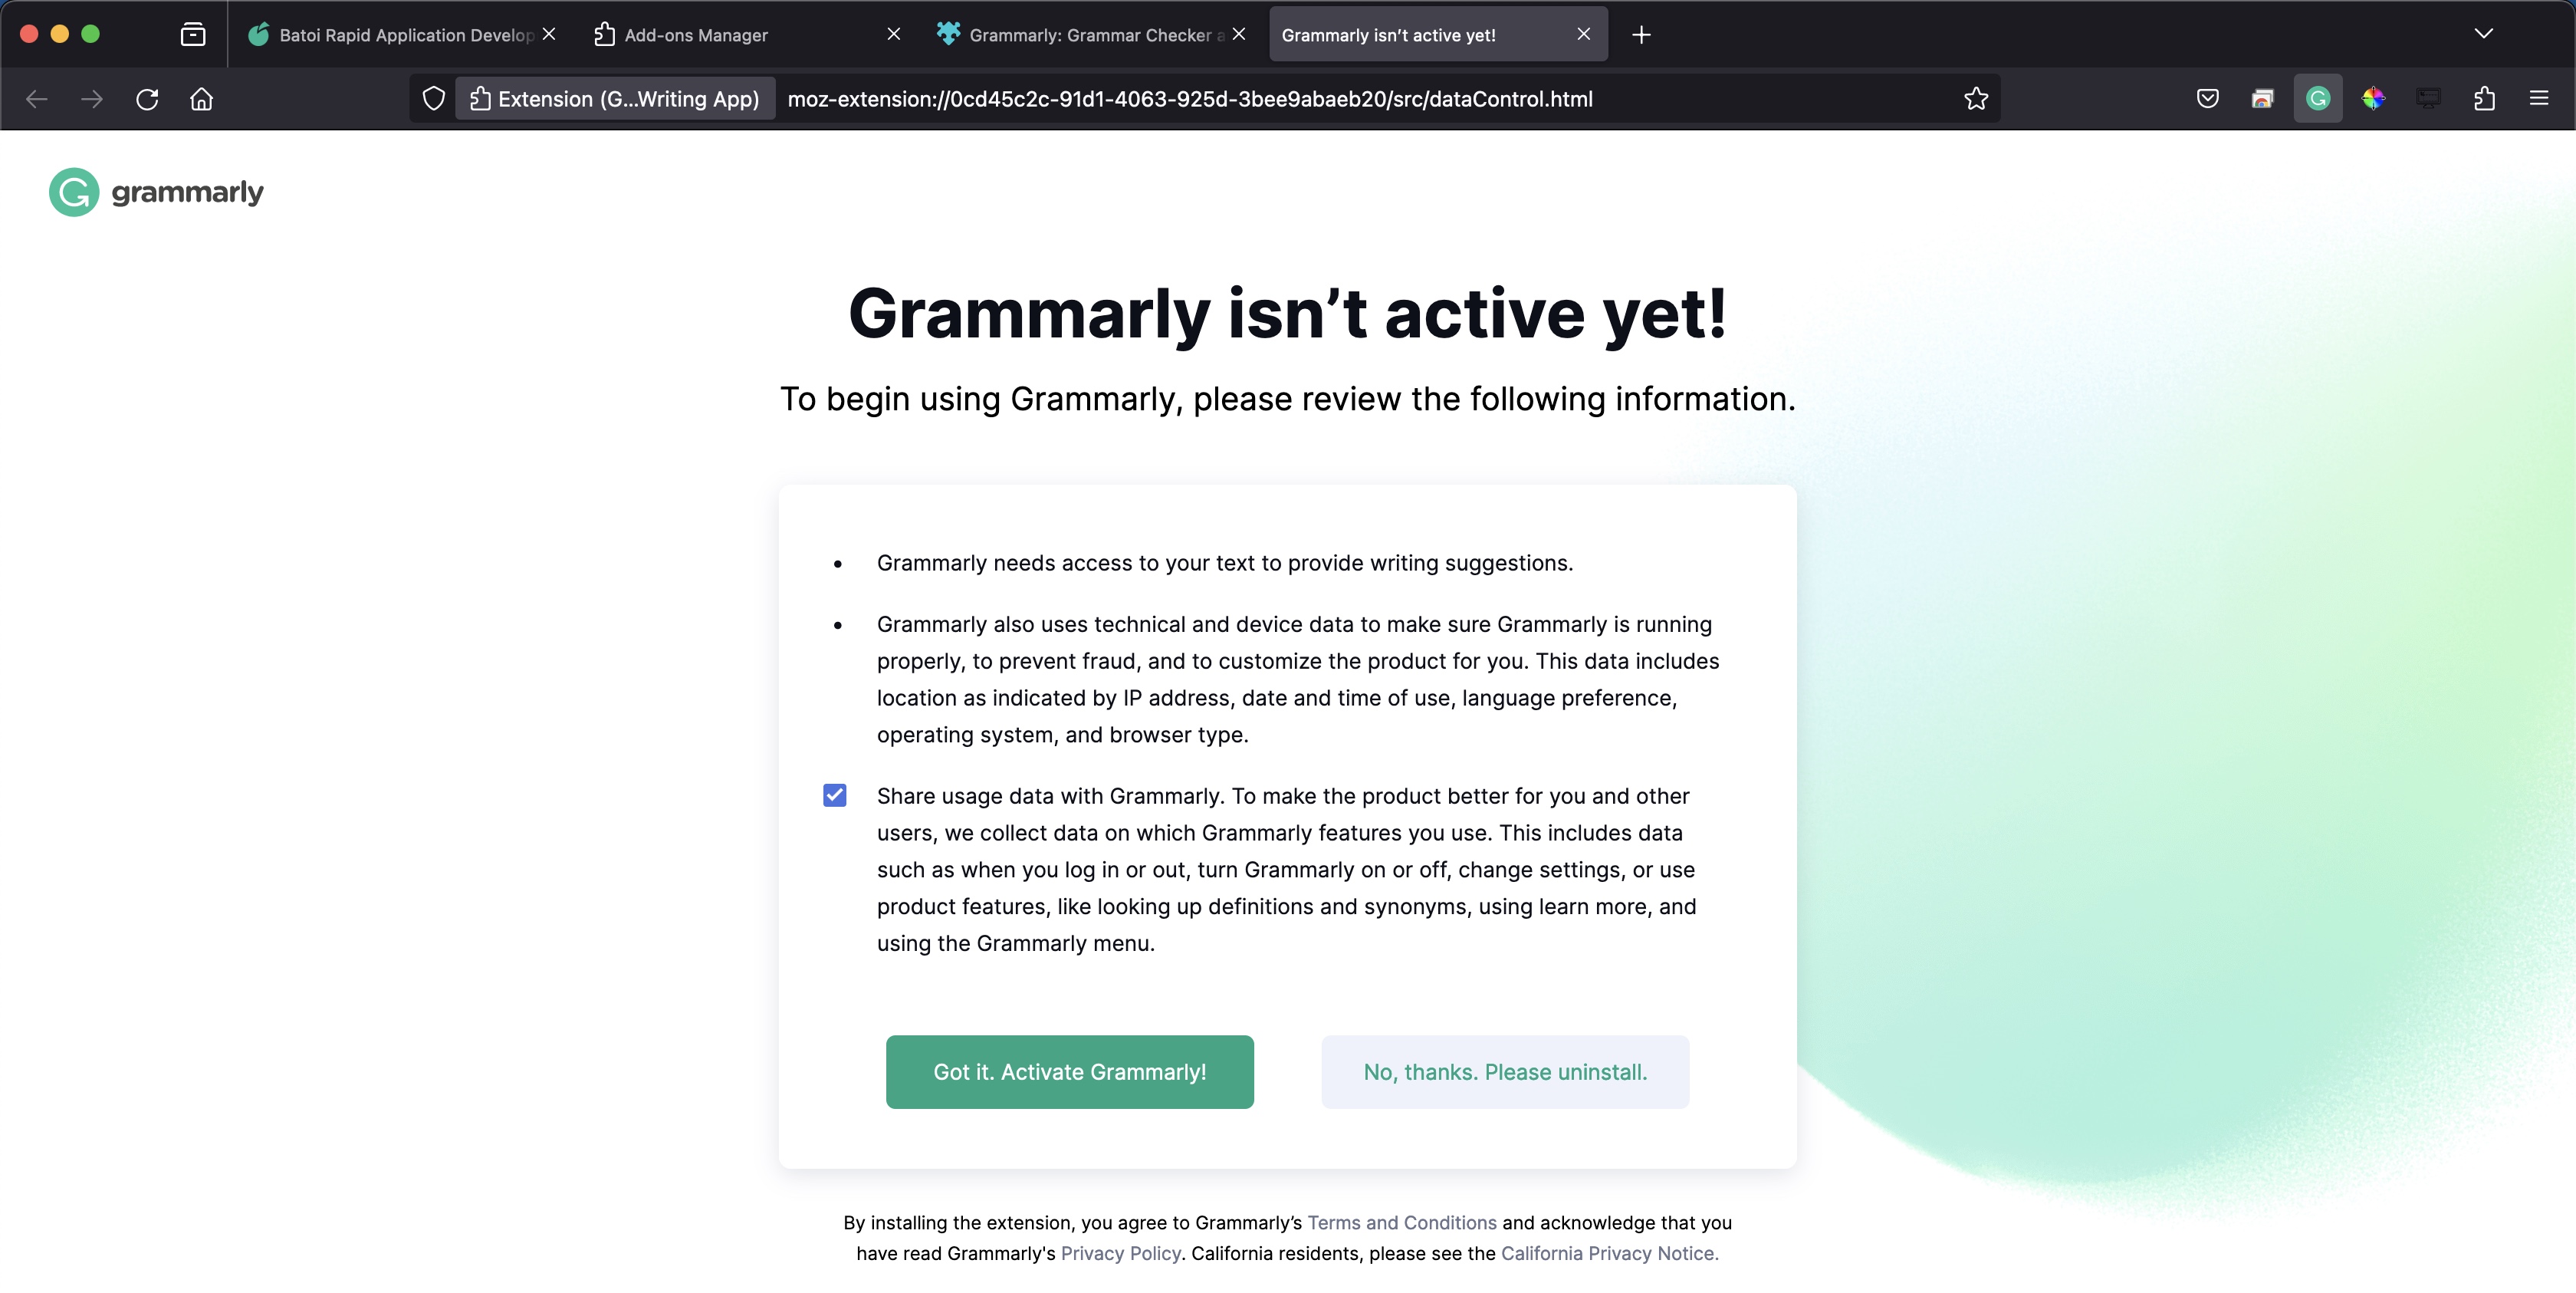
Click the Got it. Activate Grammarly! button, as illustrated in Figure 7 above, and you will be redirected to the activation screen, as shown in Figure 8 below.
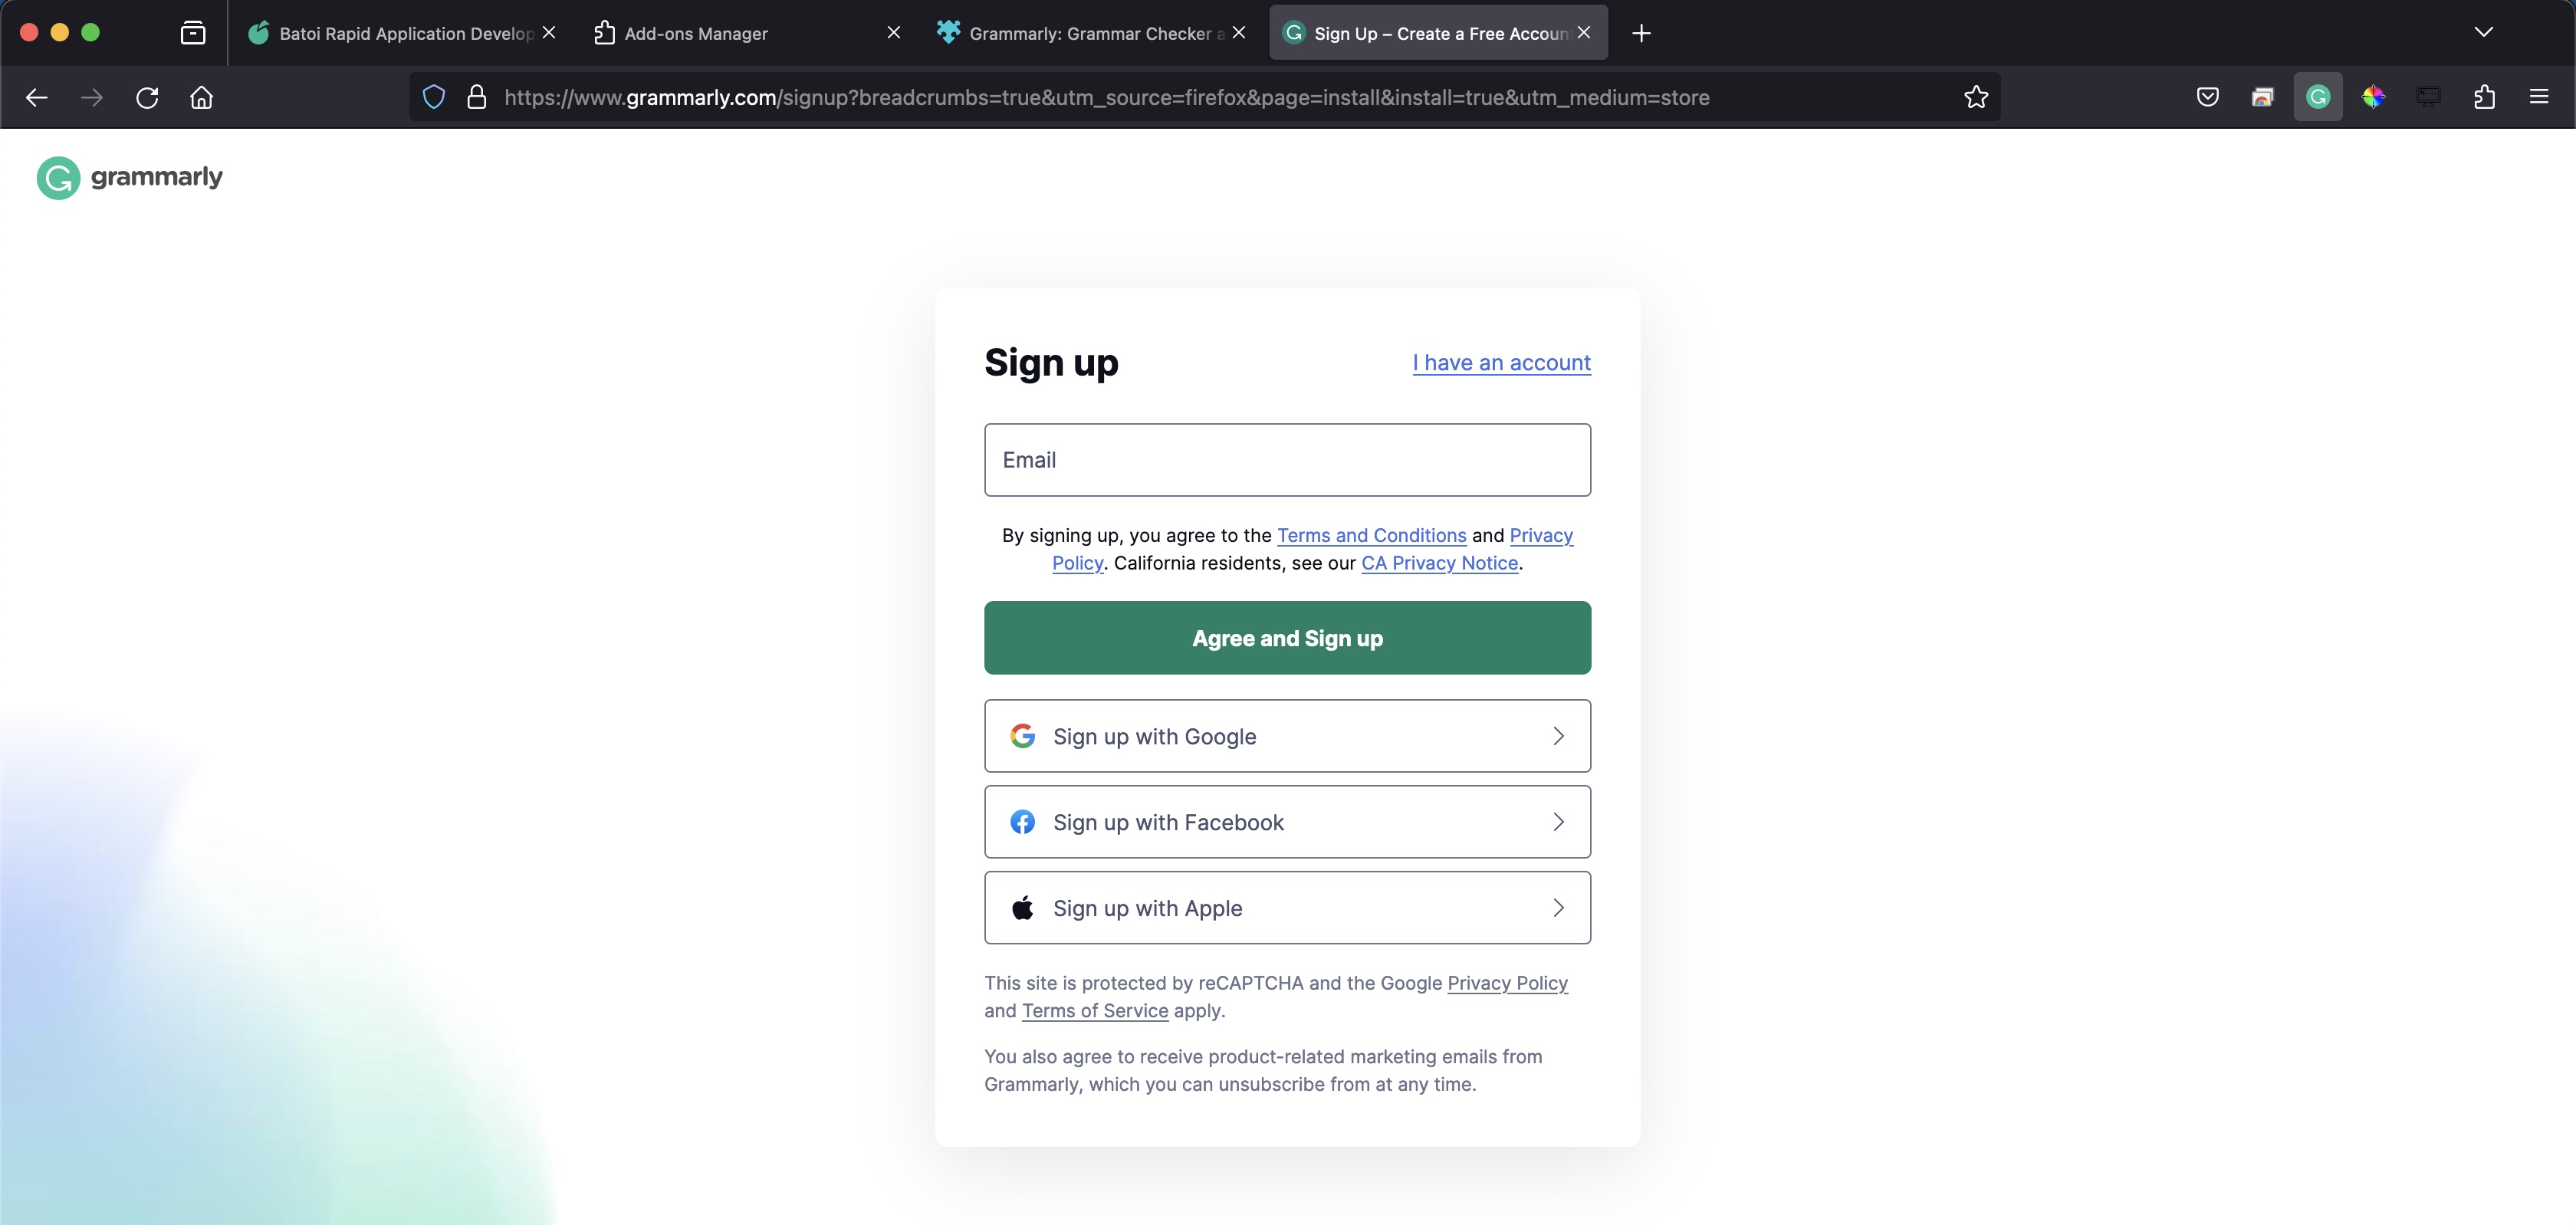
Enter your email address and click the Agree and Sign up button, as illustrated in Figure 8 above. You can also use your Google, Facebook, or Apple IDs for single sign-on. After successful sign-on, you will be redirected to the dashboard, where you can customize the services, as illustrated in Figure 9 below.

You can also click the Grammarly extension icon from the browser bar to open the manage screen, as illustrated in Figure 9 above.
Conclusion
As you can see, installing the Grammarly browser extension to Mozilla Firefox is incredibly simple and only takes a few clicks. You can also install this free Grammarly browser extension to Chrome, Edge, or Safari, the steps are nearly identical. This will help your writing be more grammatically correct.