


Setup of Microsoft Office 365 Using cPanel: A Comprehensive Guide
Introduction
Discover how to seamlessly integrate Microsoft Office365 services with your domain through your hosting cPanel. This guide provides a detailed roadmap for configuring Microsoft Office 365 with your website and establishing a professional email system.
Steps at a Glance
- Purchase and Manage Microsoft Office365 Service via Batoi
- Verify Domain Ownership with Microsoft by Adding a TXT Record to Your DNS Settings
- Configure Professional Email by Adding Pre-defined Records to Your DNS Settings
Section 1: Purchase and Manage Microsoft Office365 Service via Batoi
You can coordinate with the Batoi Sales Team to purchase the Microsoft Office 365 service. Upon finalization, the Batoi Support Team will purchase the licenses for you.
Section 2: Purchase and Manage Microsoft Office365 Service via Batoi
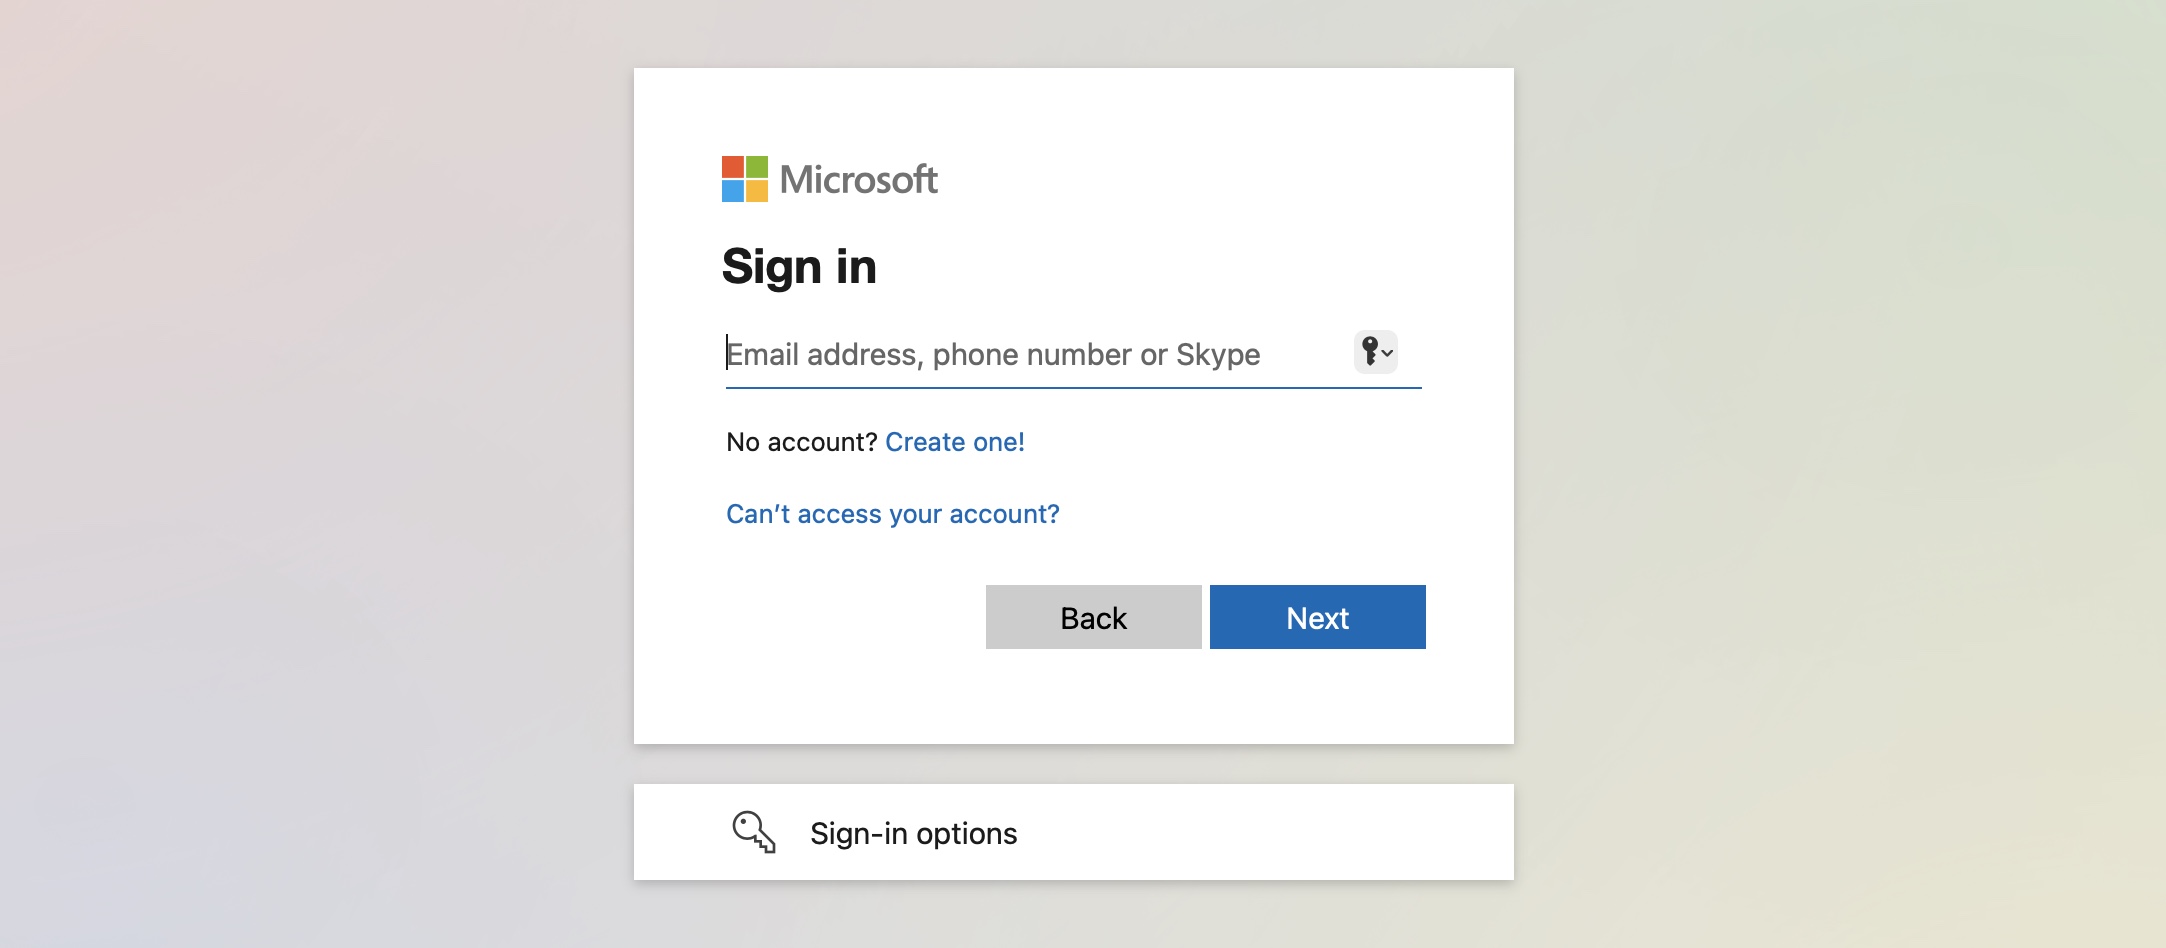
Log in to https://login.microsoftonline.com with your administrator account, as illustrated in Figure 1 below.
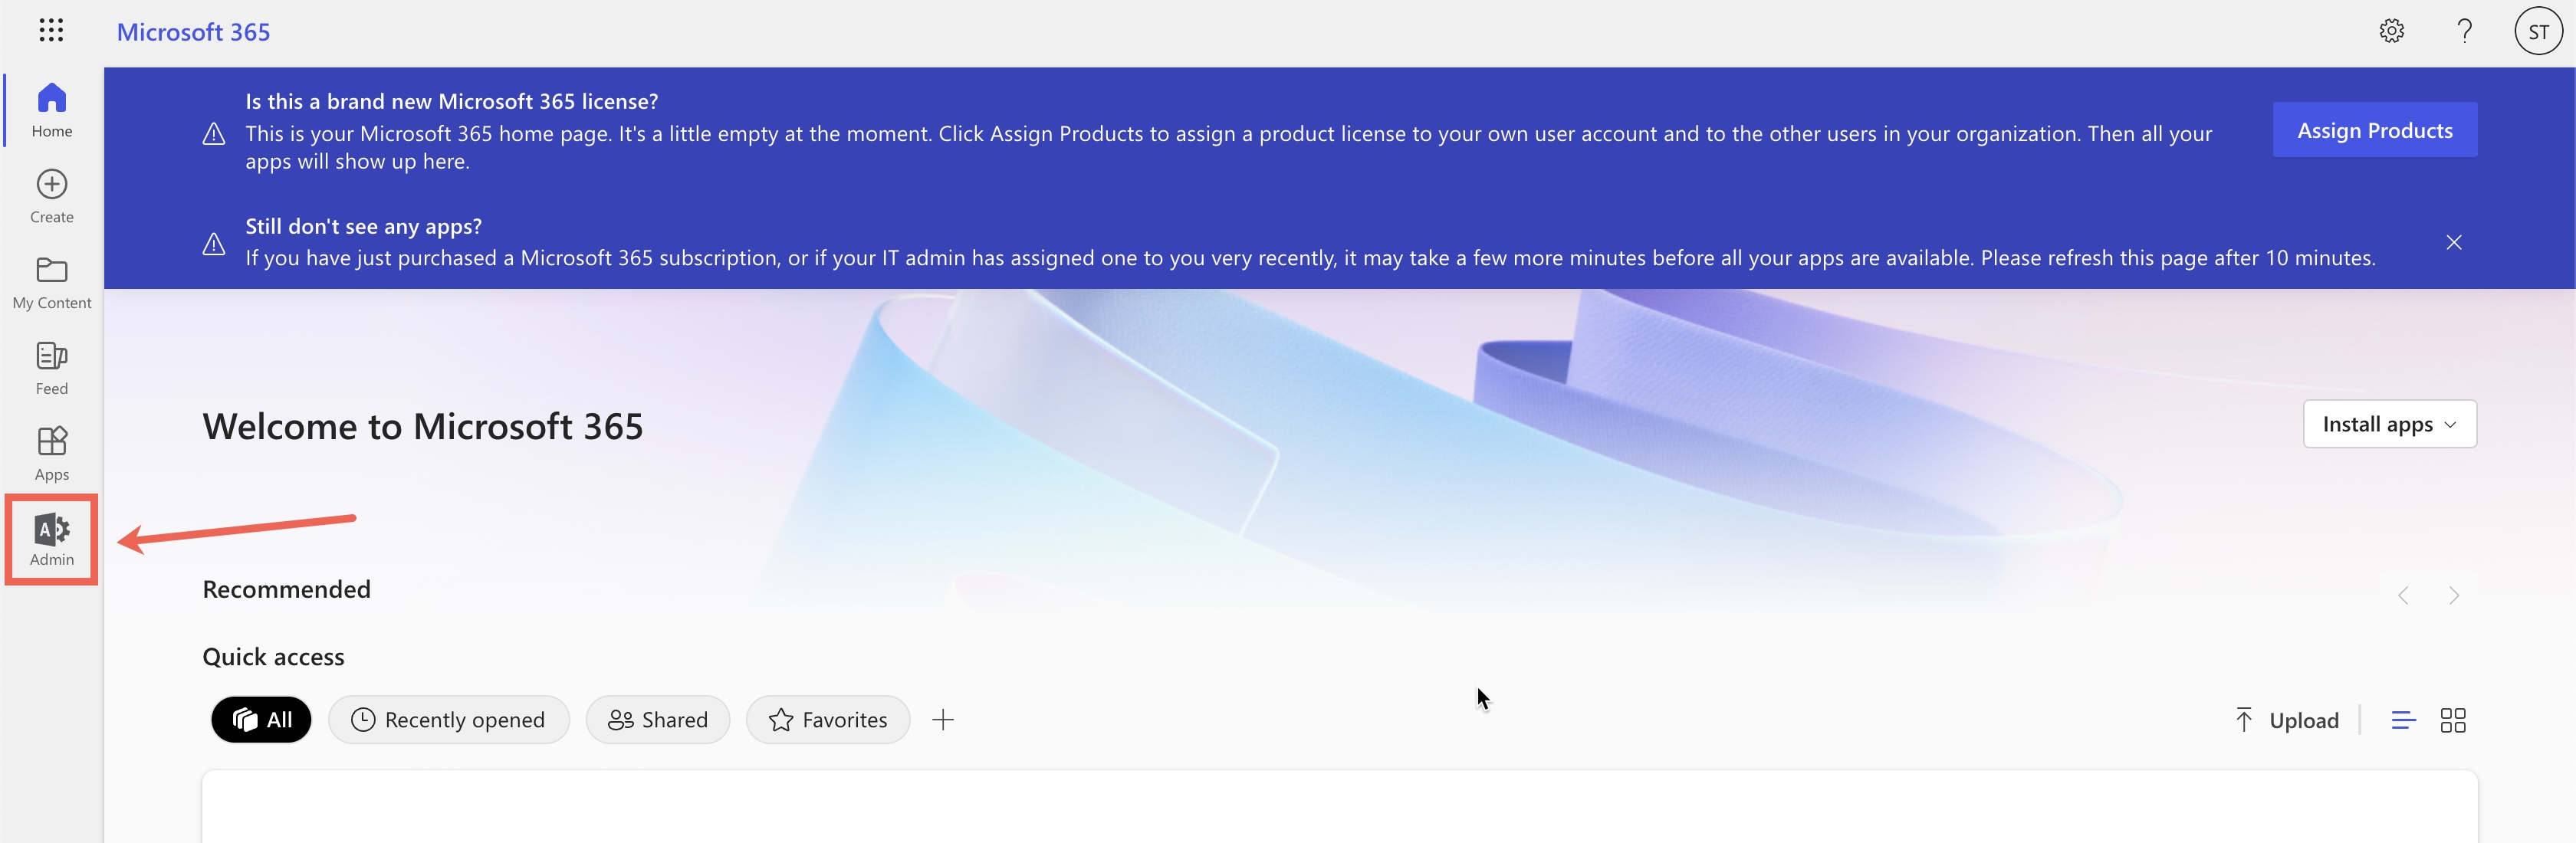
From the dashboard, click on the
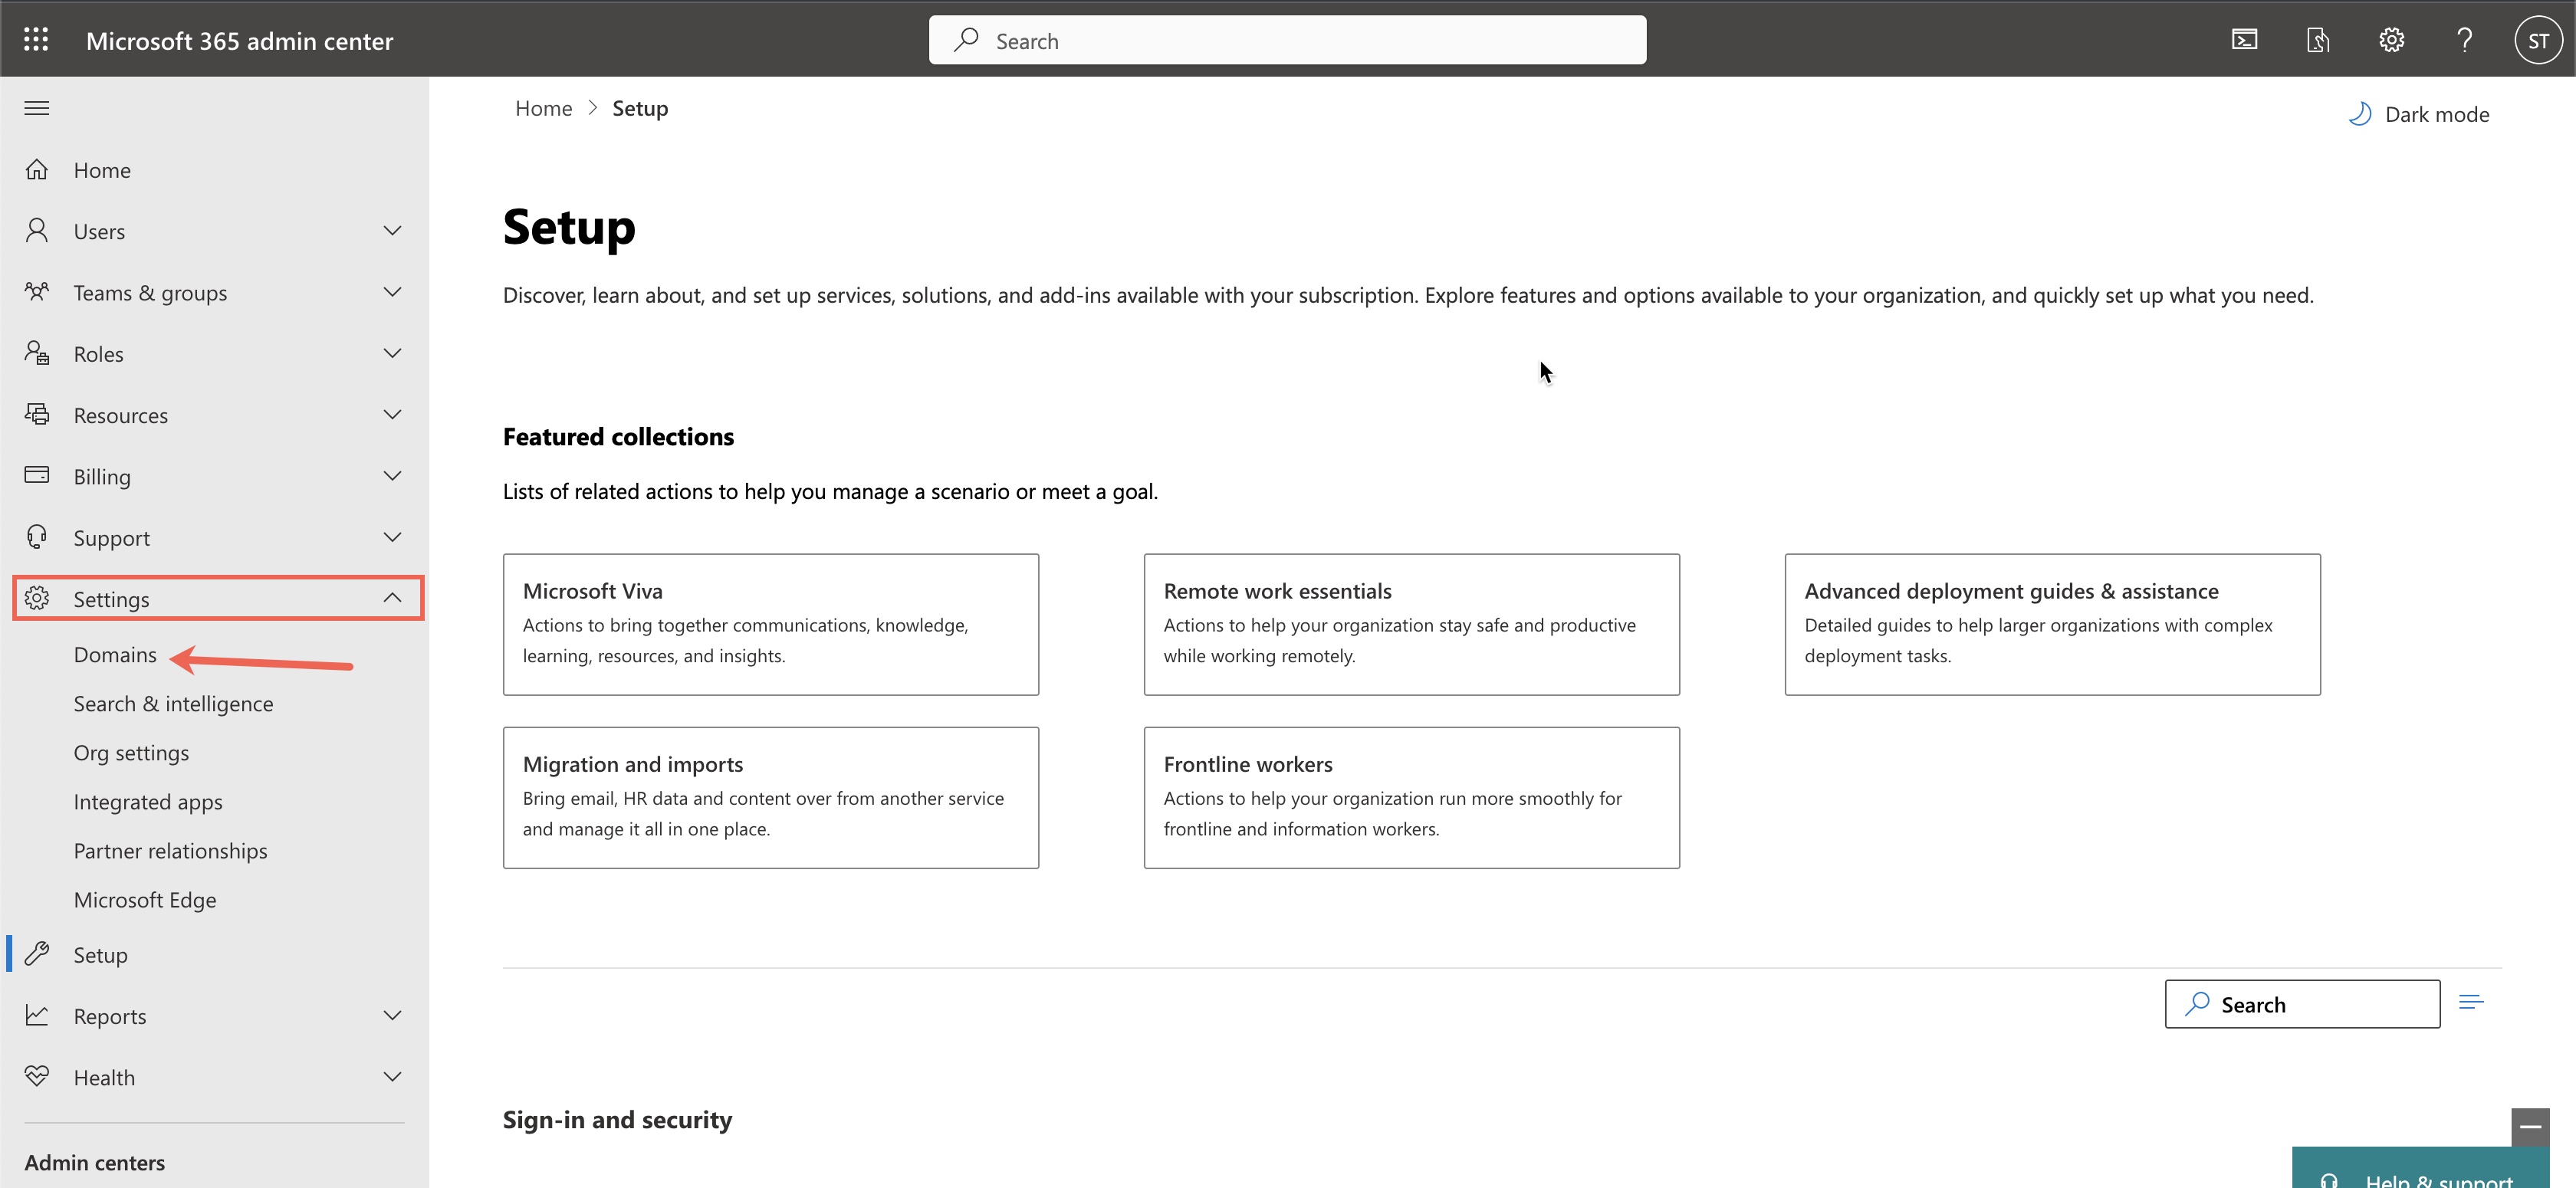
Click Setup in the navigation bar on the left and then click Domains, as illustrated in Figure 3 below.
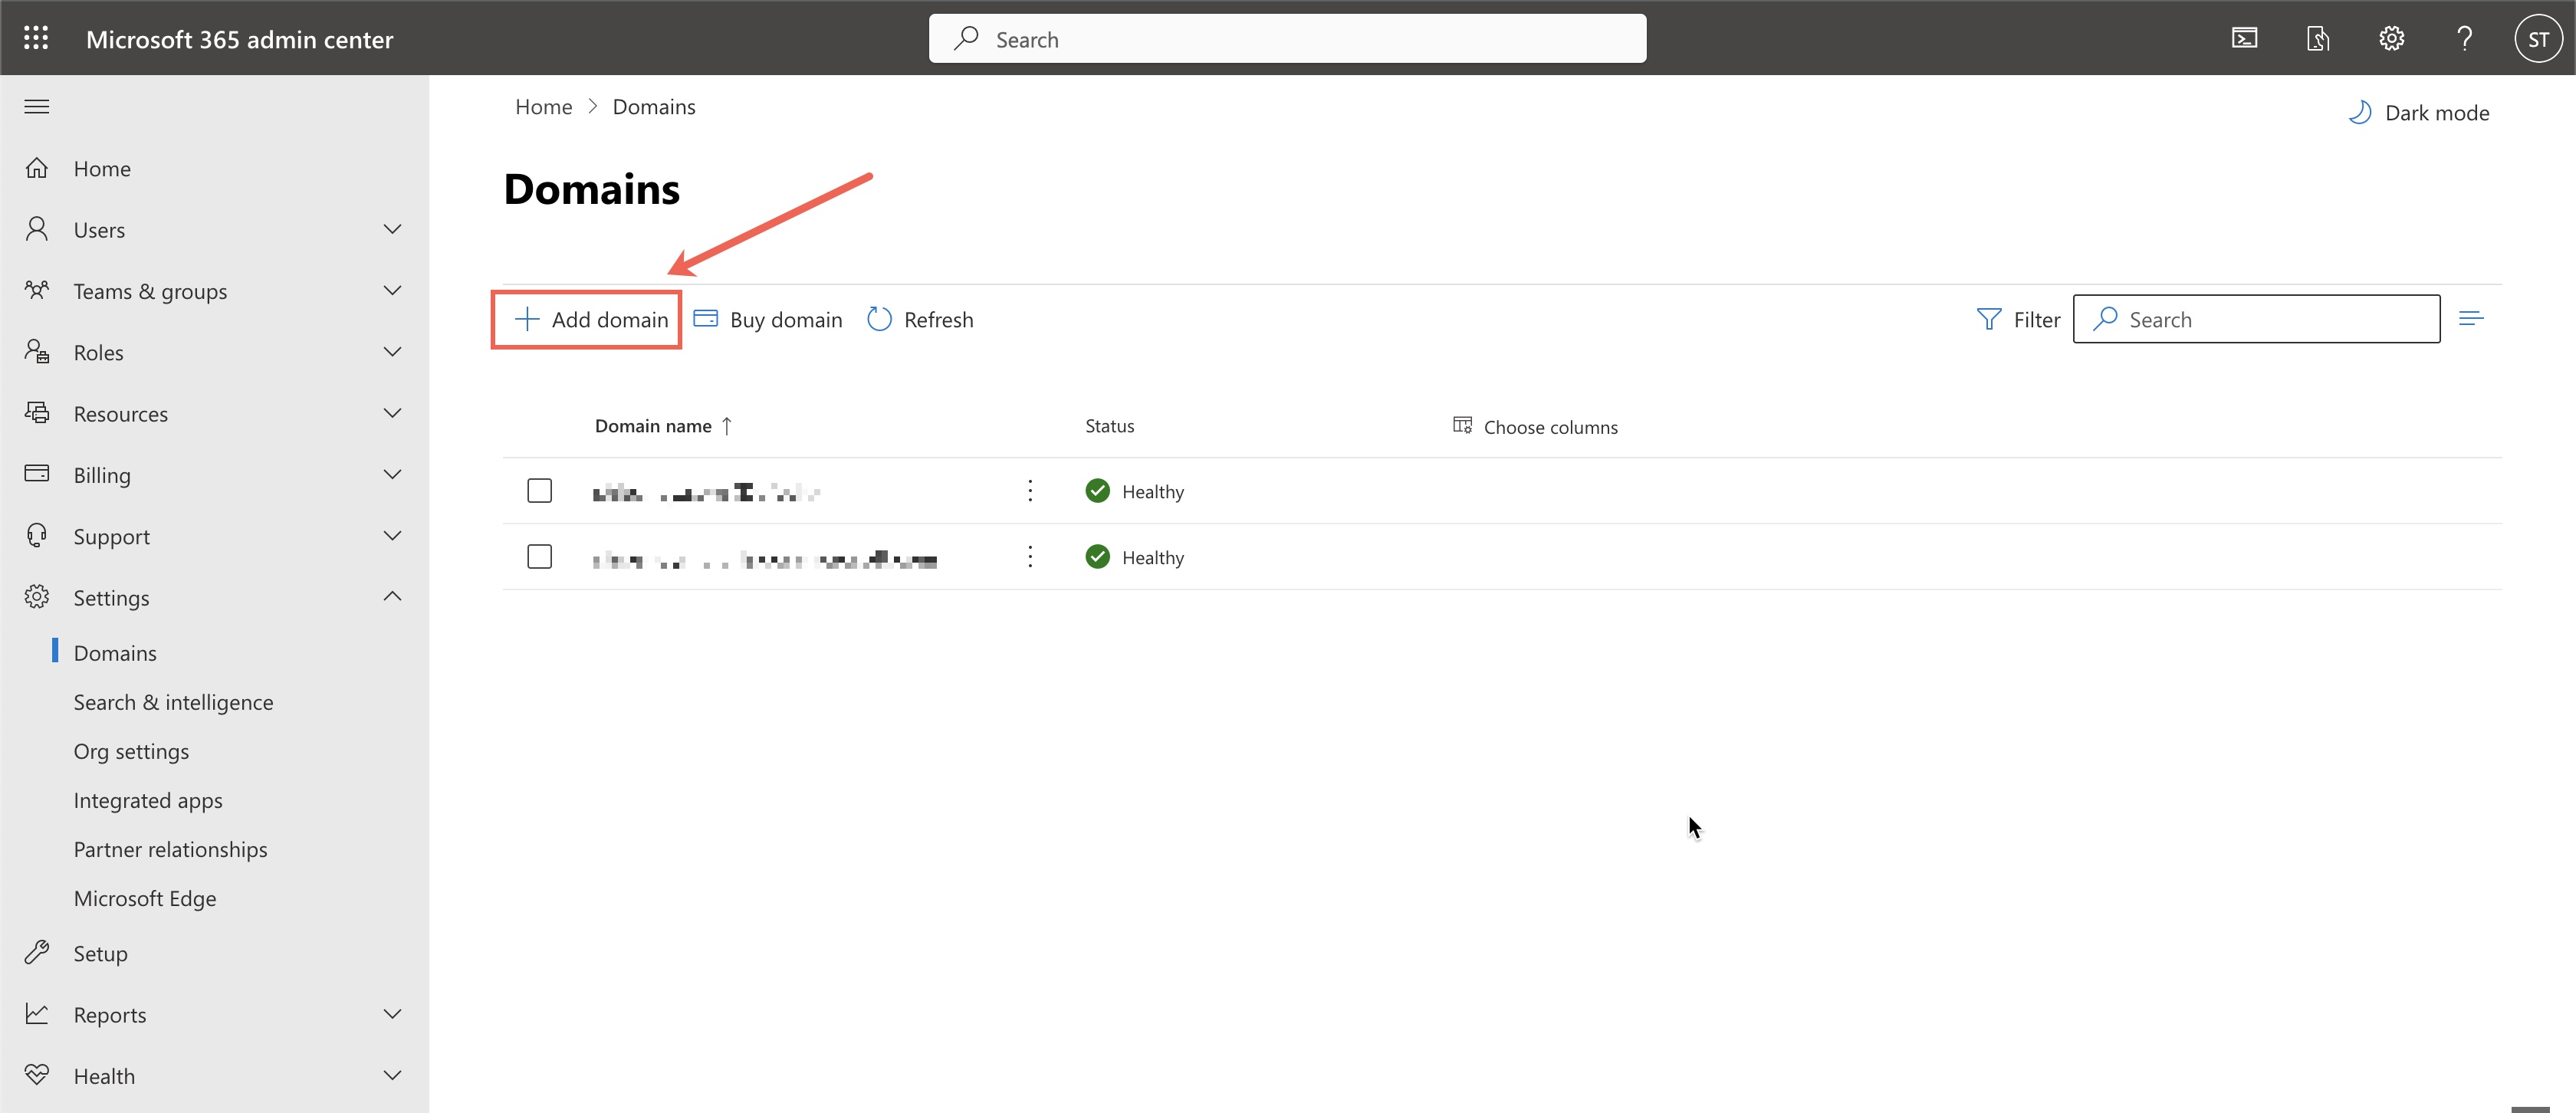
Click Add Domains available on the top right side of the list domain screen, as illustrated in Figure 4 below.
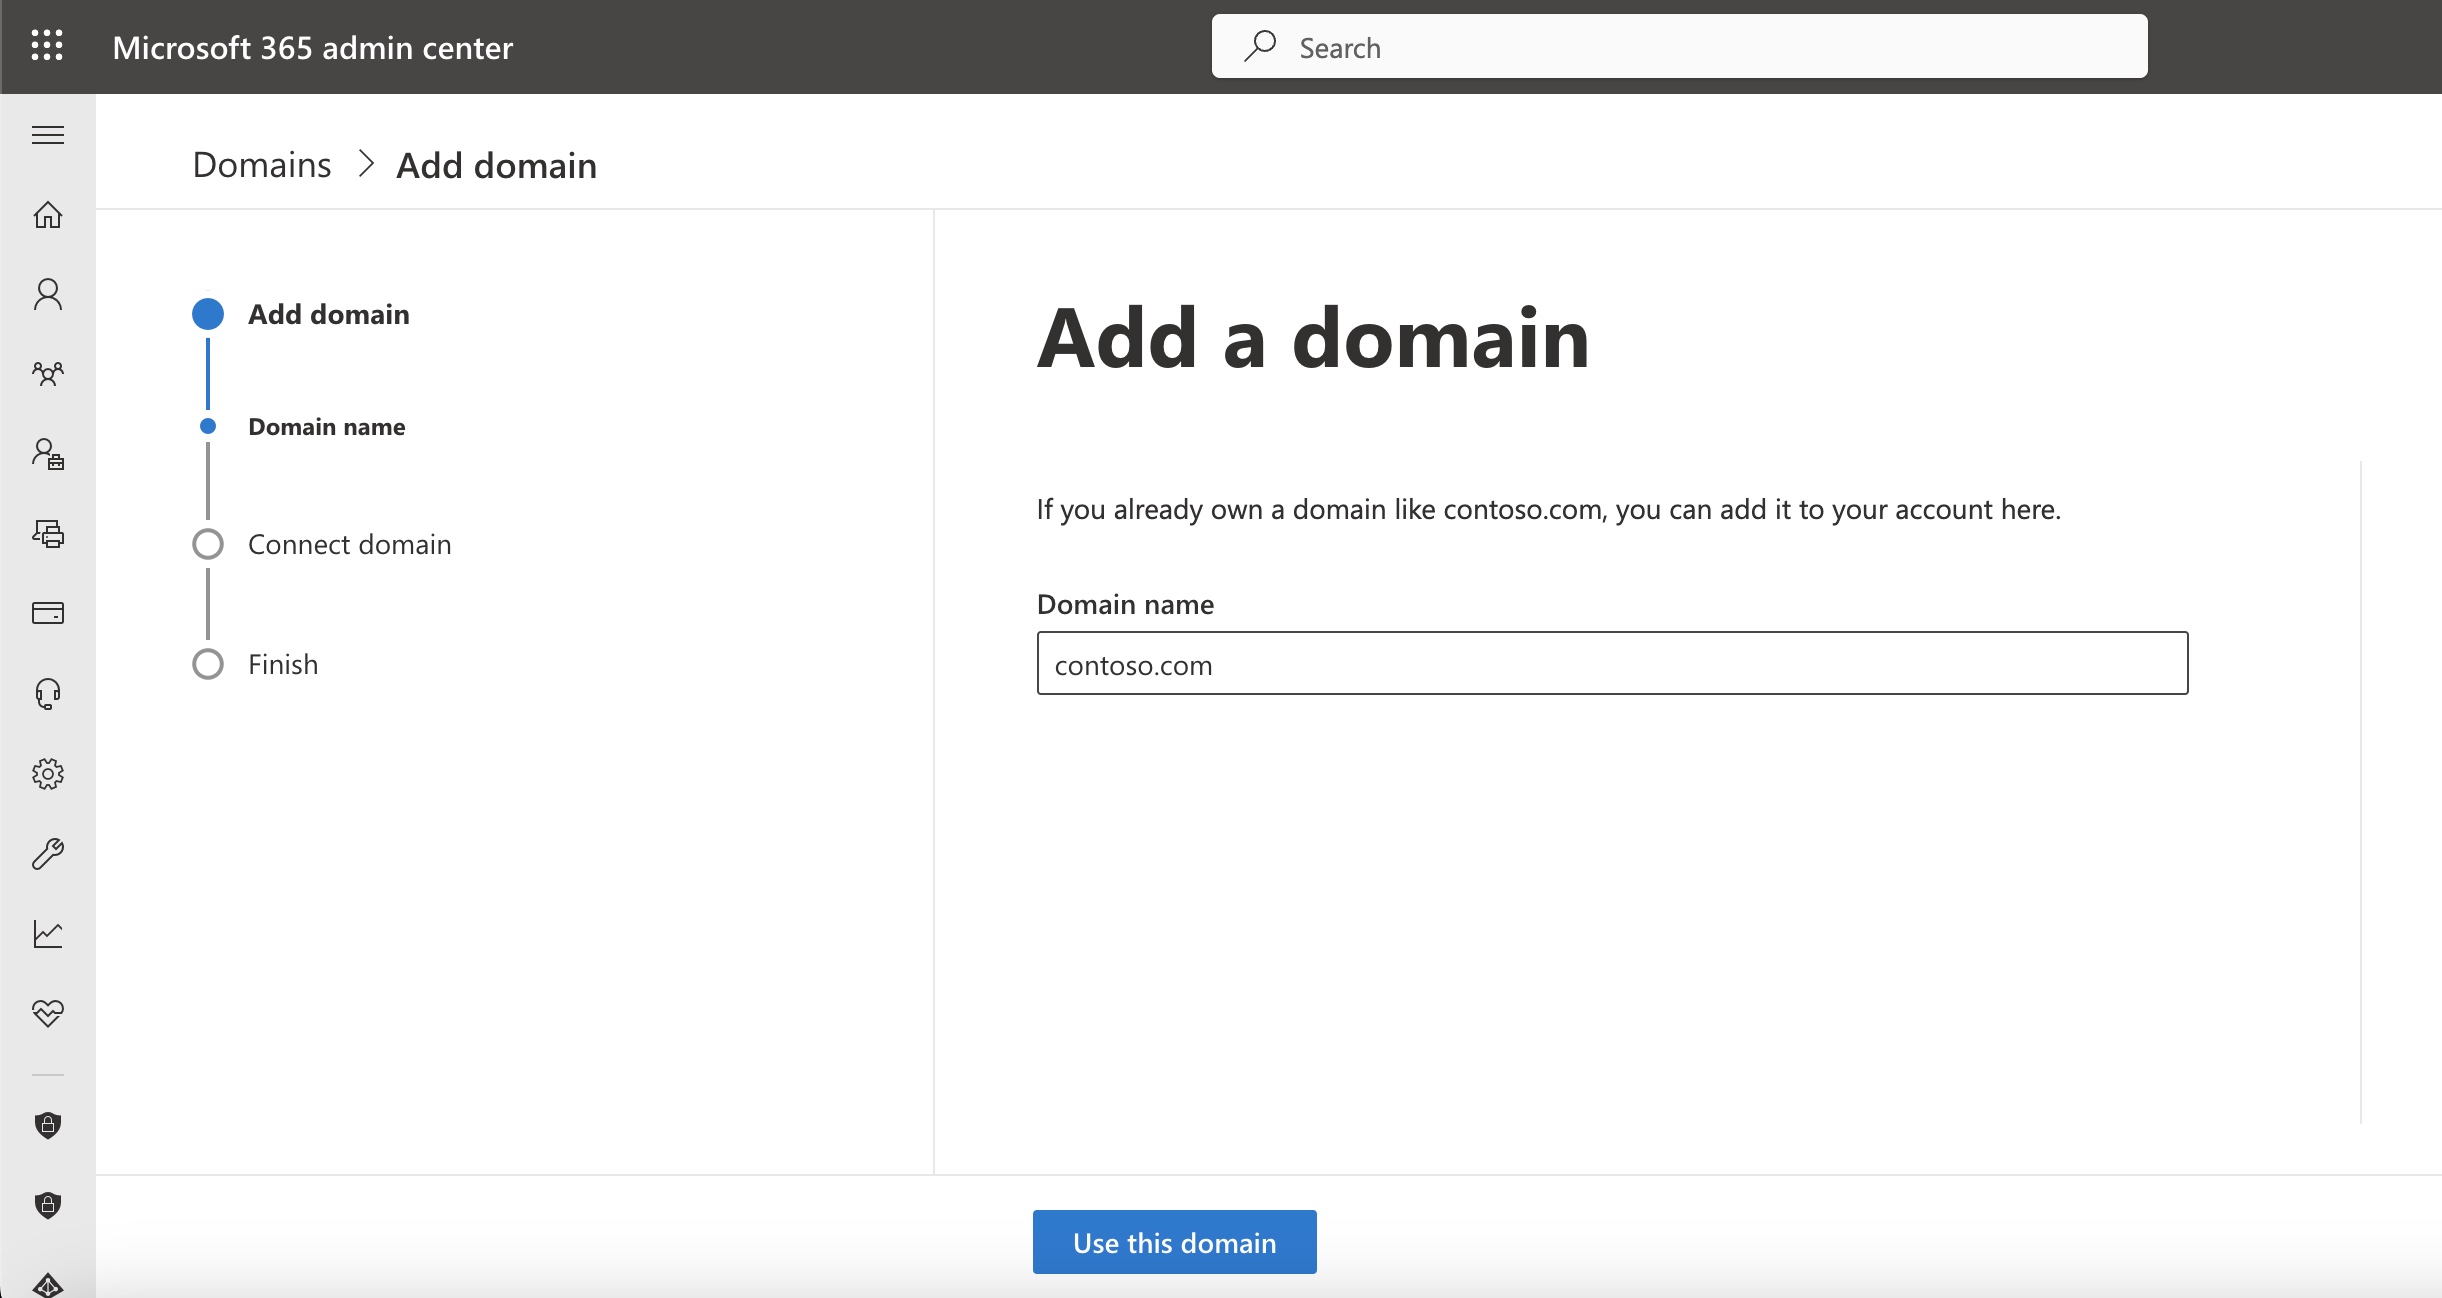
Enter the domain of your choice and click the Use this domain button available at the bottom of the screen, as illustrated in Figure 5 below.
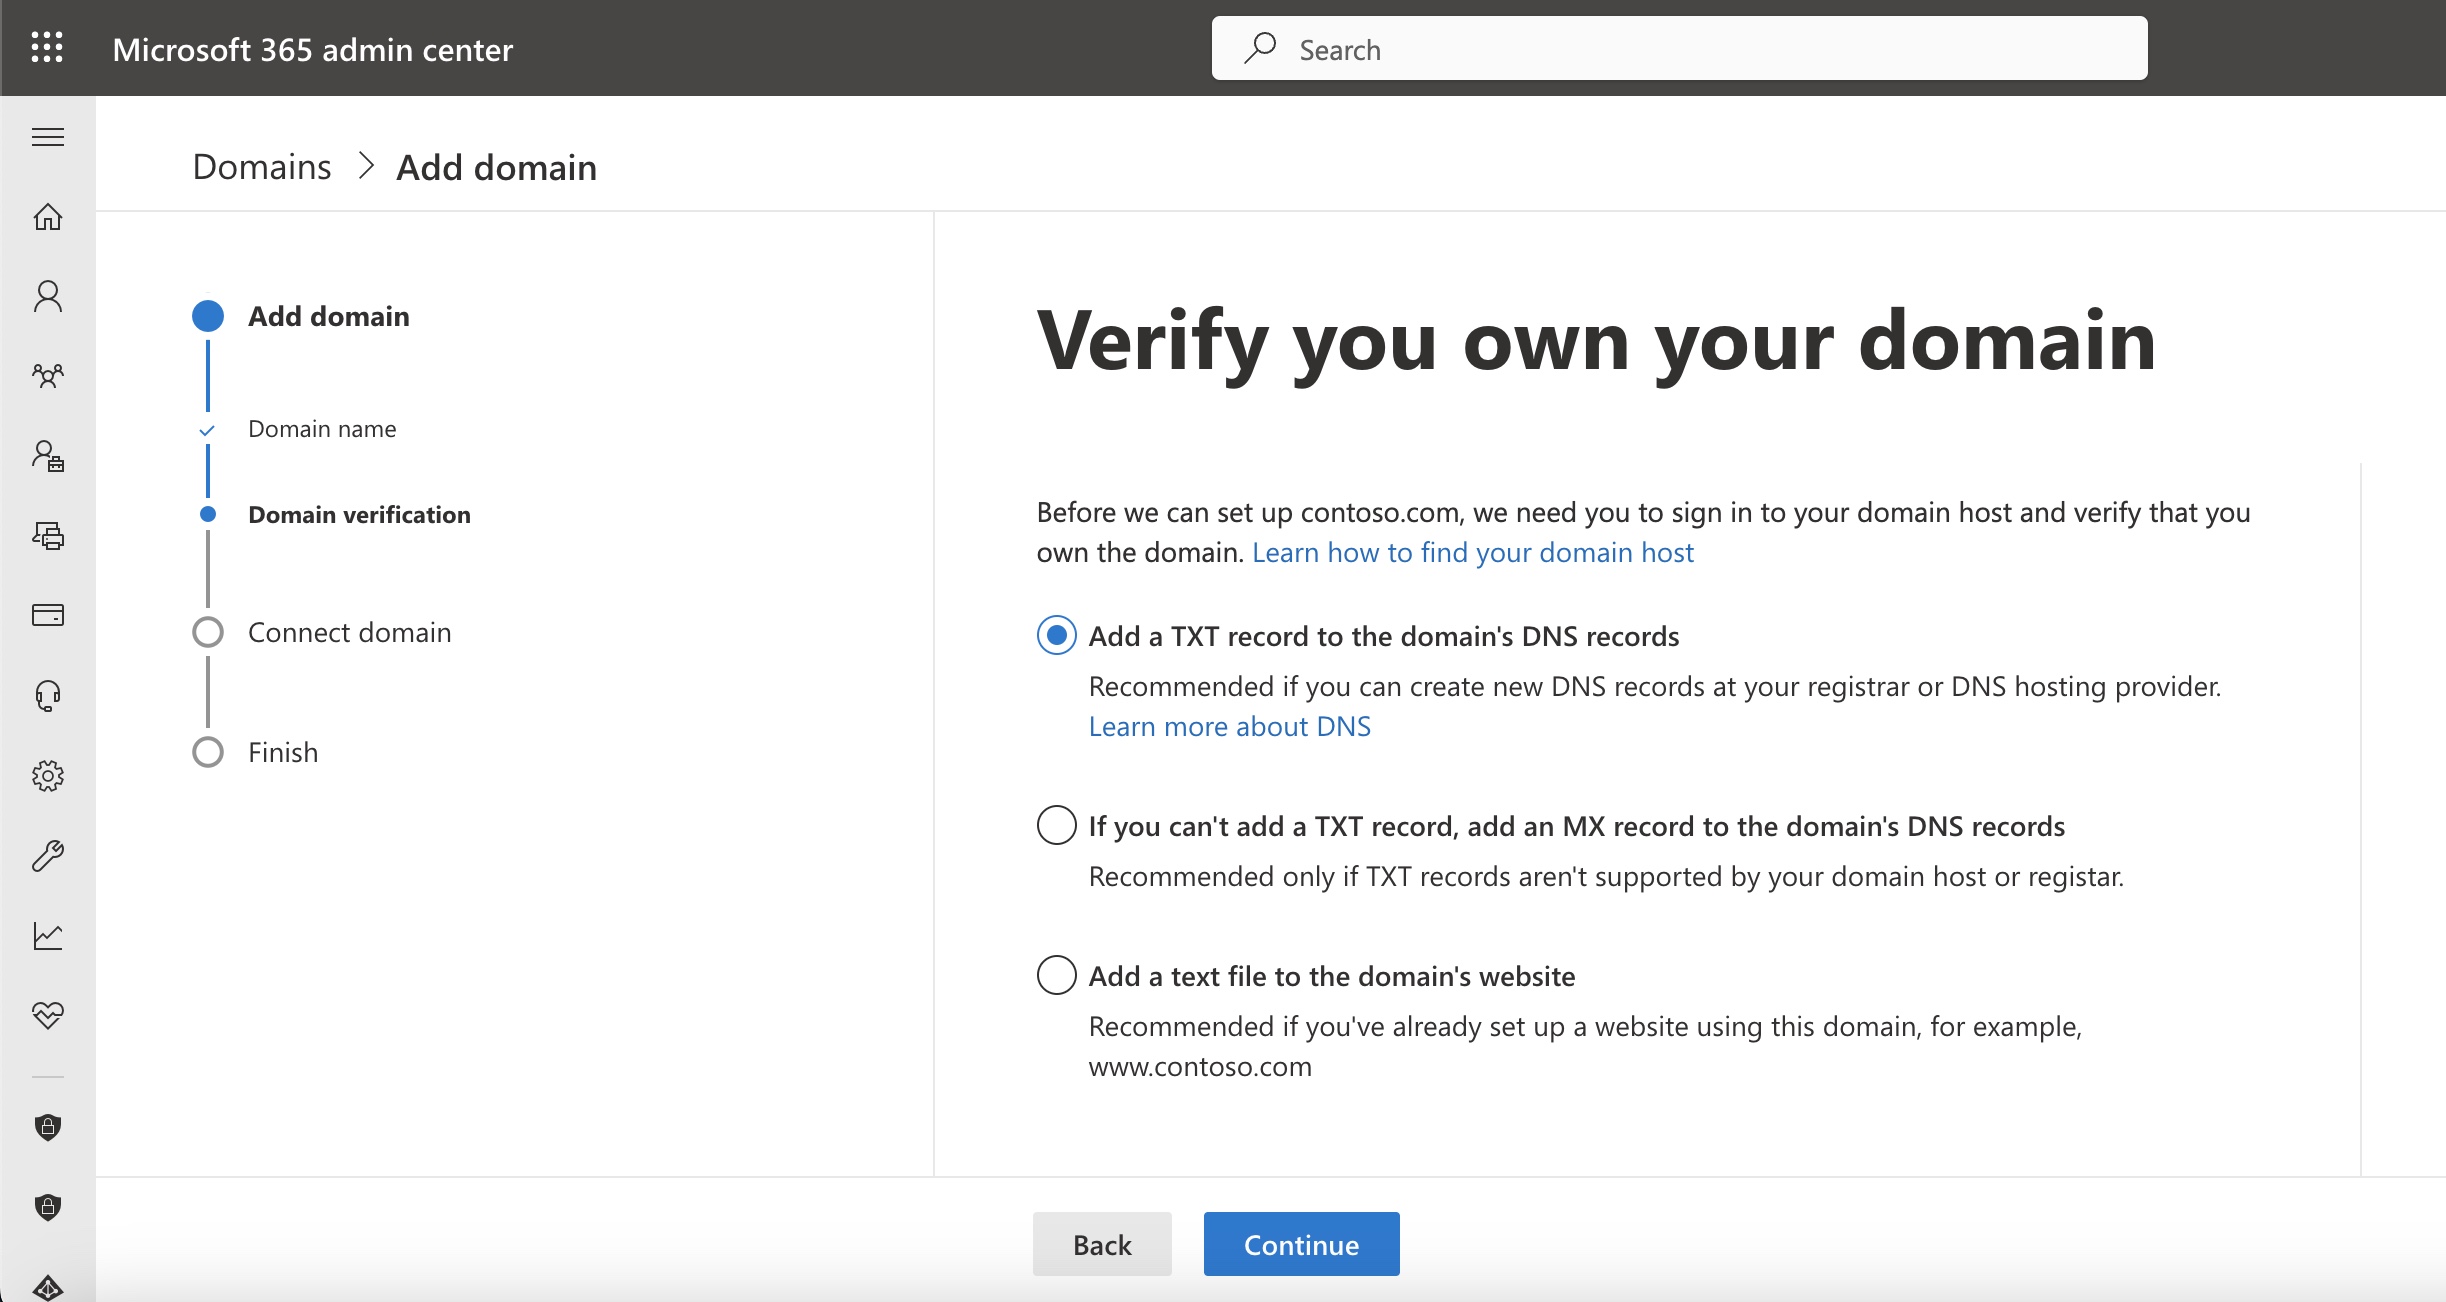
To authenticate the domain using a TXT record, click Add a TXT record instead and click Continue, as illustrated in Figure 6 below.
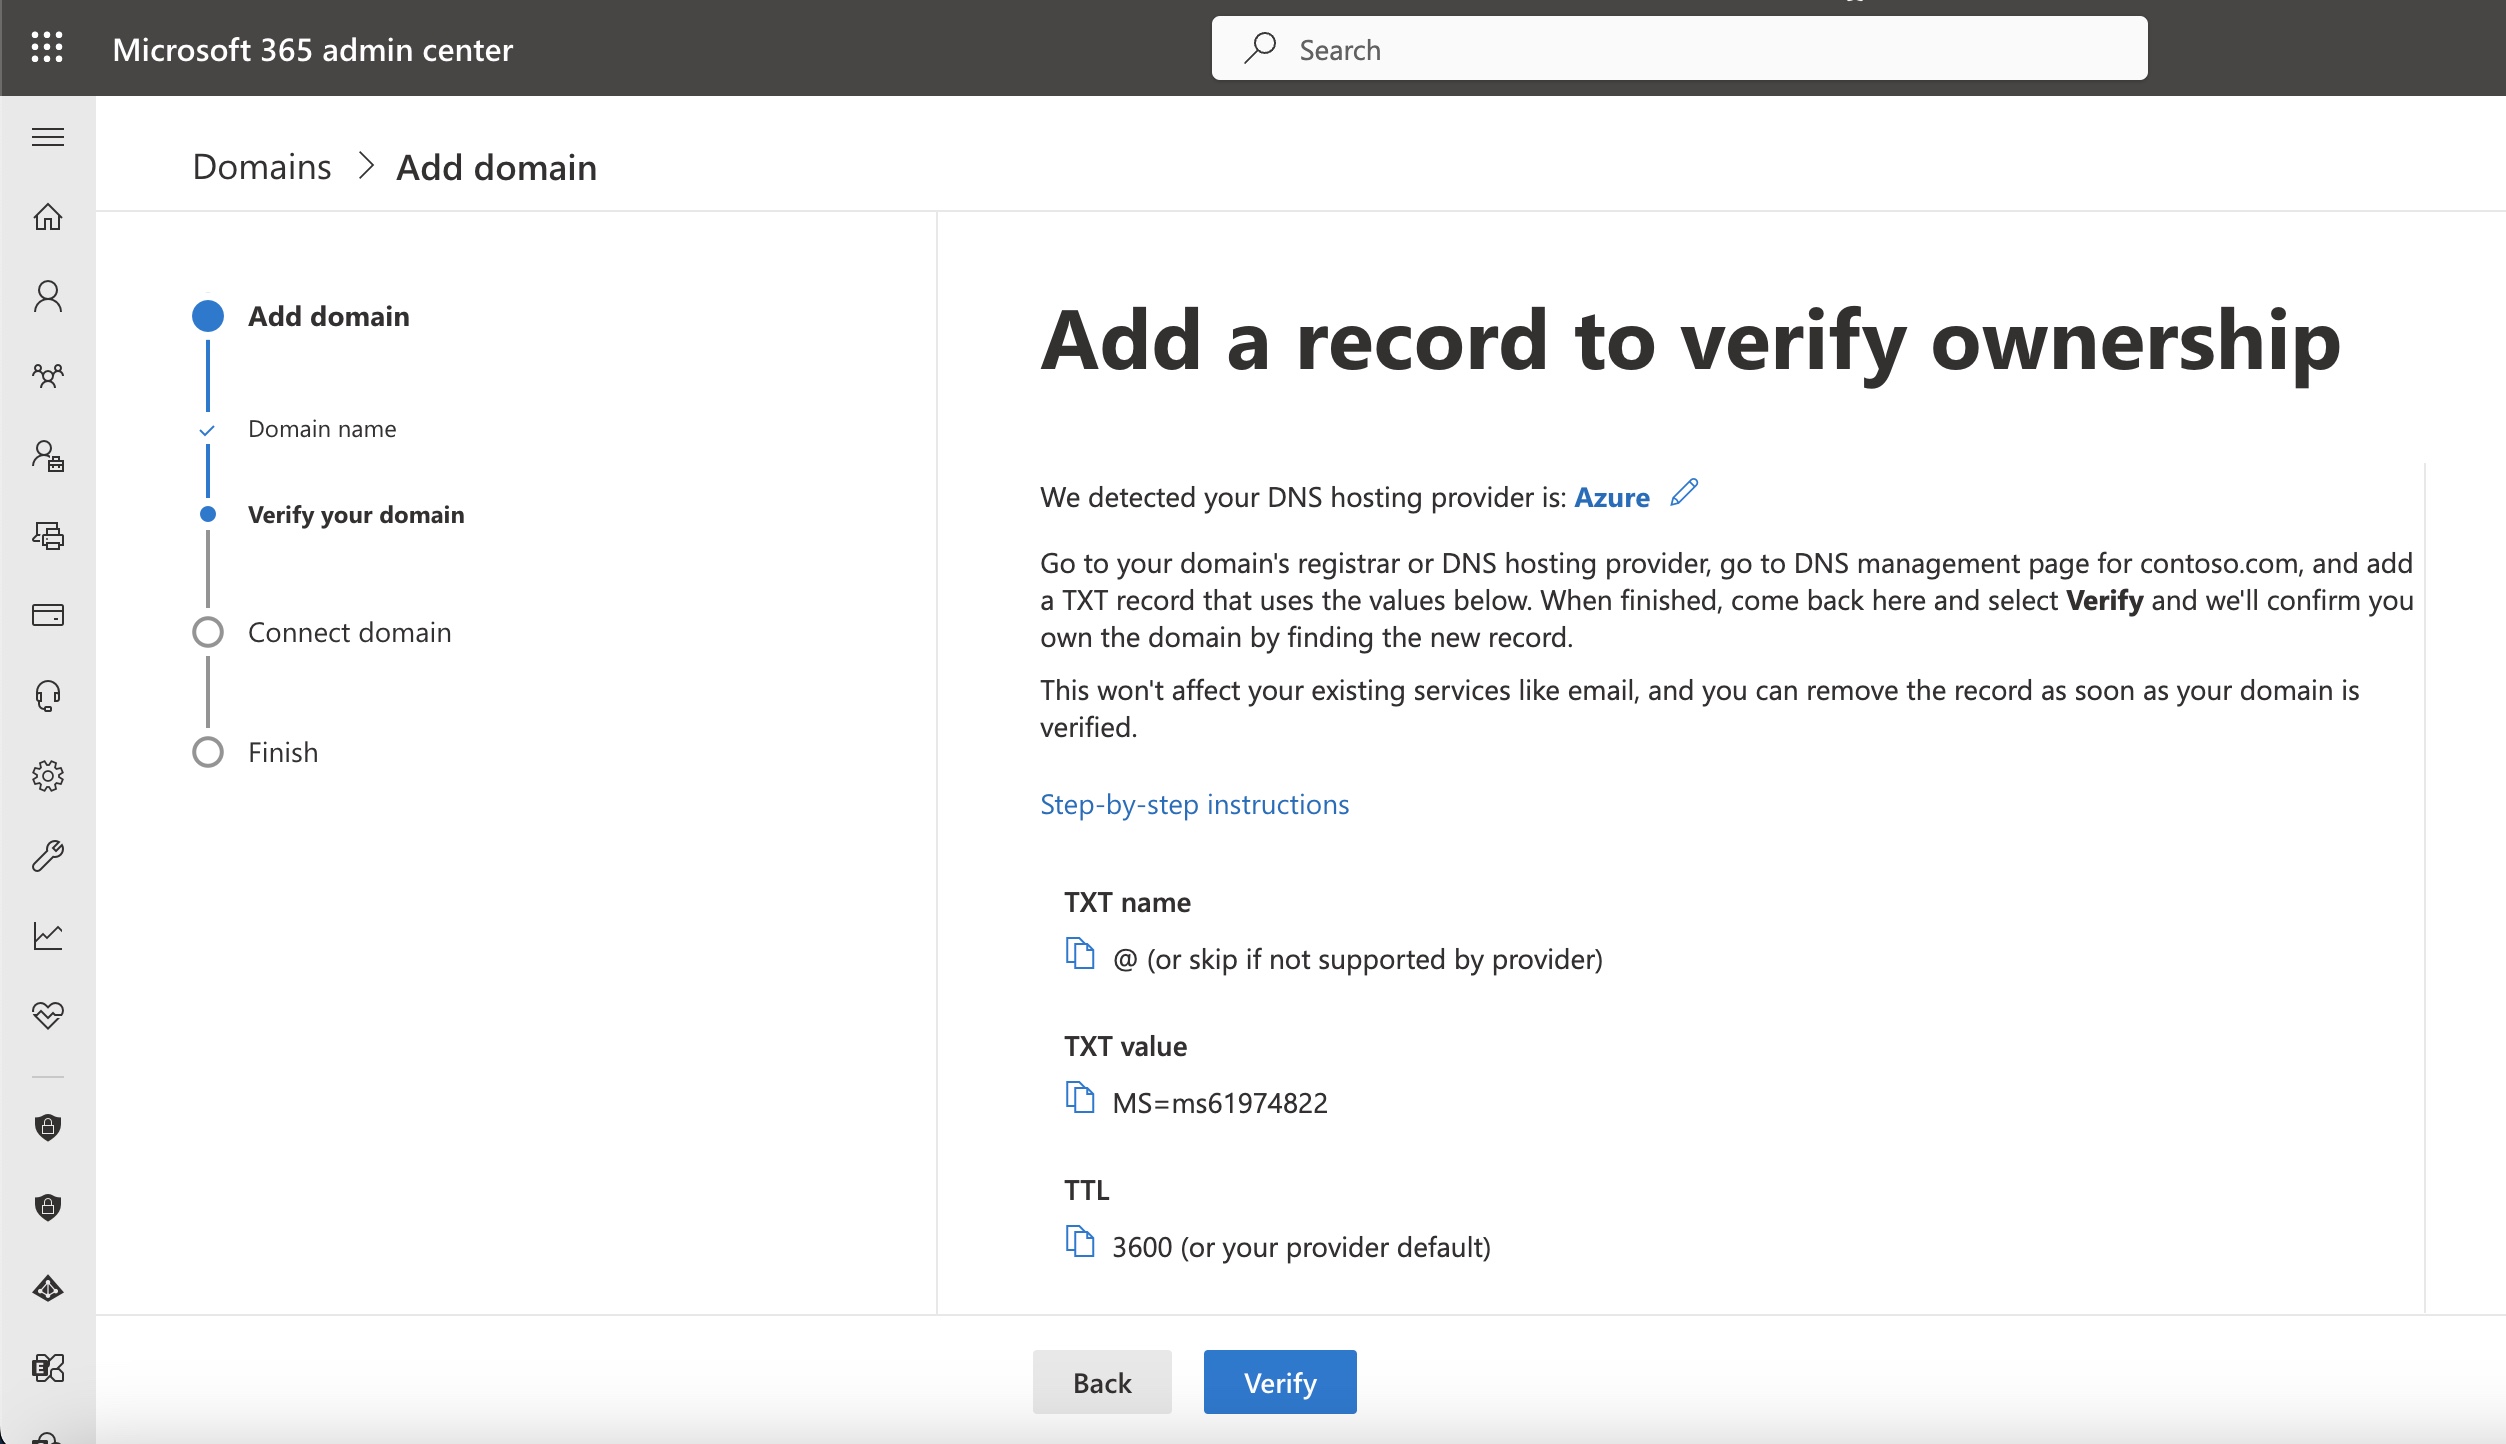
Note the value displayed for TXT value box, as illustrated in Figure 7 below.
To confirm your domain ownership with Microsoft, insert a specific TXT record into your DNS settings.
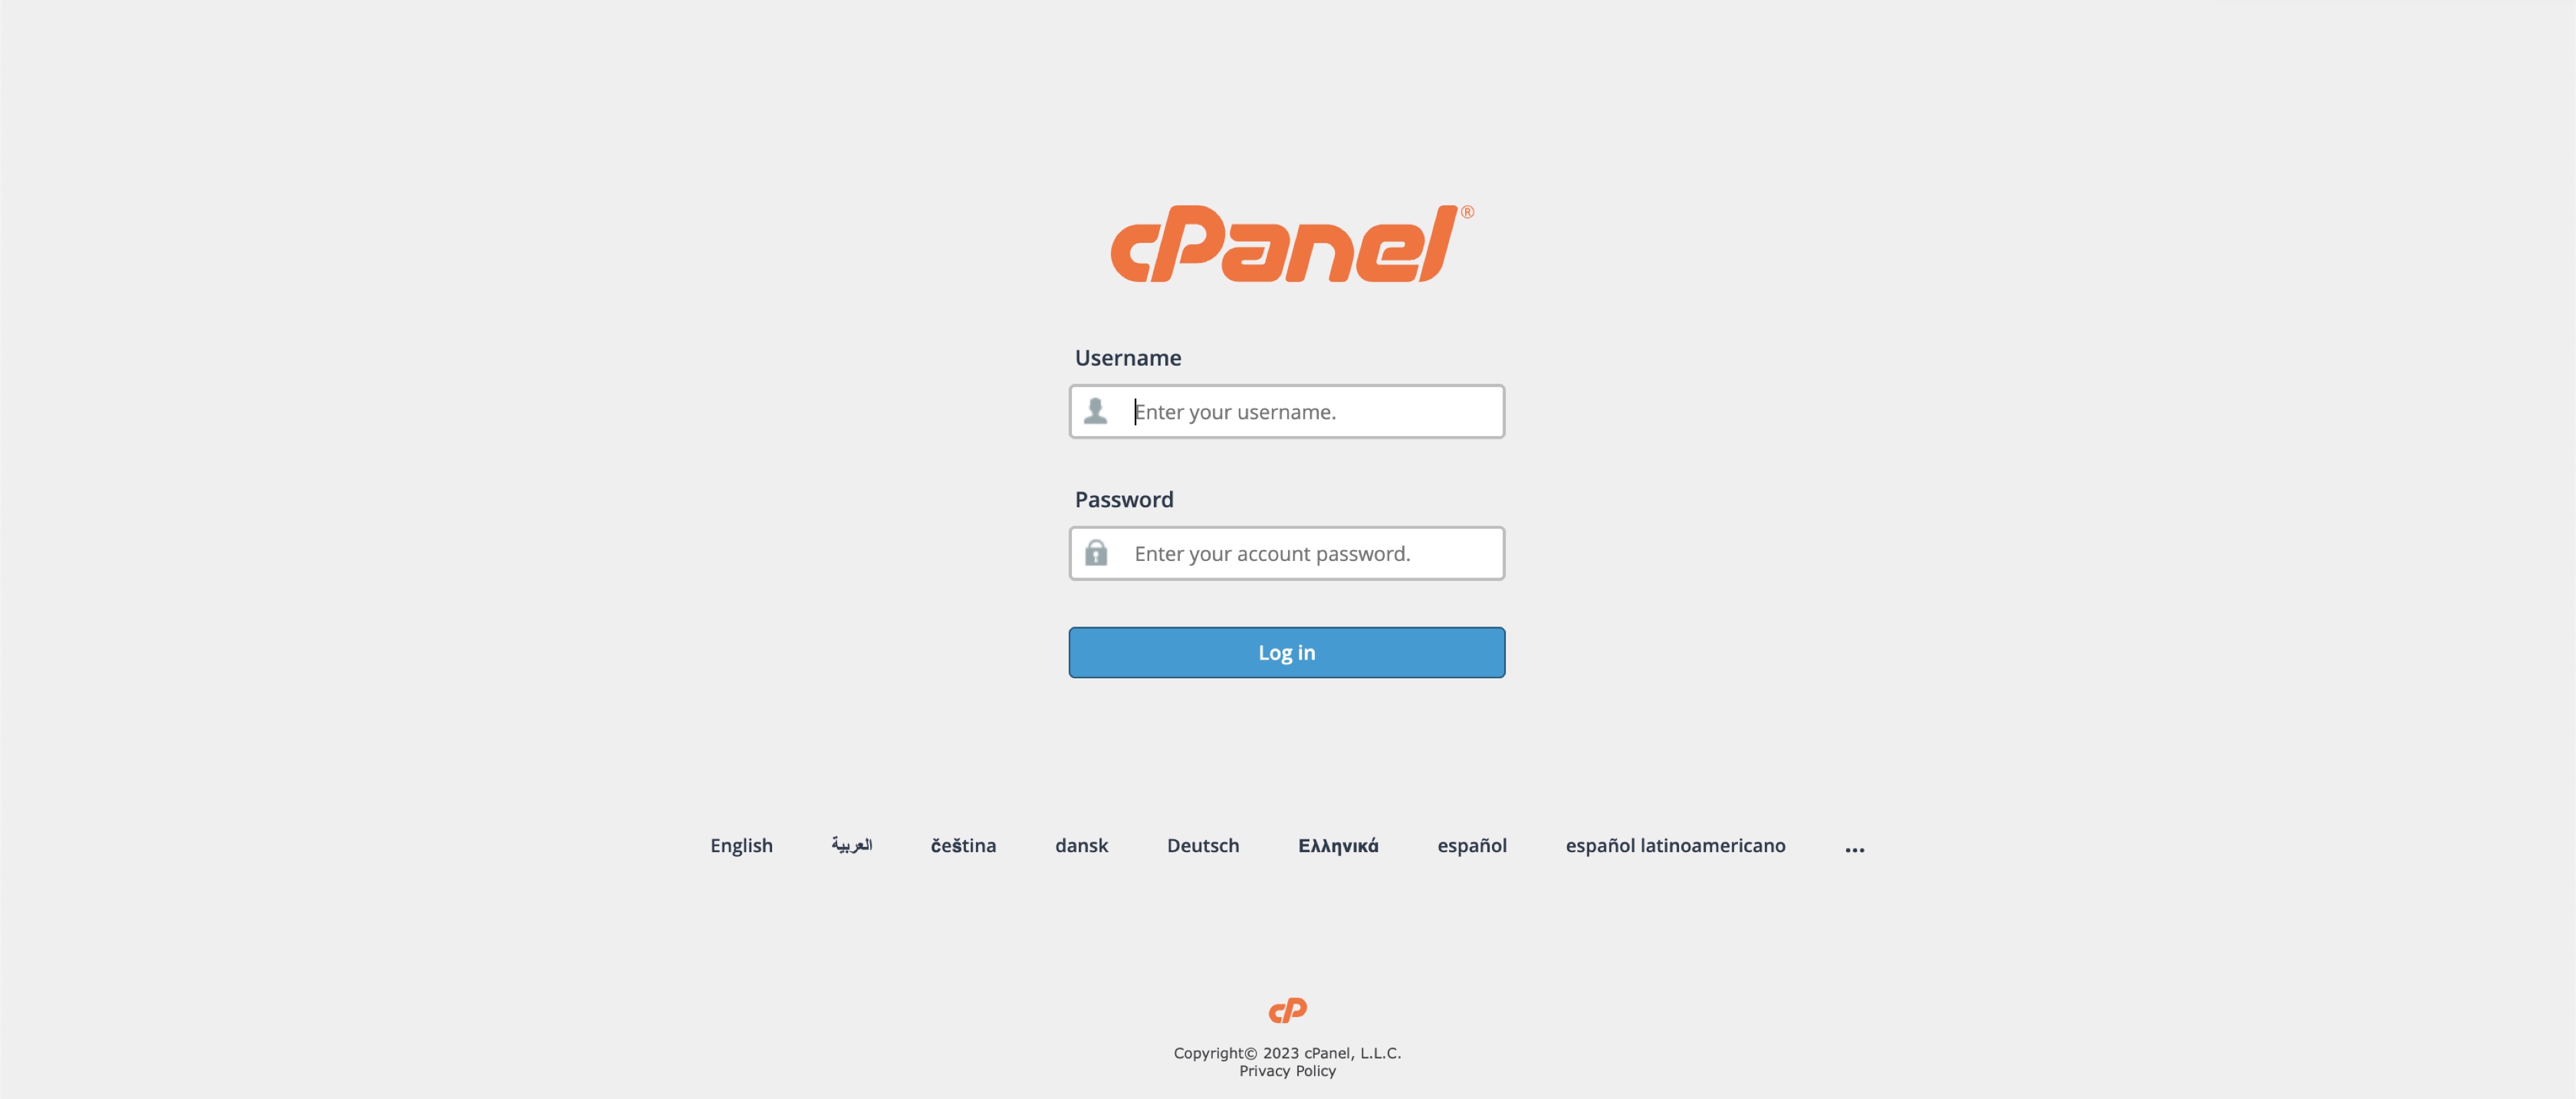
Login to cPanel: To start, you must to access your cPanel account. You can do this by appending '/cpanel' to your domain name (e.g., https://<your-domain-name>/cpanel) or via the link provided by our Support Team. Use your username and password to log in, as illustrated in Figure 8 below.
Upon successful login, you will land on the dashboard page, as illustrated in Figure 9 below.
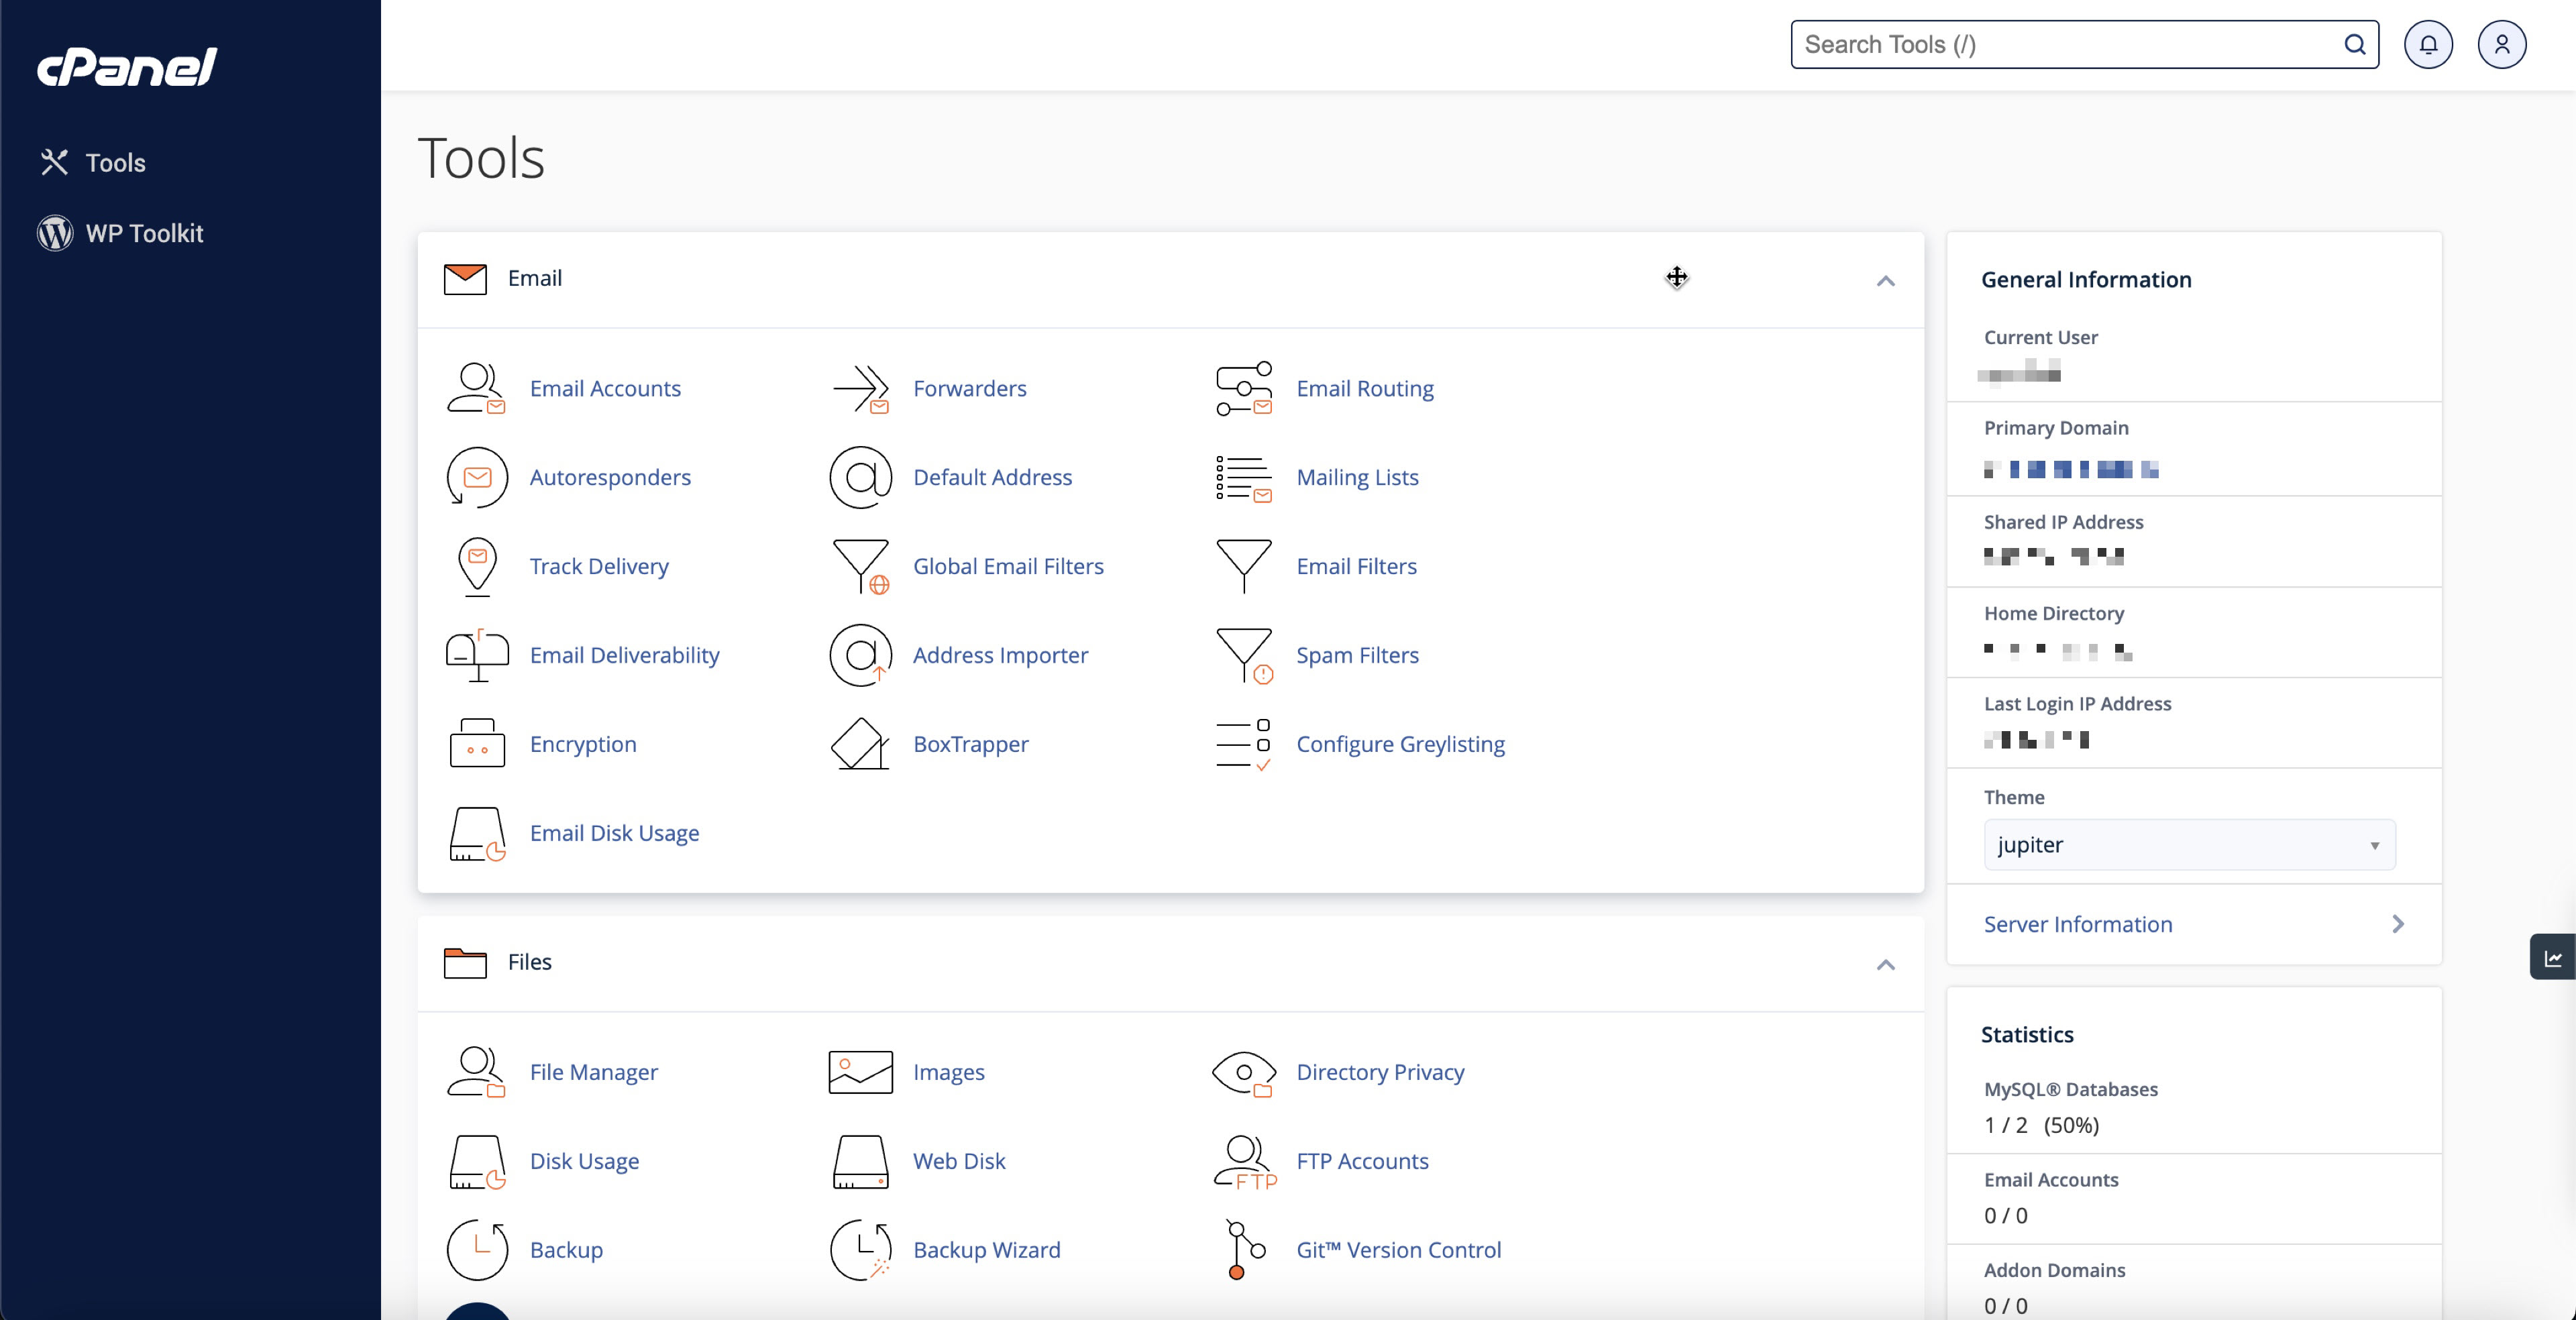
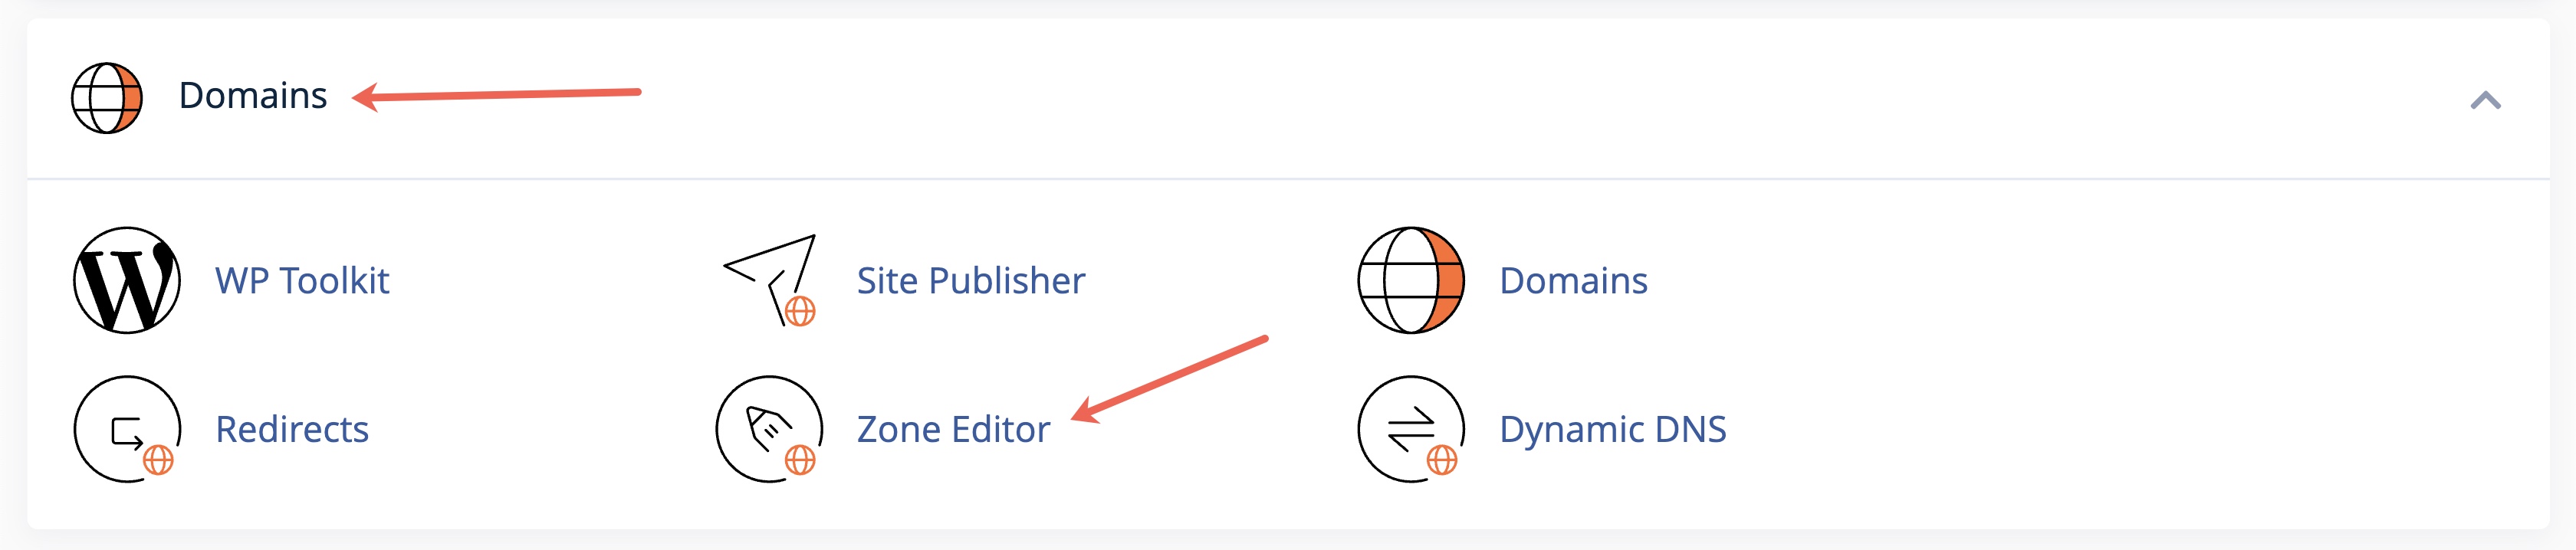
Look for the DNS Zone Editor tool under the Domain section, as illustrated in Figure 10 below.
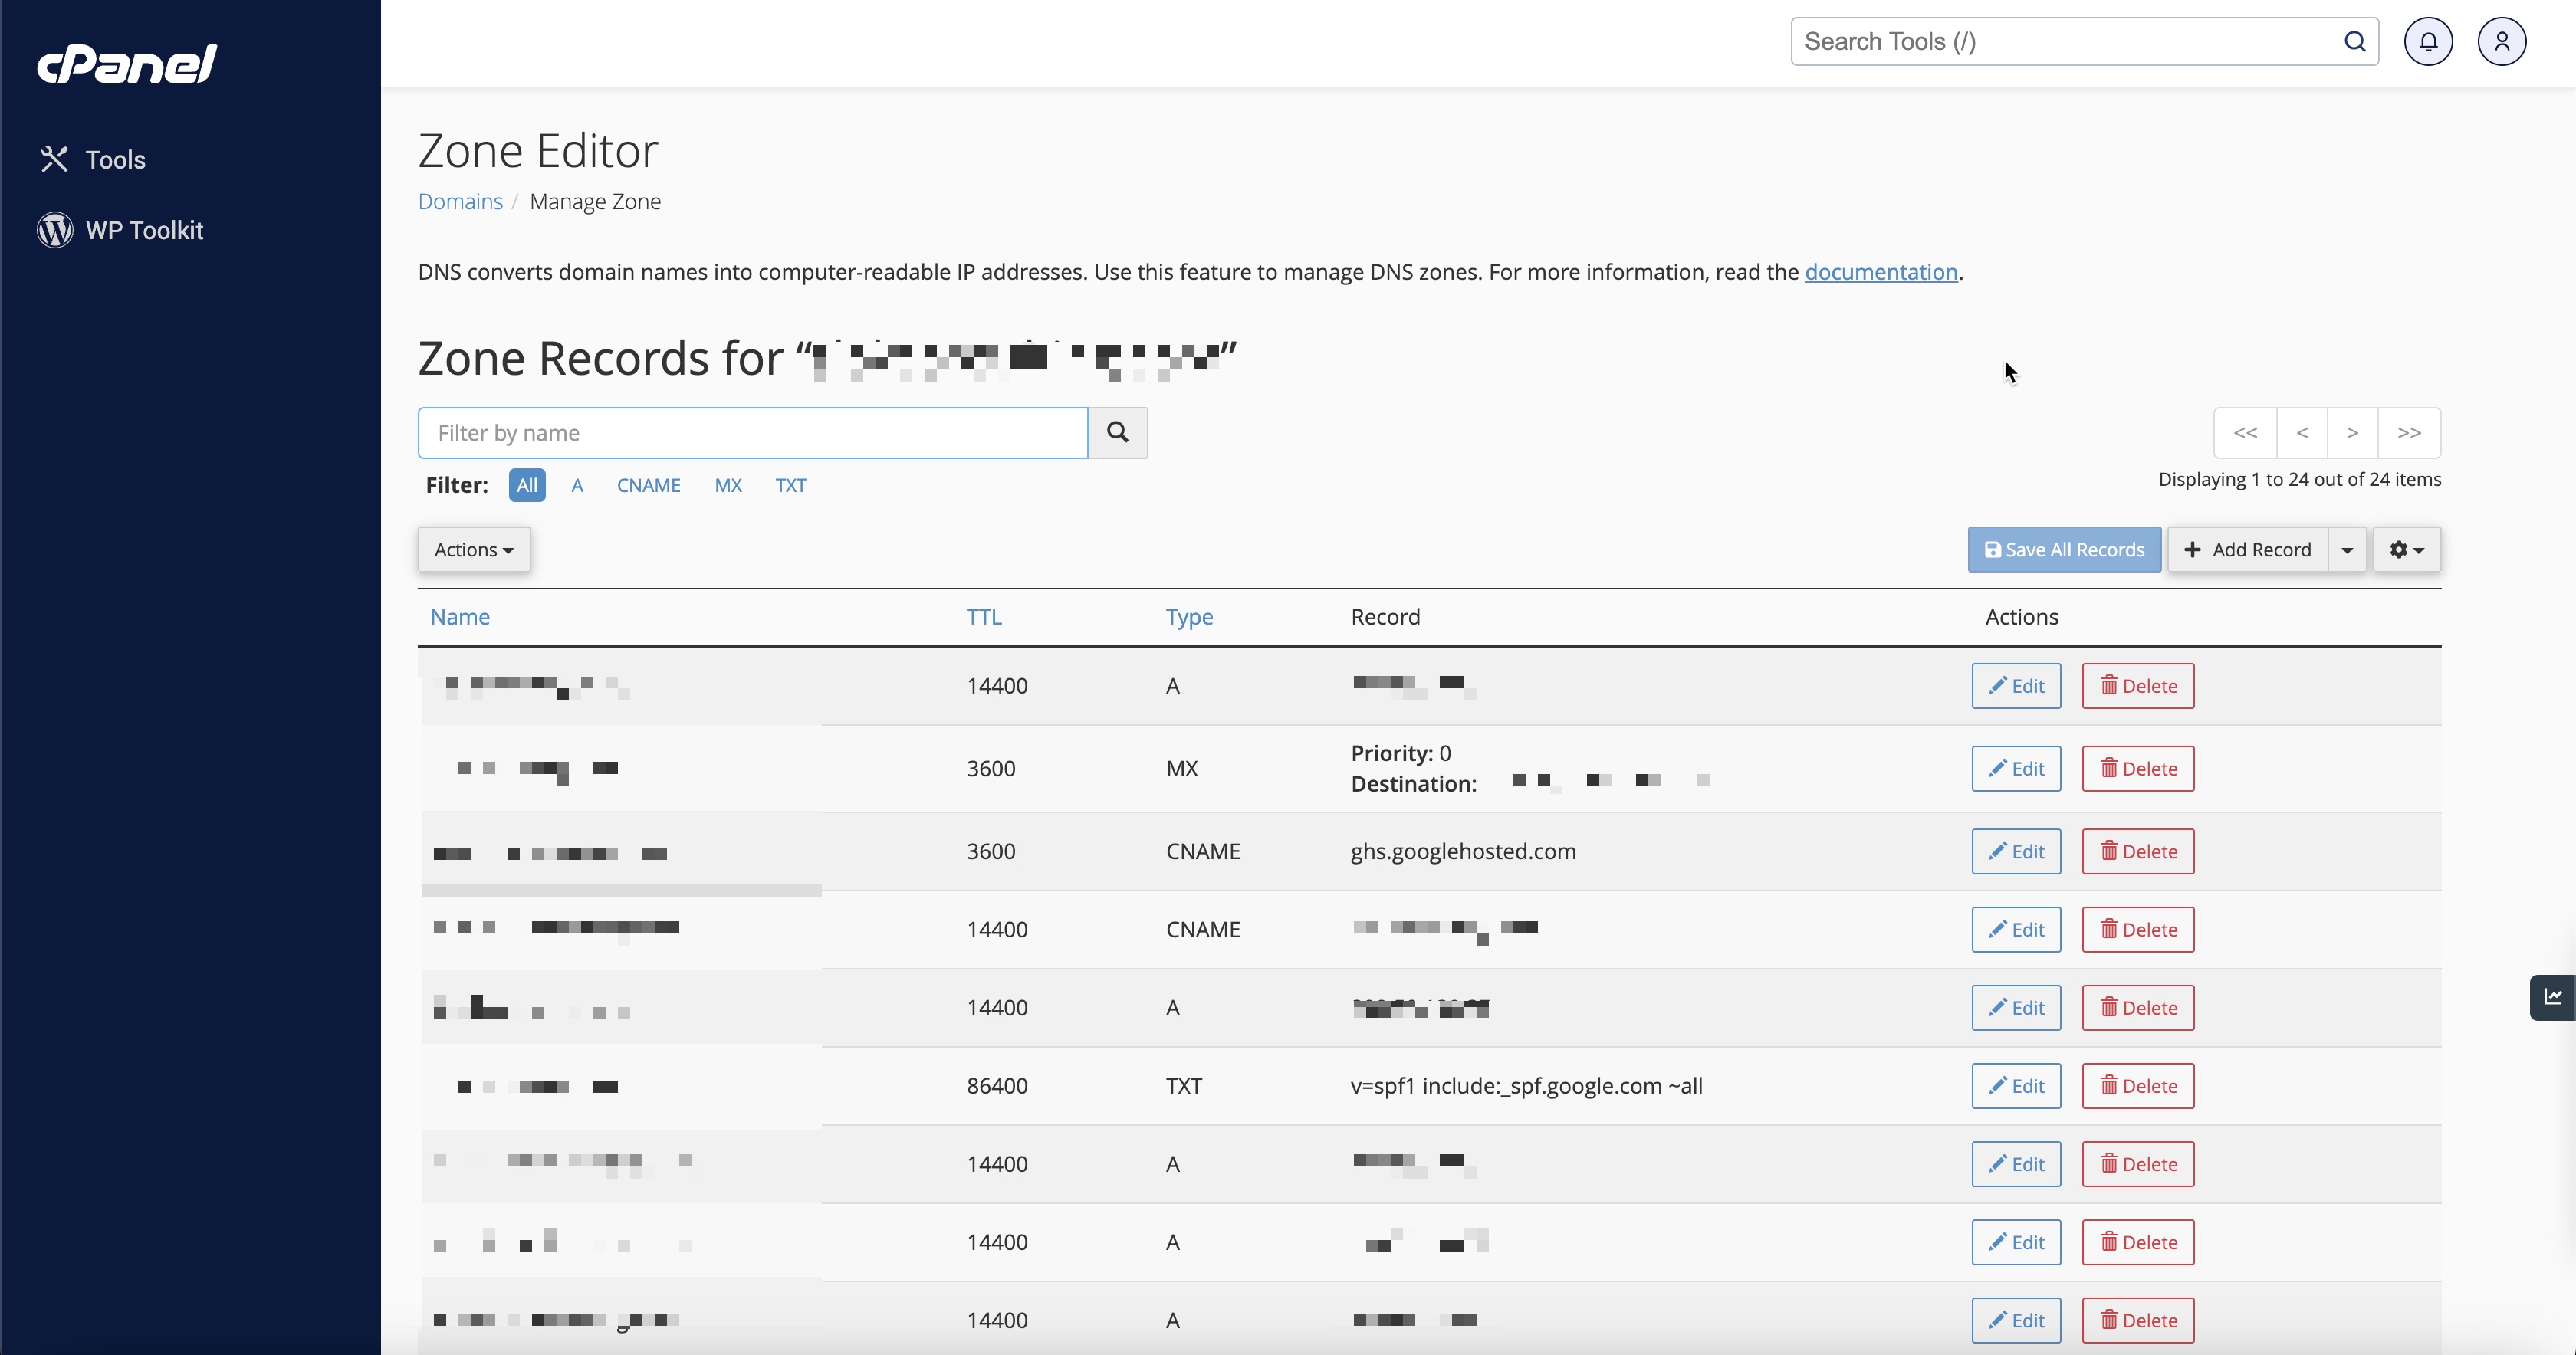
You will land on the zone editor list page, as illustrated in Figure 11 below.
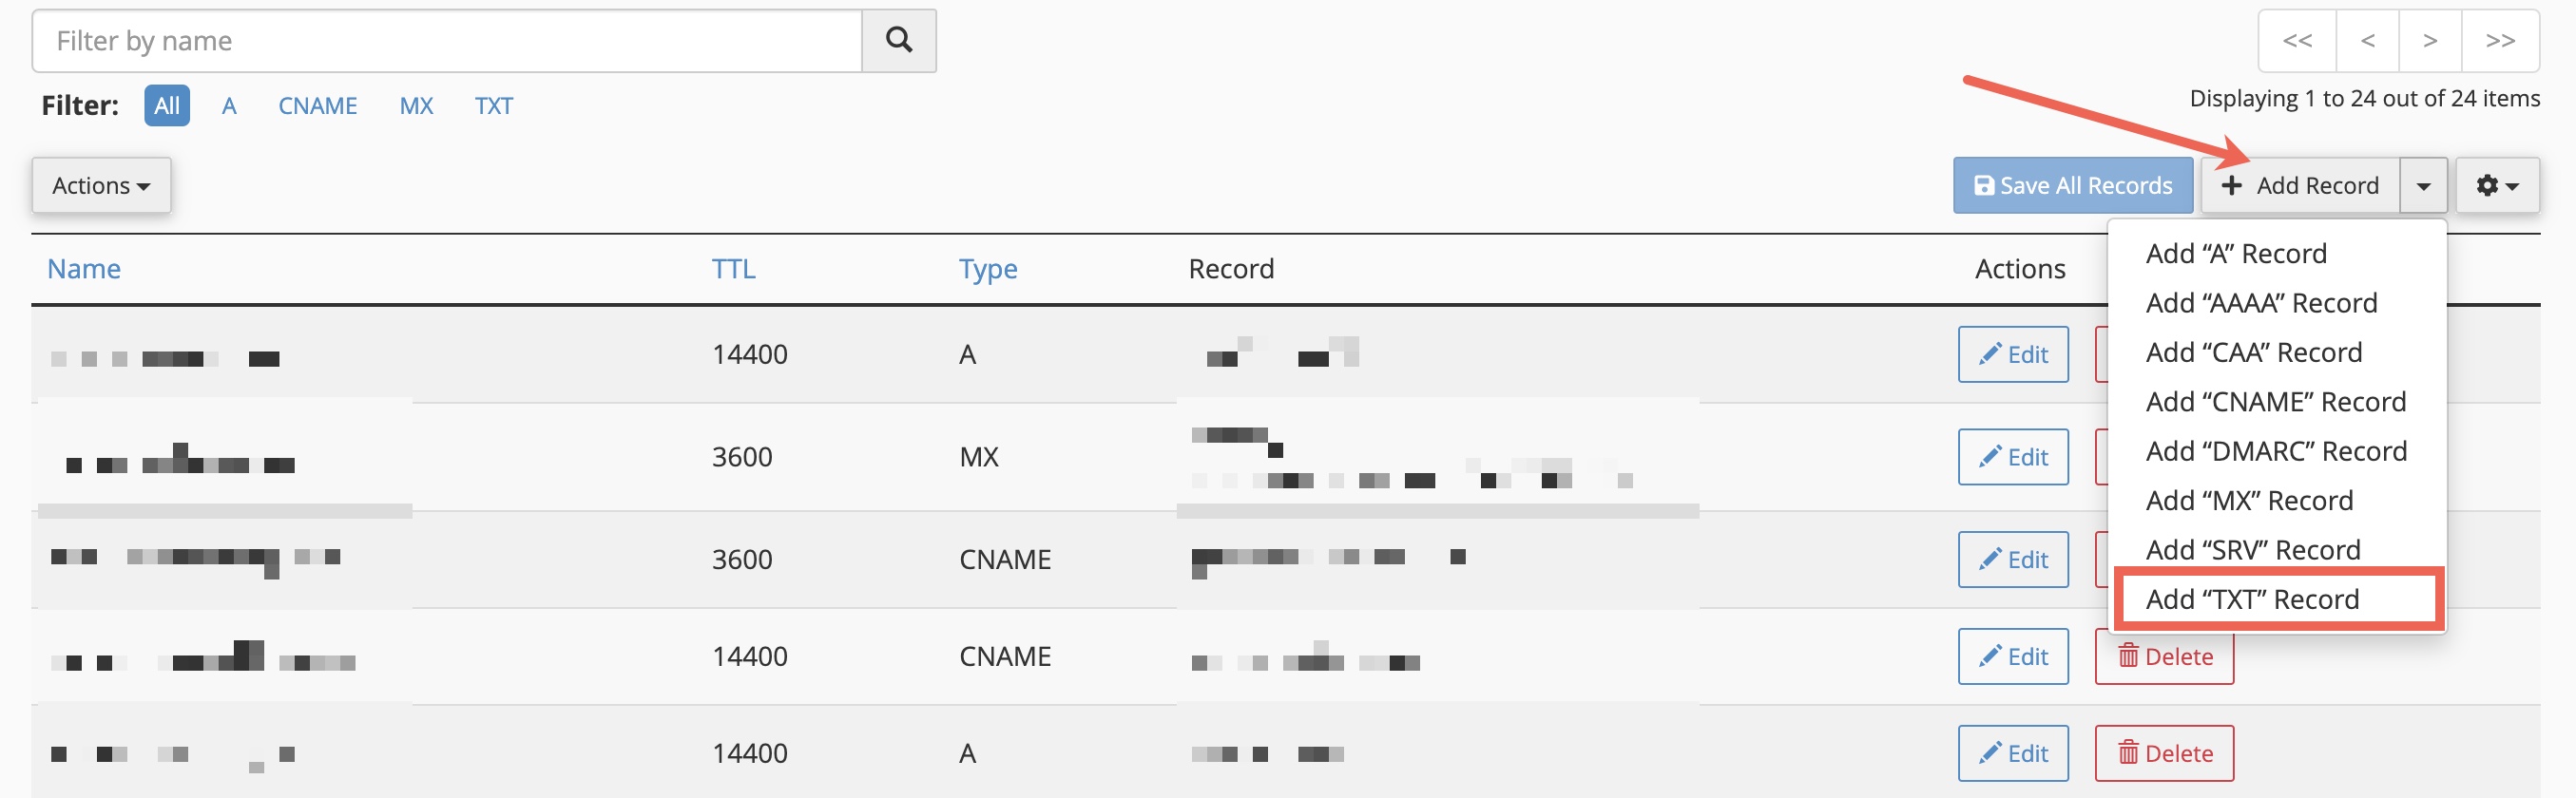
Click on the Add Record button drop-down arrow and click Add ”TXT” Record, as illustrated in Figure 12 below.
A new form will open and you need to use the form to add a TXT record that contains the information from the Google Workspace website, as illustrated in Figure 13 below.
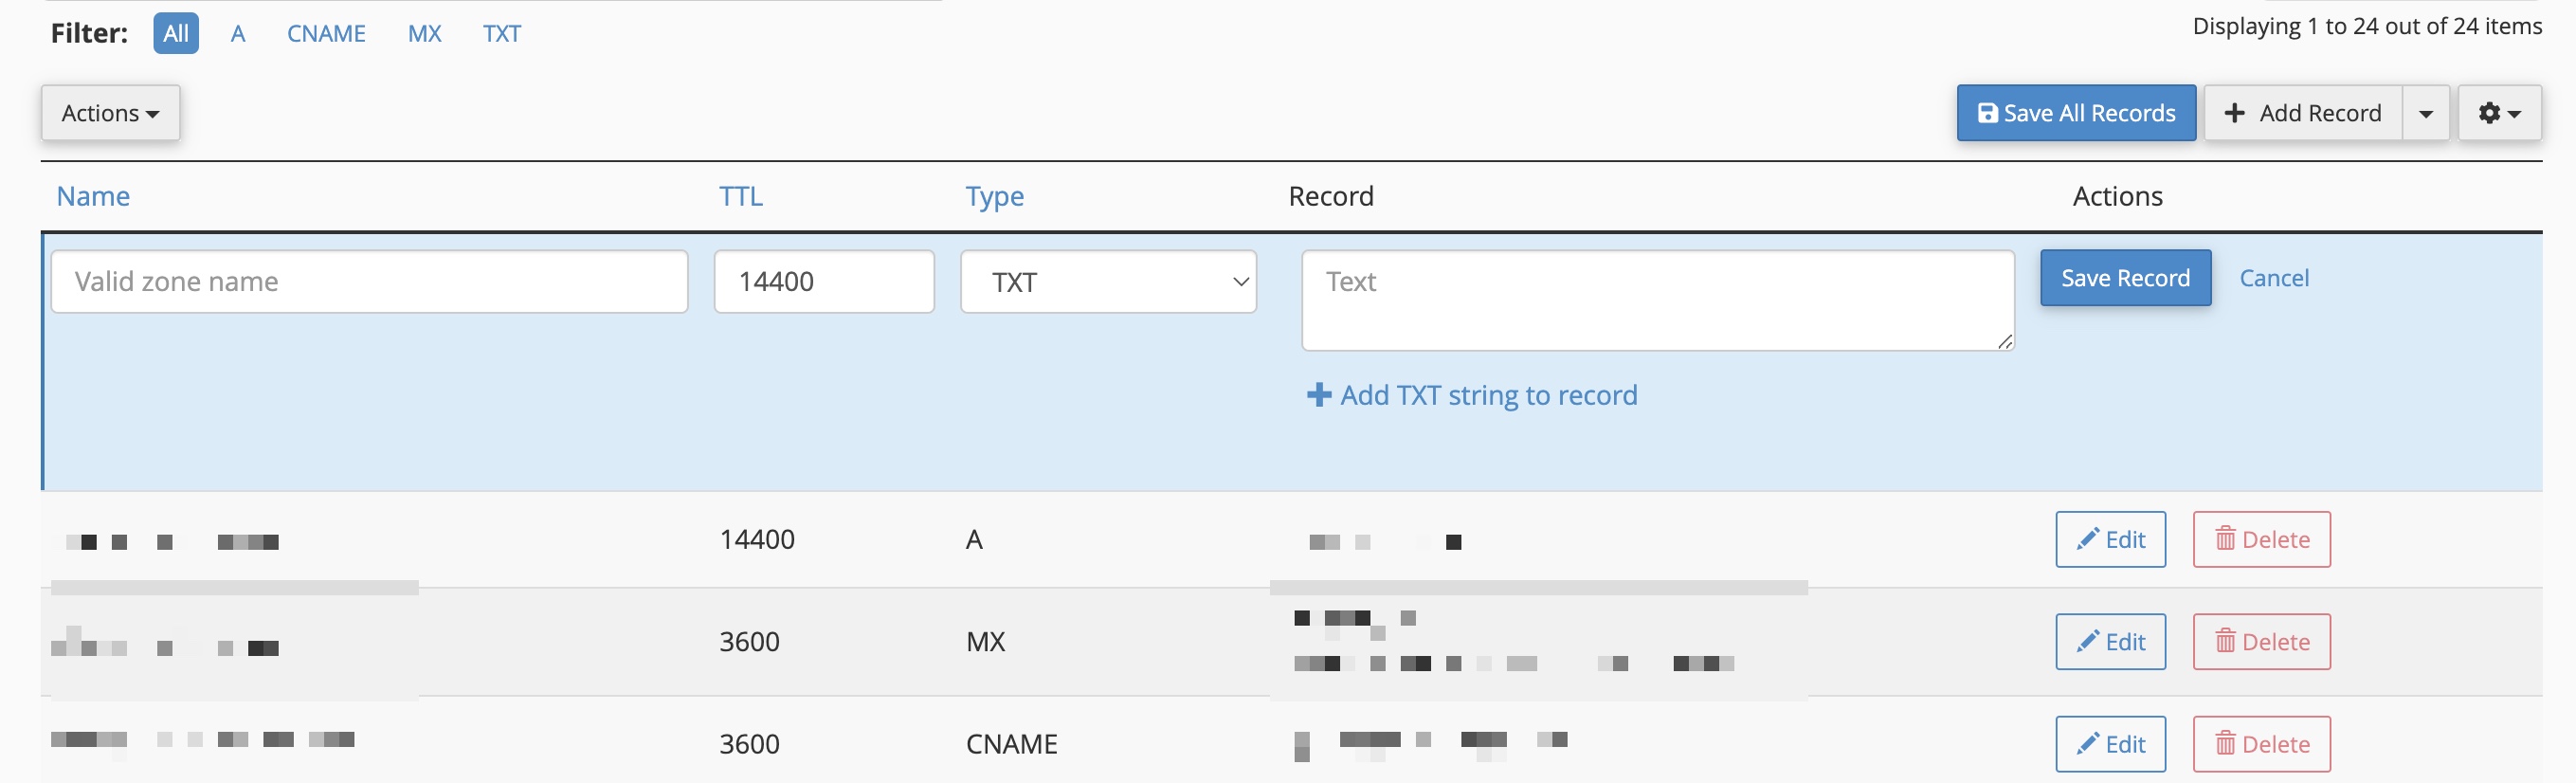
Enter the details below and click the Save Record button, as illustrated in Figure 13 above.
- Name – your domain name or @
- TTL – 3600
- Type – TXT
- TXT Data – MS=msxxxxxxx
Click the Verify button at the bottom of the Microsoft admin console screen after the above TXT record, as illustrated in Figure 7 .
Section 3: Configure Professional Email by Adding Pre-defined Records to Your DNS Settings
Now that the domain is verified, you can locate the MX records in your Office 365 account via the following instructions:
Click Setup in the navigation bar on the left and then click Domains, as illustrated in Figure 3 above.
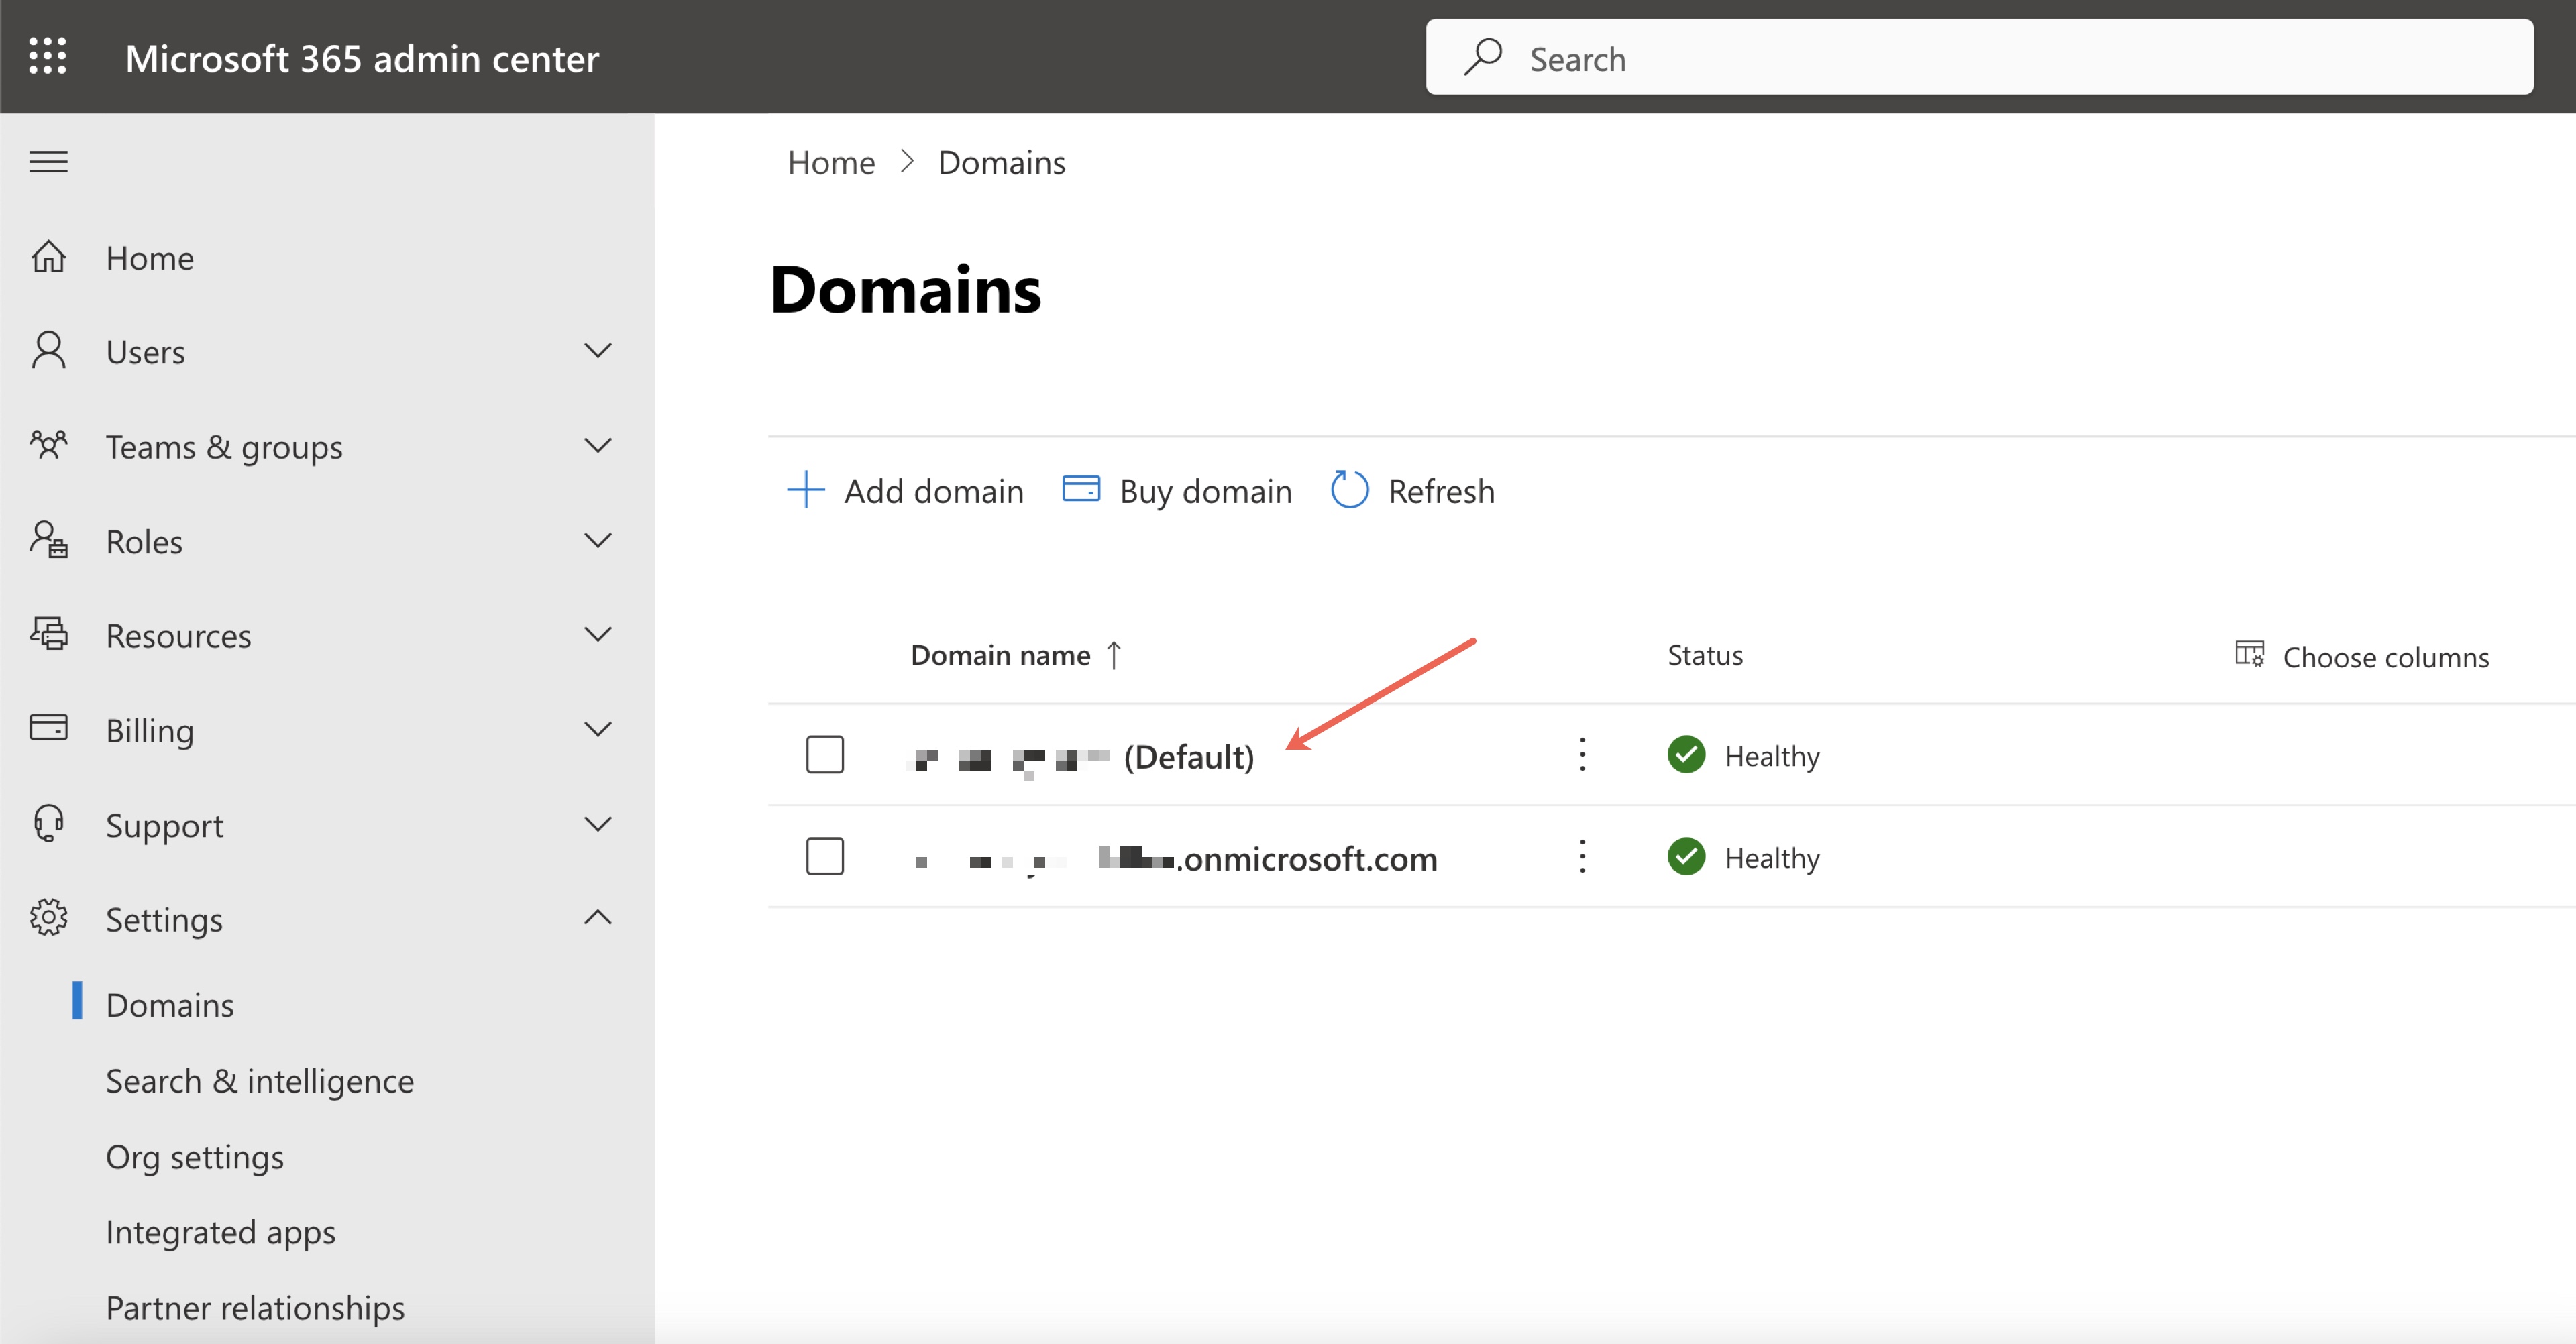
Select the domain you verified in the previous section from the domains tab, as illustrated in Figure 14 below.
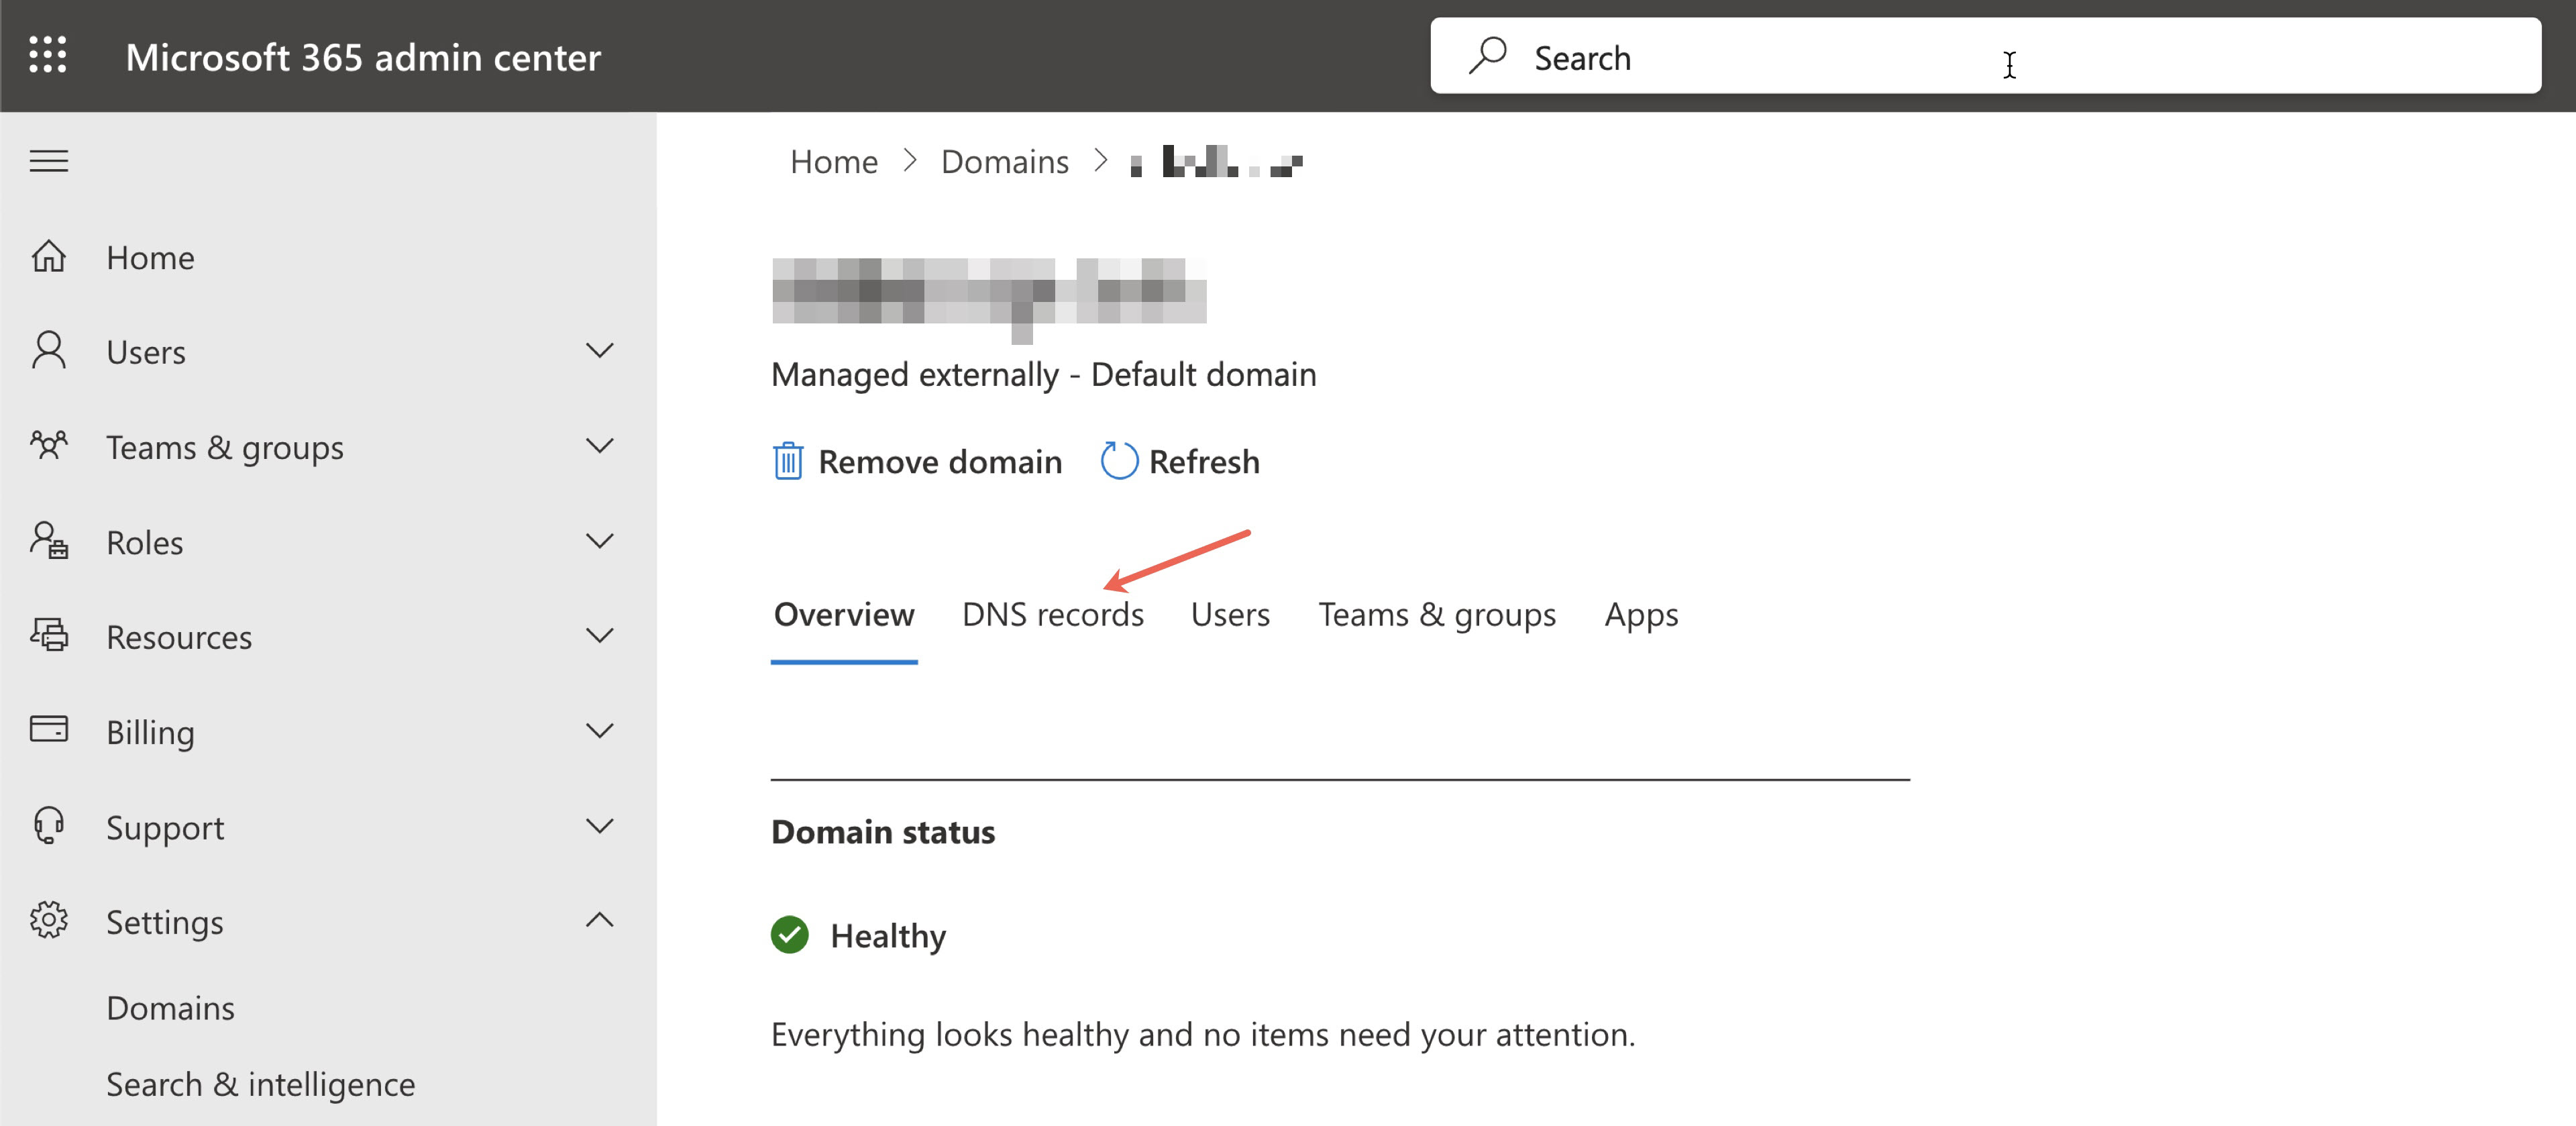
Click the DNS Records tab on the domain detail page to see the DNS records, as illustrated in Figure 15 below. These are the settings you will need to configure within your cPanel account.
Login to your Batoi hosting cPanel using your username and password, as illustrated in Figure 8 above.
Look for the DNS Zone Editor tool under the Domain section, as illustrated in Figure 10 above.
The DNS is required to set for the below services:
- Microsoft Exchange
- Skype for Business
- Basic Mobility & Security
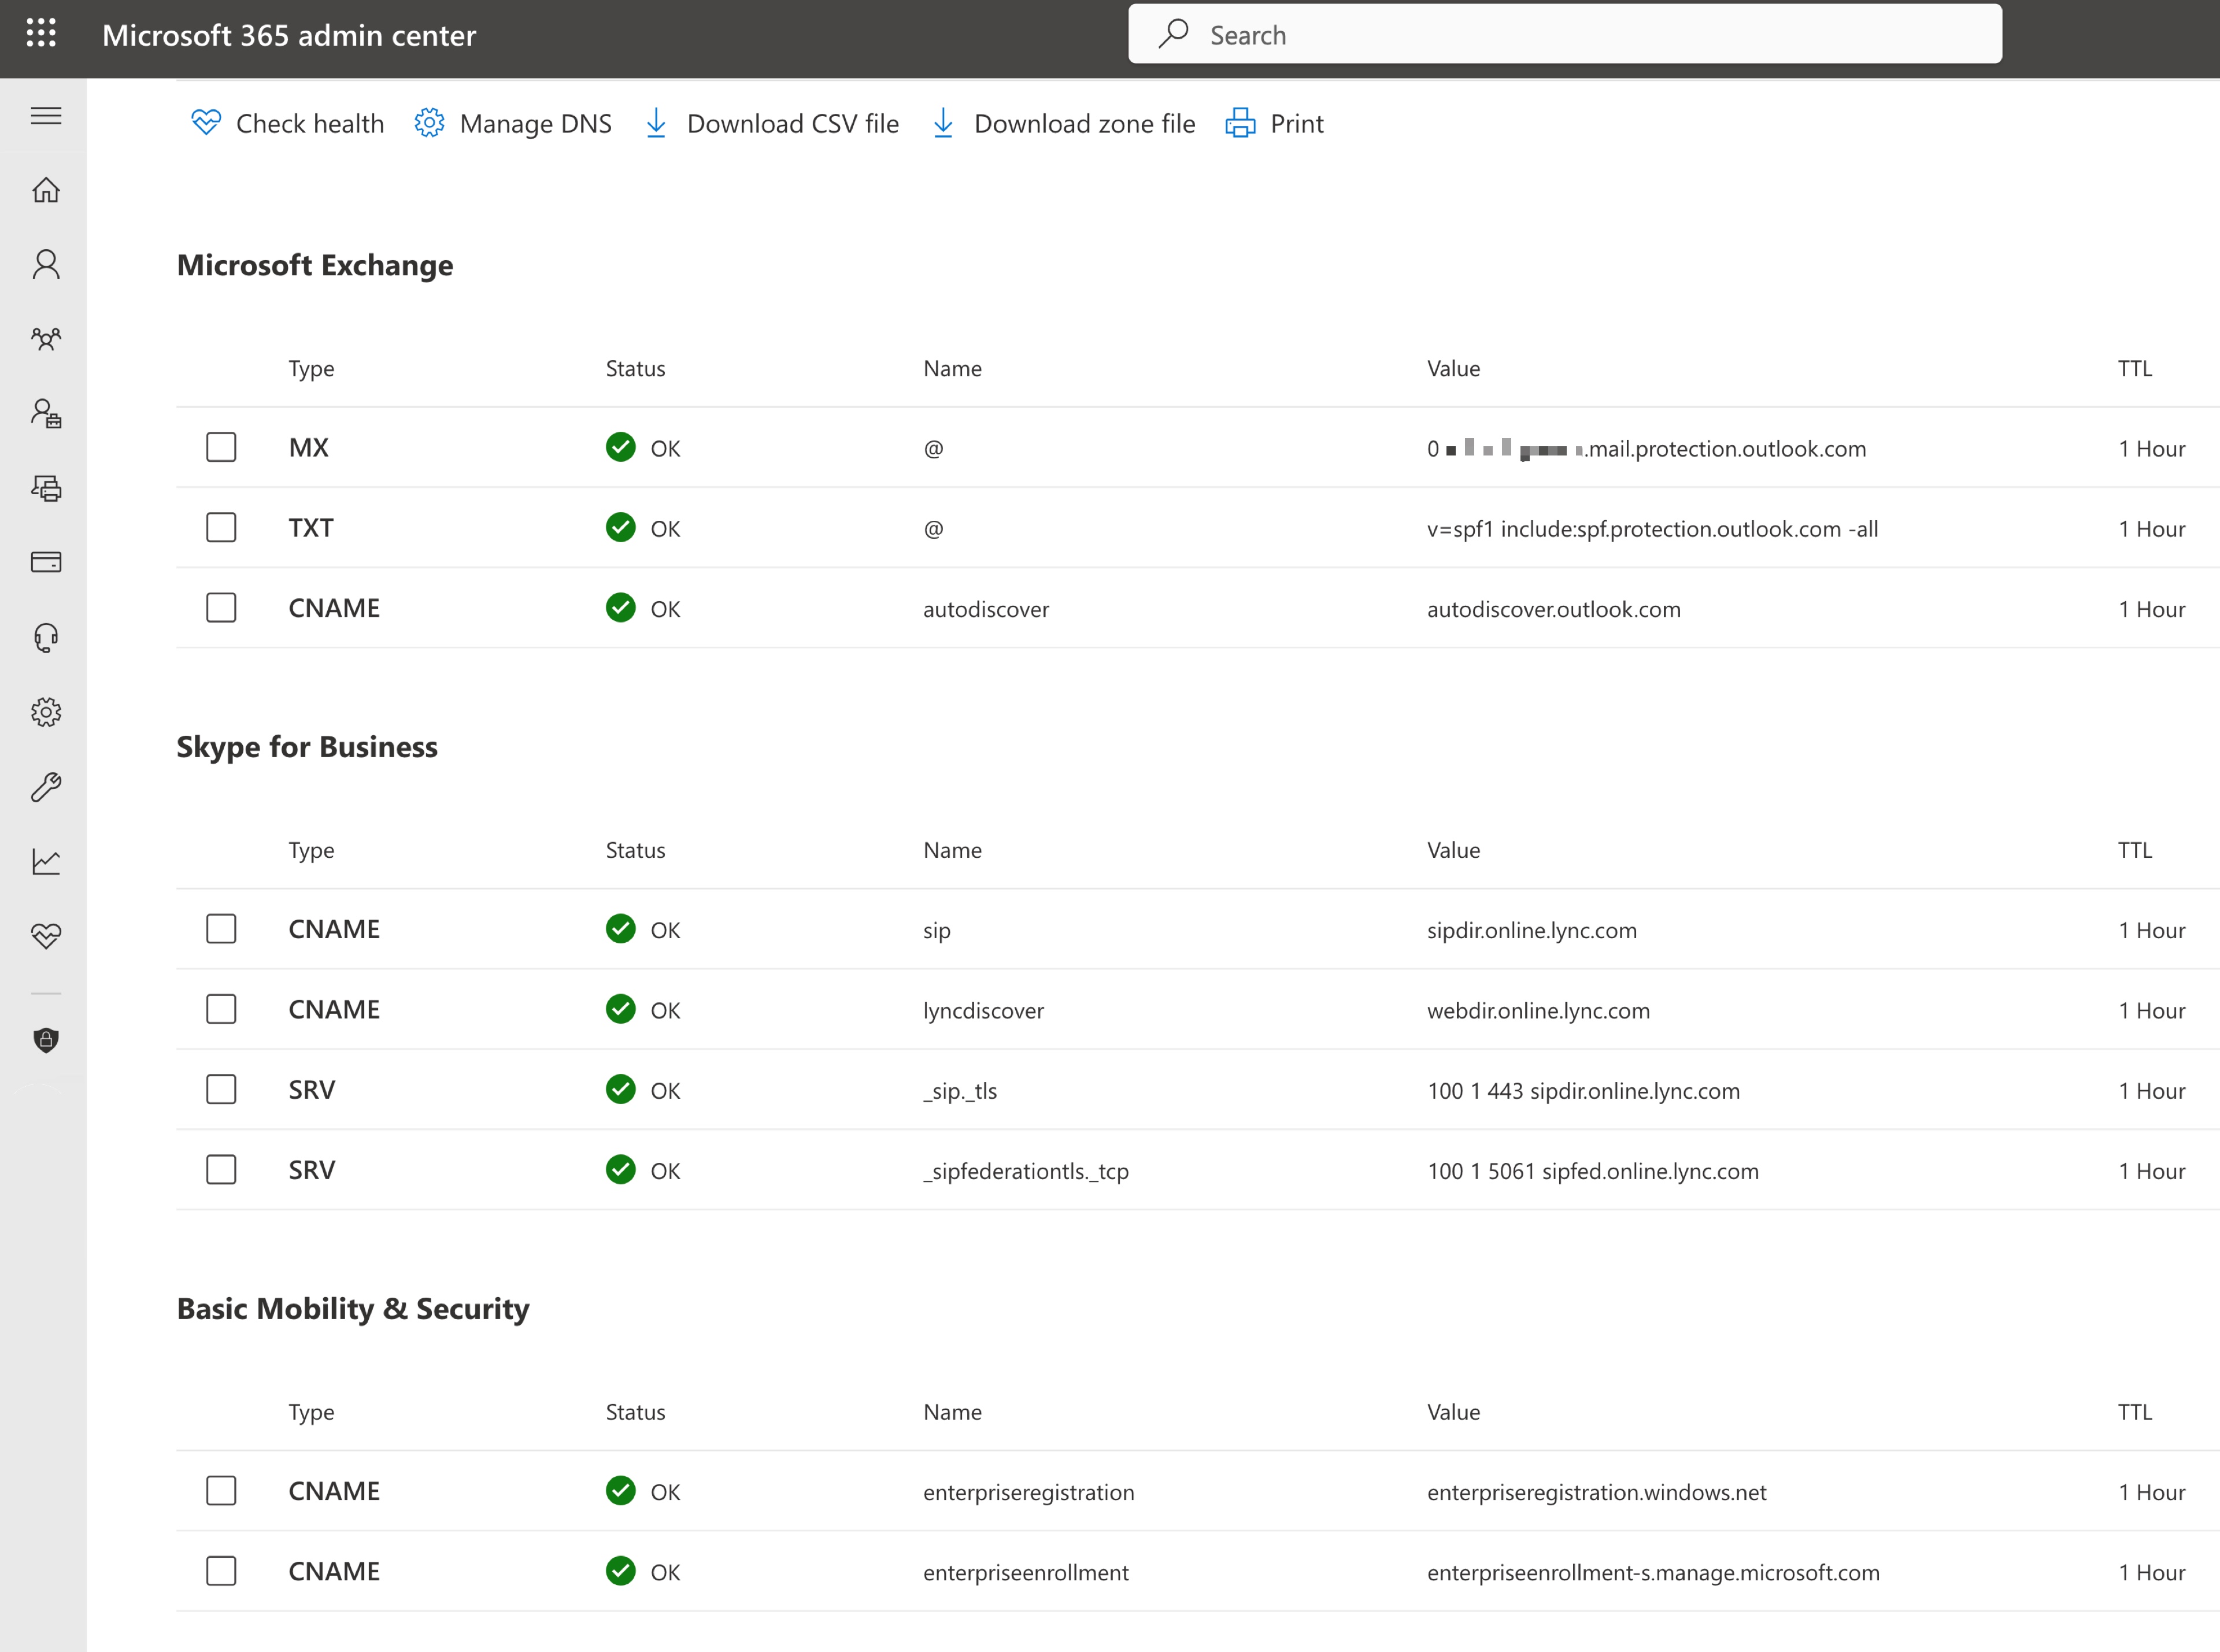
Microsoft Exchange
Below are the DNS records to be added:
| Type | Name | Value | TTL |
|---|---|---|---|
| MX | @ | 0 |
1 Hour |
| TXT | @ | v=spf1 include:spf.protection.outlook.com -all | 1 Hour |
| CNAME | autodiscover | autodiscover.outlook.com | 1 Hour |
Skype for Business
Below are the DNS records to be added:
| Type | Name | Value | TTL |
|---|---|---|---|
| CNAME | sip | sipdir.online.lync.com | 1 Hour |
| CNAME | lyncdiscover | webdir.online.lync.com | 1 Hour |
| SRV | _sip._tls | 100 1 443 sipdir.online.lync.com | 1 Hour |
| SRV | _sipfederationtls._tcp | 100 1 5061 sipfed.online.lync.com | 1 Hour |
Basic Mobility & Security
Below are the DNS records to be added:
| Type | Name | Value | TTL |
|---|---|---|---|
| CNAME | enterpriseregistration | enterpriseregistration.windows.net | 1 Hour |
| CNAME | enterpriseenrollment | enterpriseenrollment-s.manage.microsoft.com | 1 Hour |
After setting up the DNS records, verify it from the Microsoft admin console. Once all the DNS statuses show OK, as illustrated in Figure 16 above, you are set to send/receive the emails using your Outlook mail.
Conclusion
This guide has equipped you with the tools to successfully set up Microsoft Office 365 services via your Batoi Hosting cPanel. For further information or assistance, contact the Batoi Support Team.