Setting up Mozilla Thunderbird as Your Email Client in Mac
Go to http://www.mozilla.org/en-US/thunderbird/ and download the application to your local system.
To install Thunderbird in your Mac, follow the steps in the help guide provided by Thunderbird available at https://support.mozilla.org/en-US/kb/installing-thunderbird-on-mac.
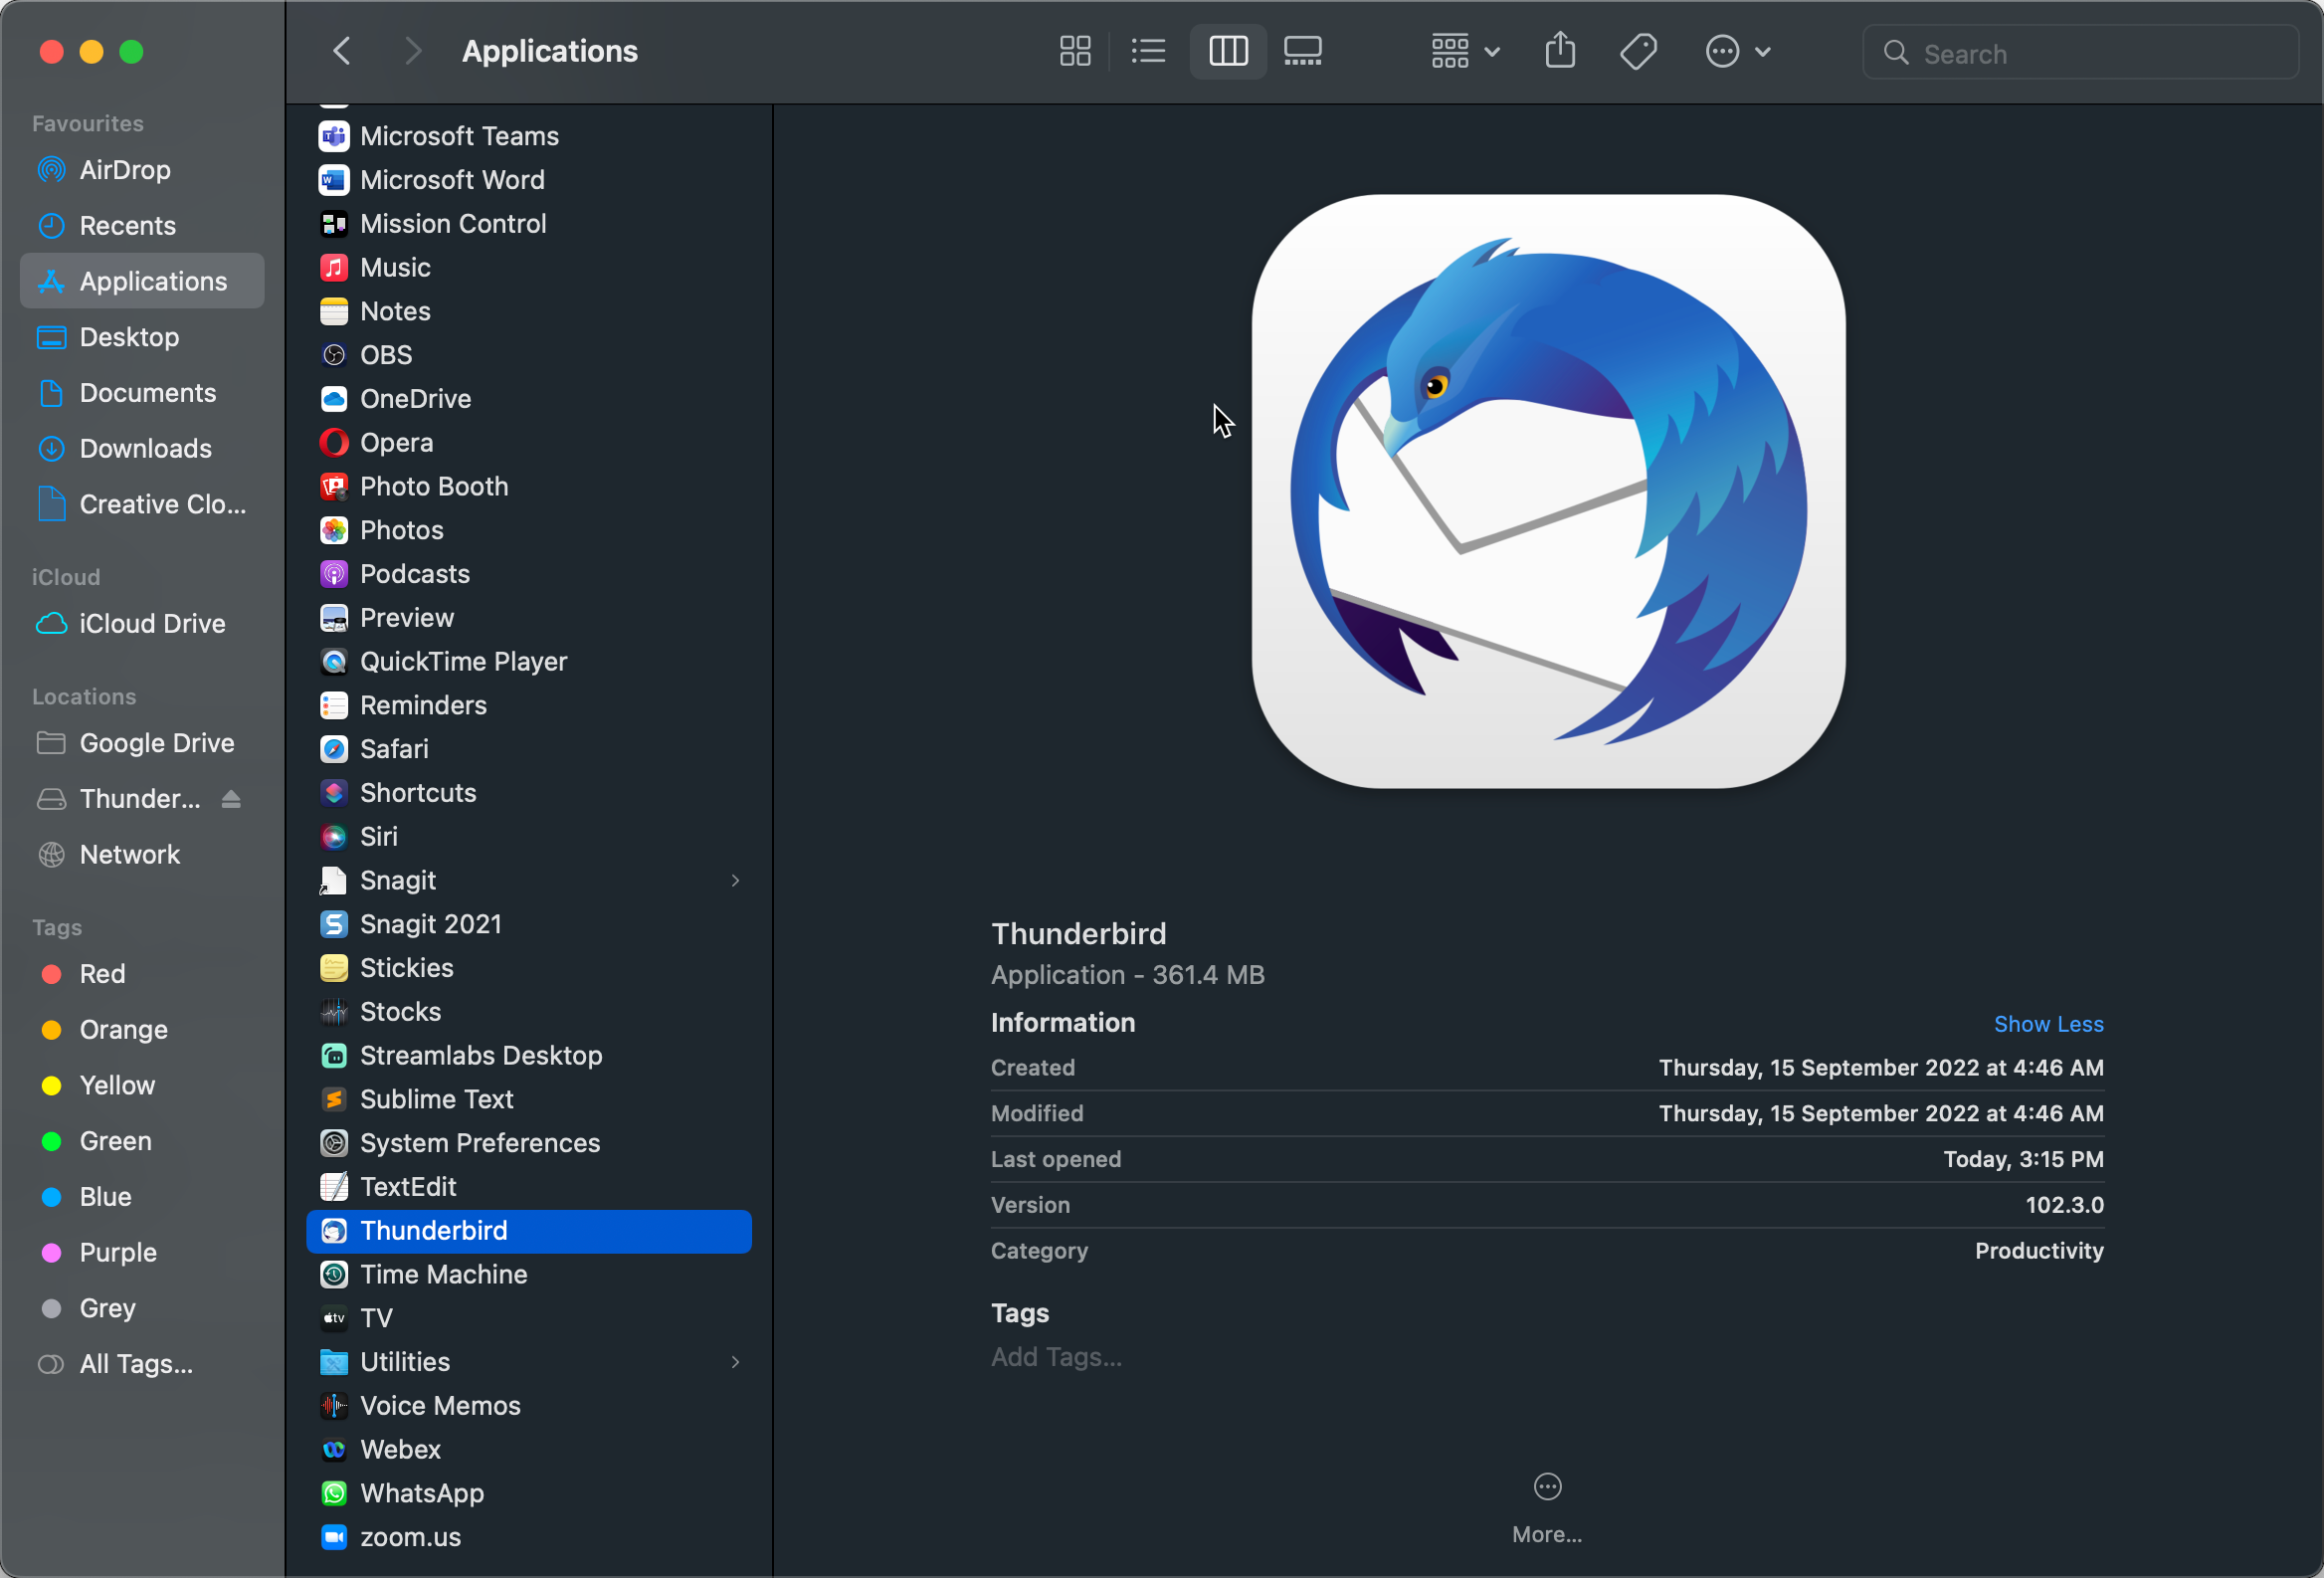
Go to Applications >> Thunderbird as shown in Figure 1

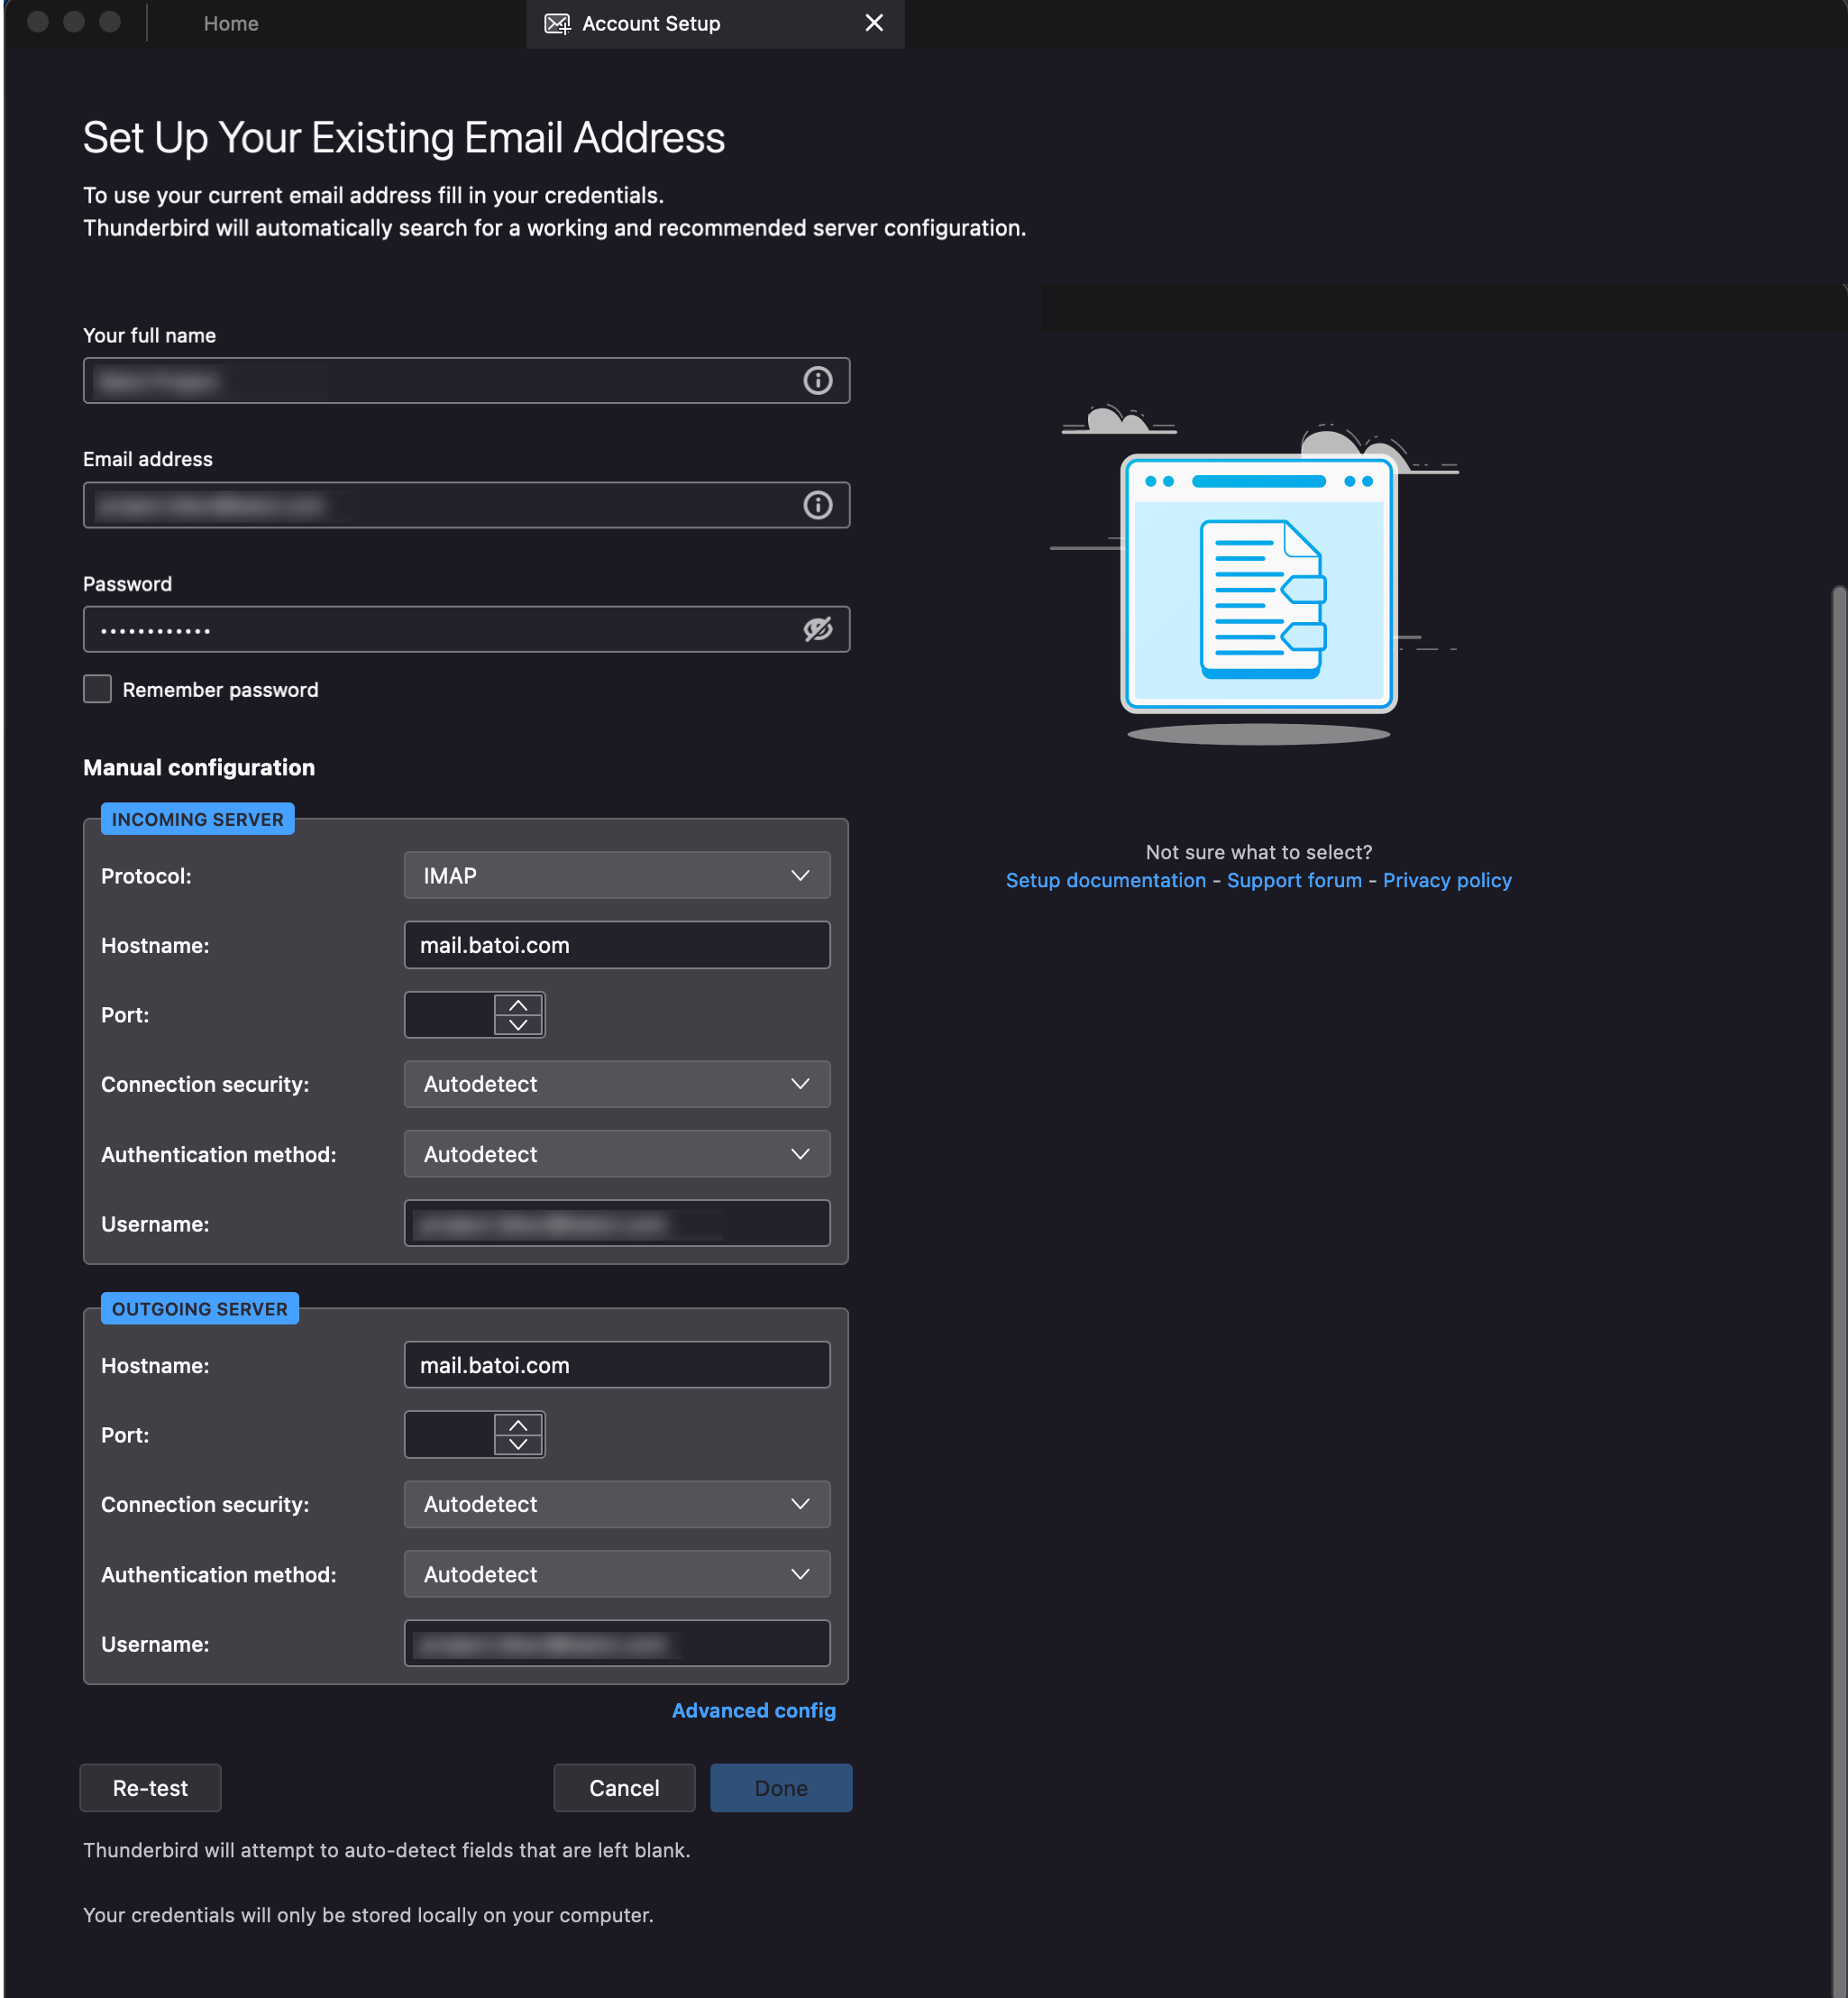
Upon doing so you shall land on the Account Setup page where you need to fill in necessary details like Your full name, Email address and Password as shown in Figure 2.

Click on the check box Remember password if you want Thunderbird to remember your account password.
By default, Thunderbird will automatically find the server settings. If the settings are correct, you click on Done to complete your account setup.
If you would like to set up Thunderbird manually, click on Set up manually and select the Protocol as IMAP and enter the Hostname as per the details received from Batoi Priority Support Team.
After entering all the details click the button Re-test and Thunderbird will start configuring your email account.
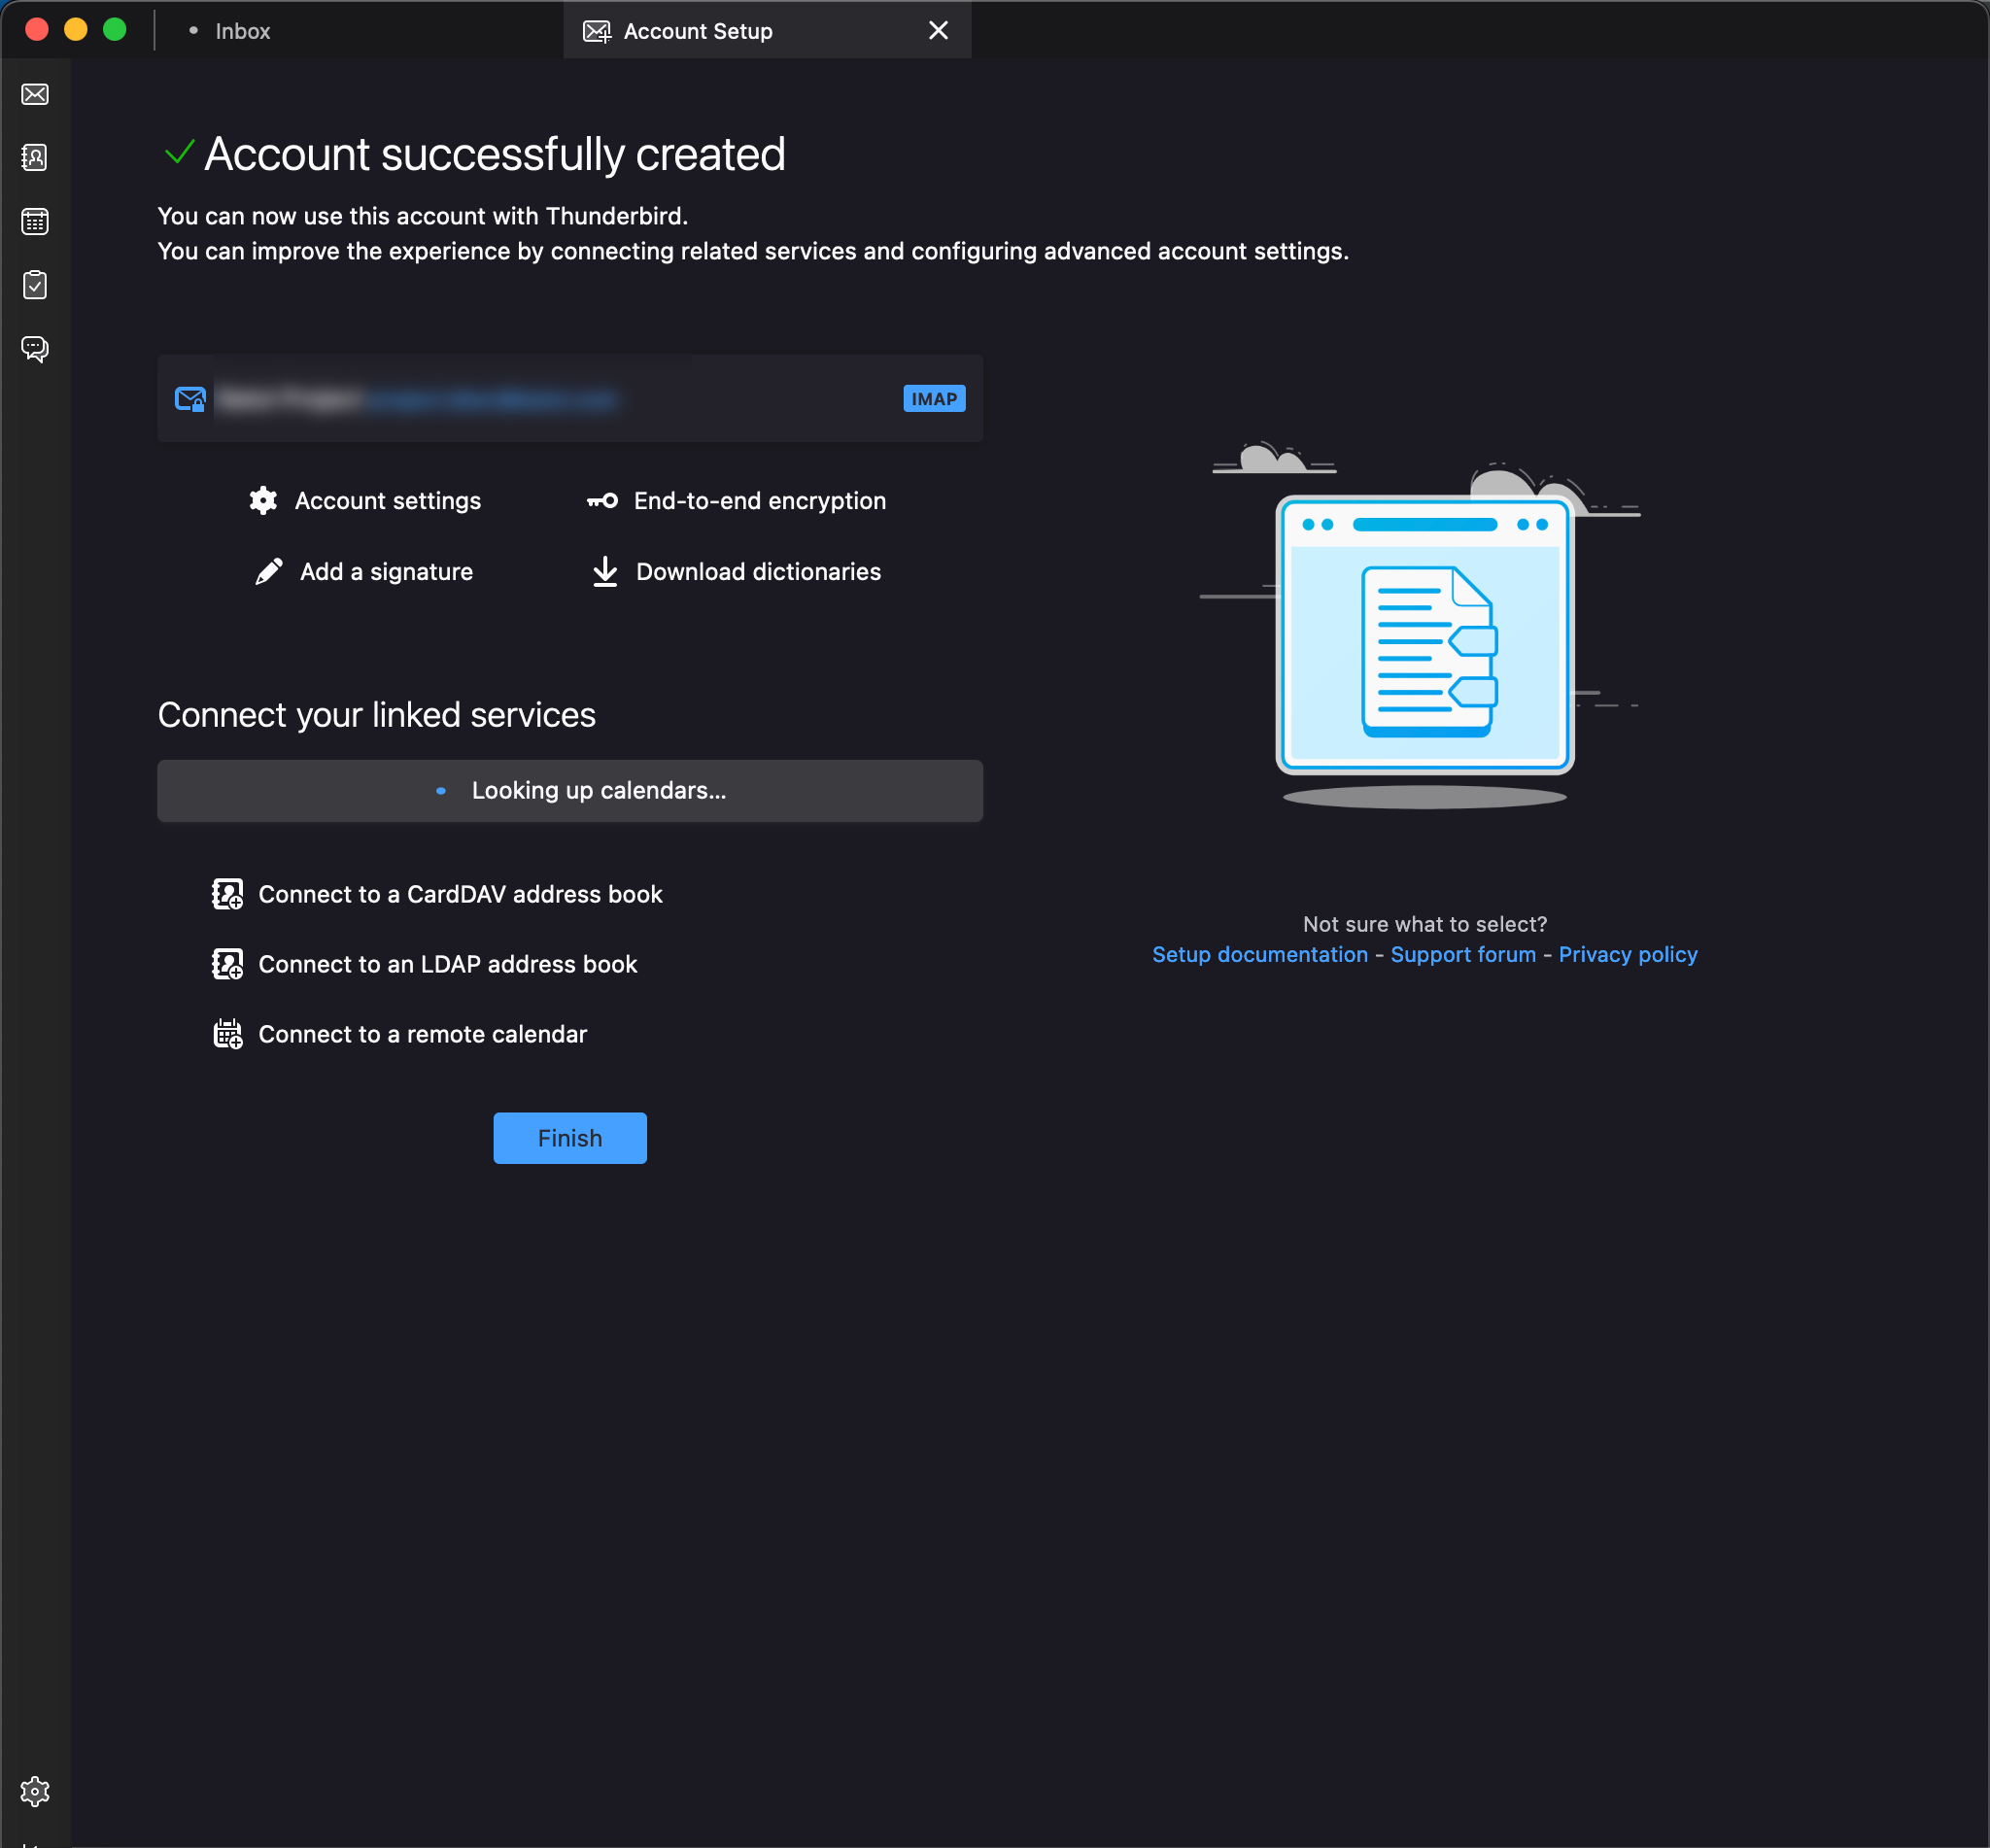
Your email is now set up and ready to use.
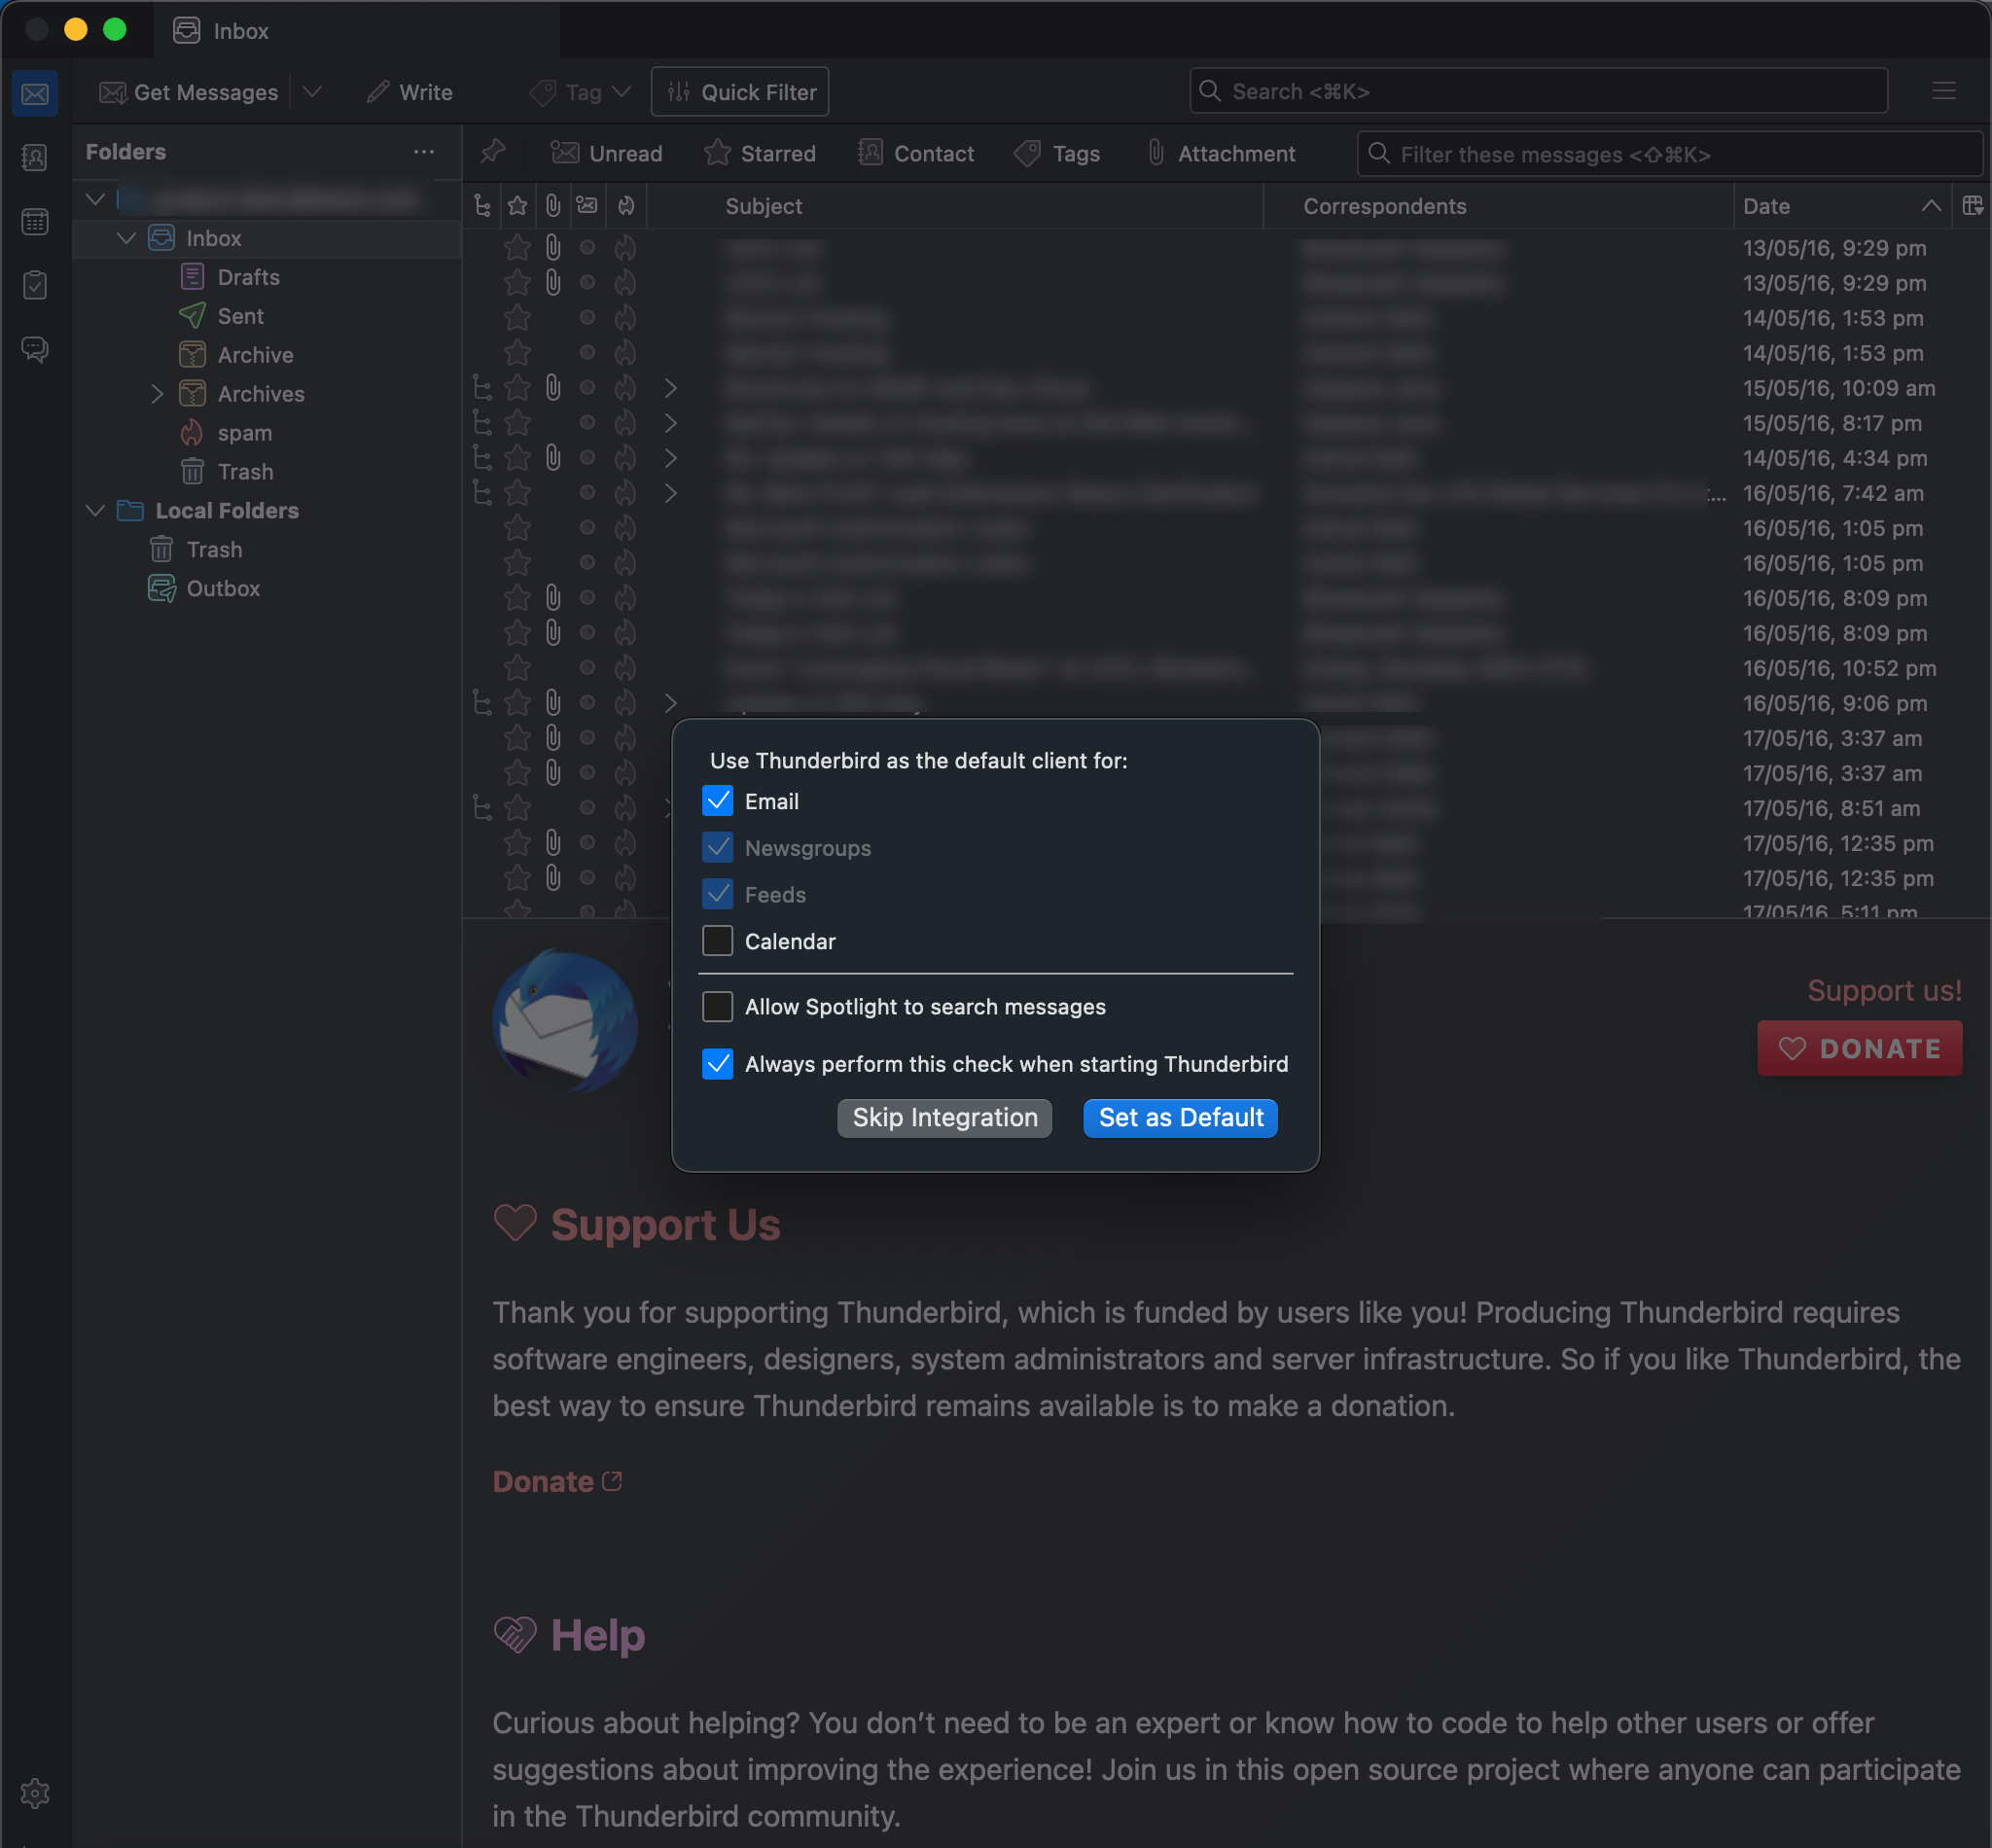
In the box that appears now, you can choose to set Thunderbird as your default email client and tick the options you want to use Thunderbird as default for, for example, Calendar. When you have chosen your options, click on Set as Default. If you don't want to use Thunderbird as the default email client, click on Skip Integration as shown in Figure 4.


