


RAD Admin - Dashboard
RAD Admin - Config Parameters
RAD Admin - Application Parameters
RAD Admin - Add Application Parameters
RAD Admin - Edit Application Parameters
RAD Admin - System Parameter
RAD Admin - Edit System Parameter
RAD Admin - Directory Parameter
RAD Admin - Microservice
RAD Admin - Add Microservice
RAD Admin - Edit Microservice
RAD Admin - Microservice Route
RAD Admin - Microservice Add Route
RAD Admin - Microservice Edit Route
RAD Admin - Code Editing of a Route
RAD Admin - Microservice Controller
RAD Admin - Add Microservice Controller
RAD Admin - Edit Microservice Controller
RAD Admin - Theme
RAD Admin - Manage Theme
RAD Admin - Theme Assets
RAD Admin - Microservice Controller
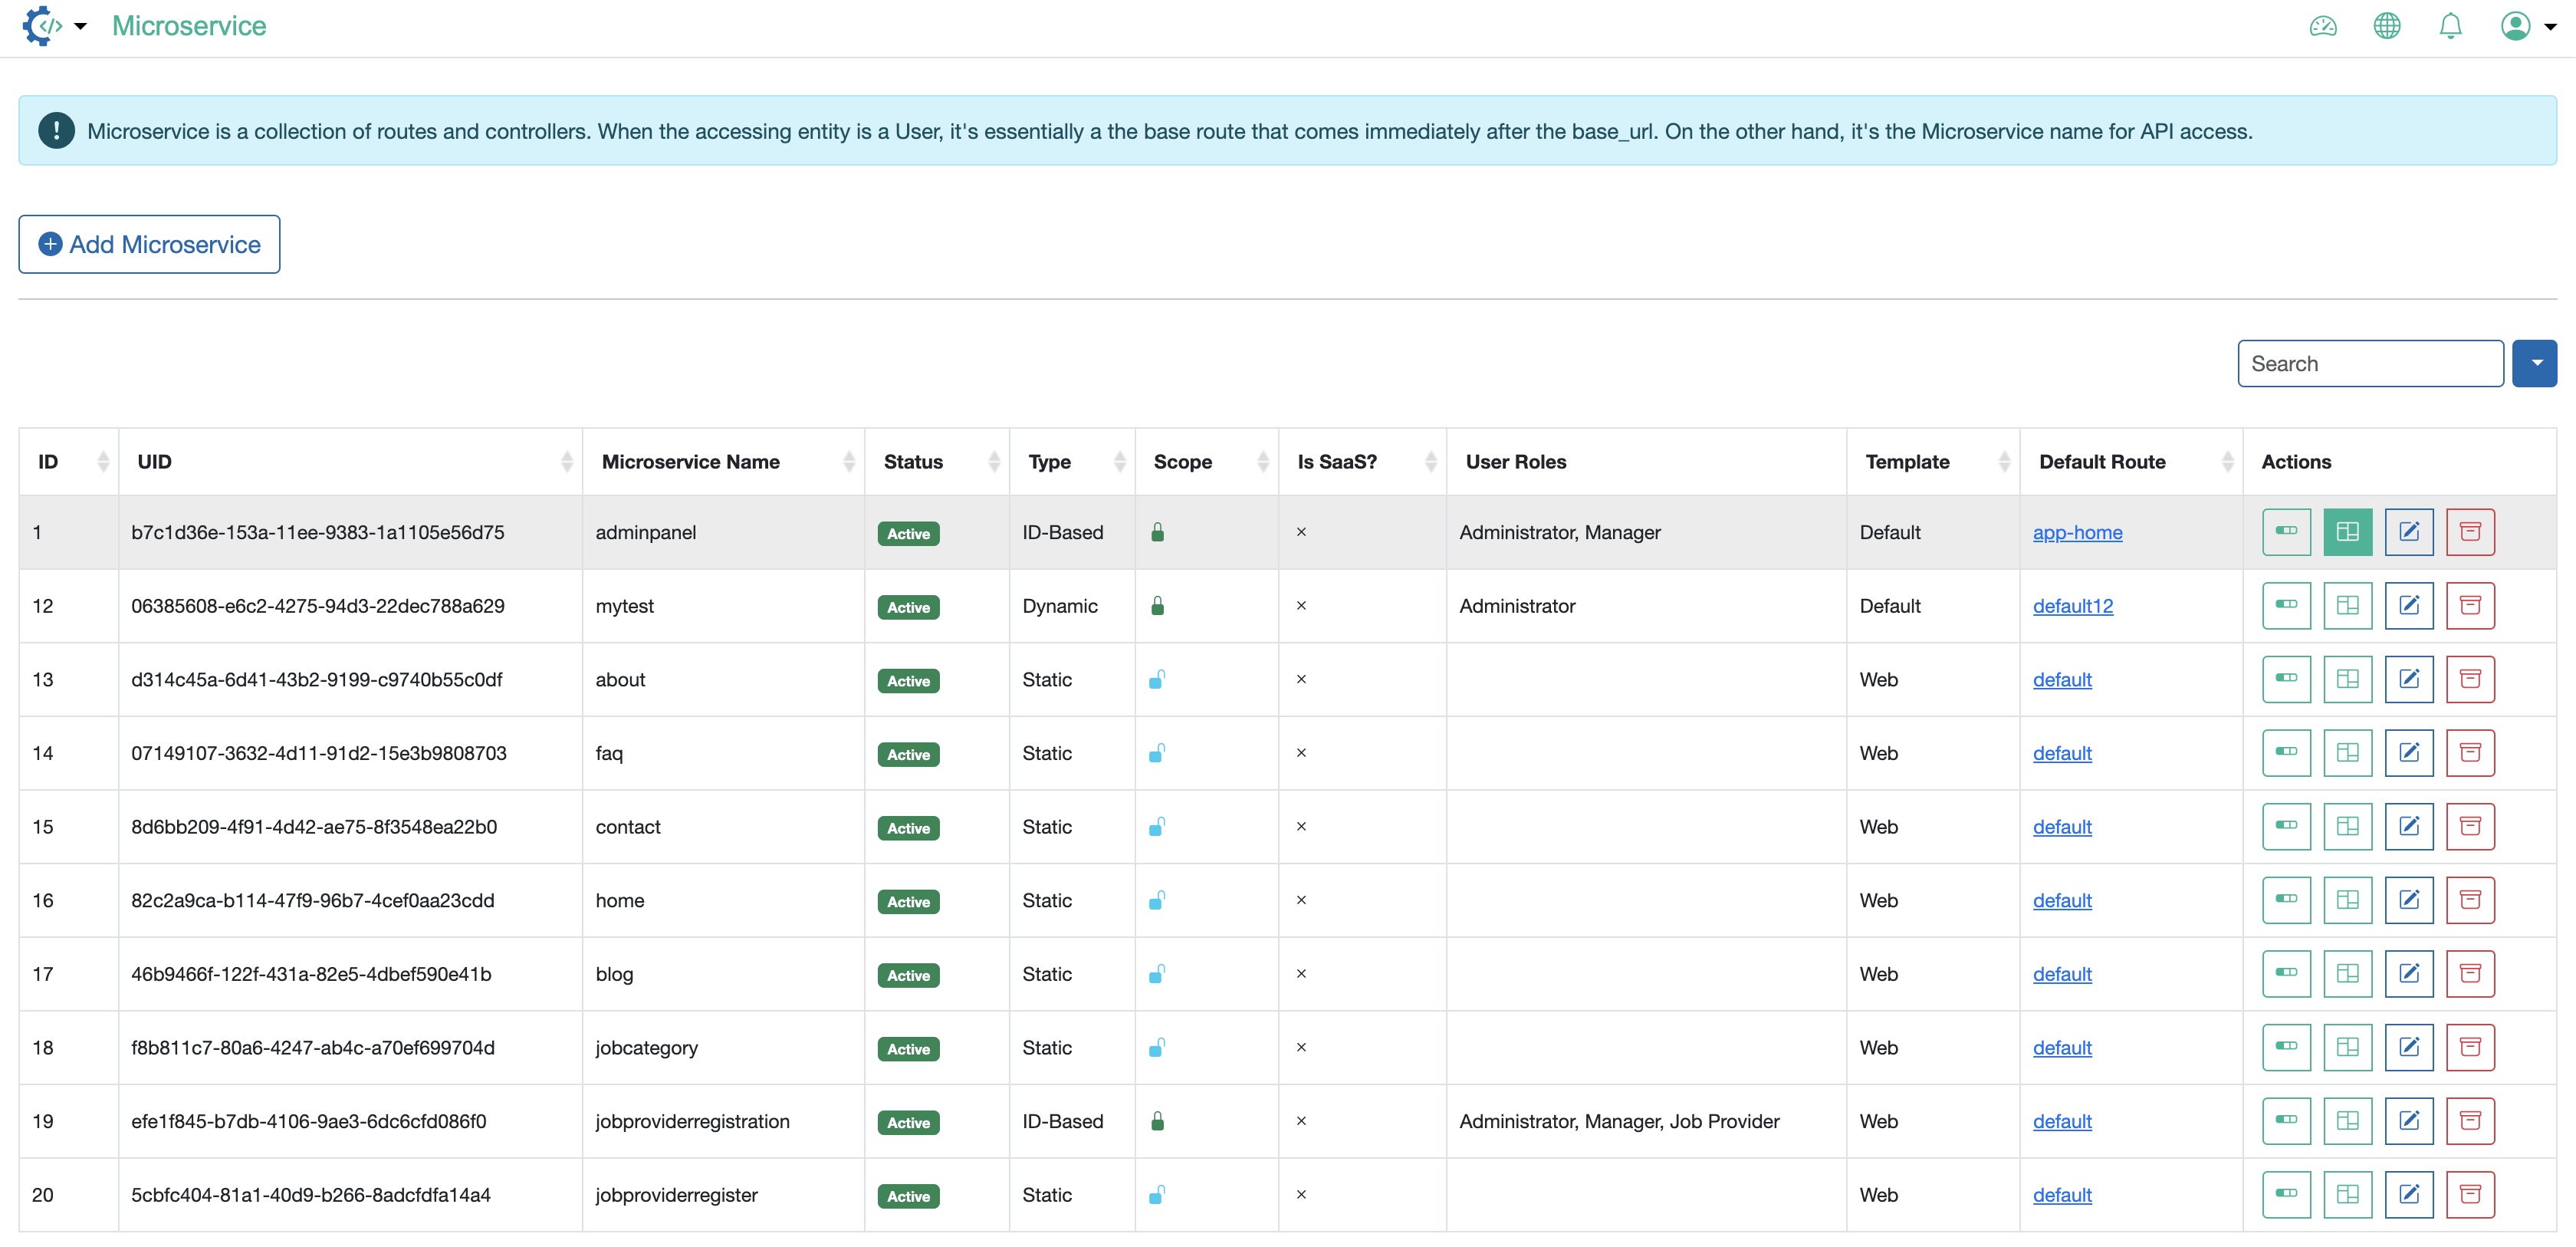
Click on the Controller icon available on the right side of each Microservice from the Microservice list page, as illustrated in Figure 1 below, to go to the controller page.
On the Microservice controller page, all the controllers available under the particular Microservice are listed in a tabular format. By default, no controller will be available, as illustrated in Figure 2 below.
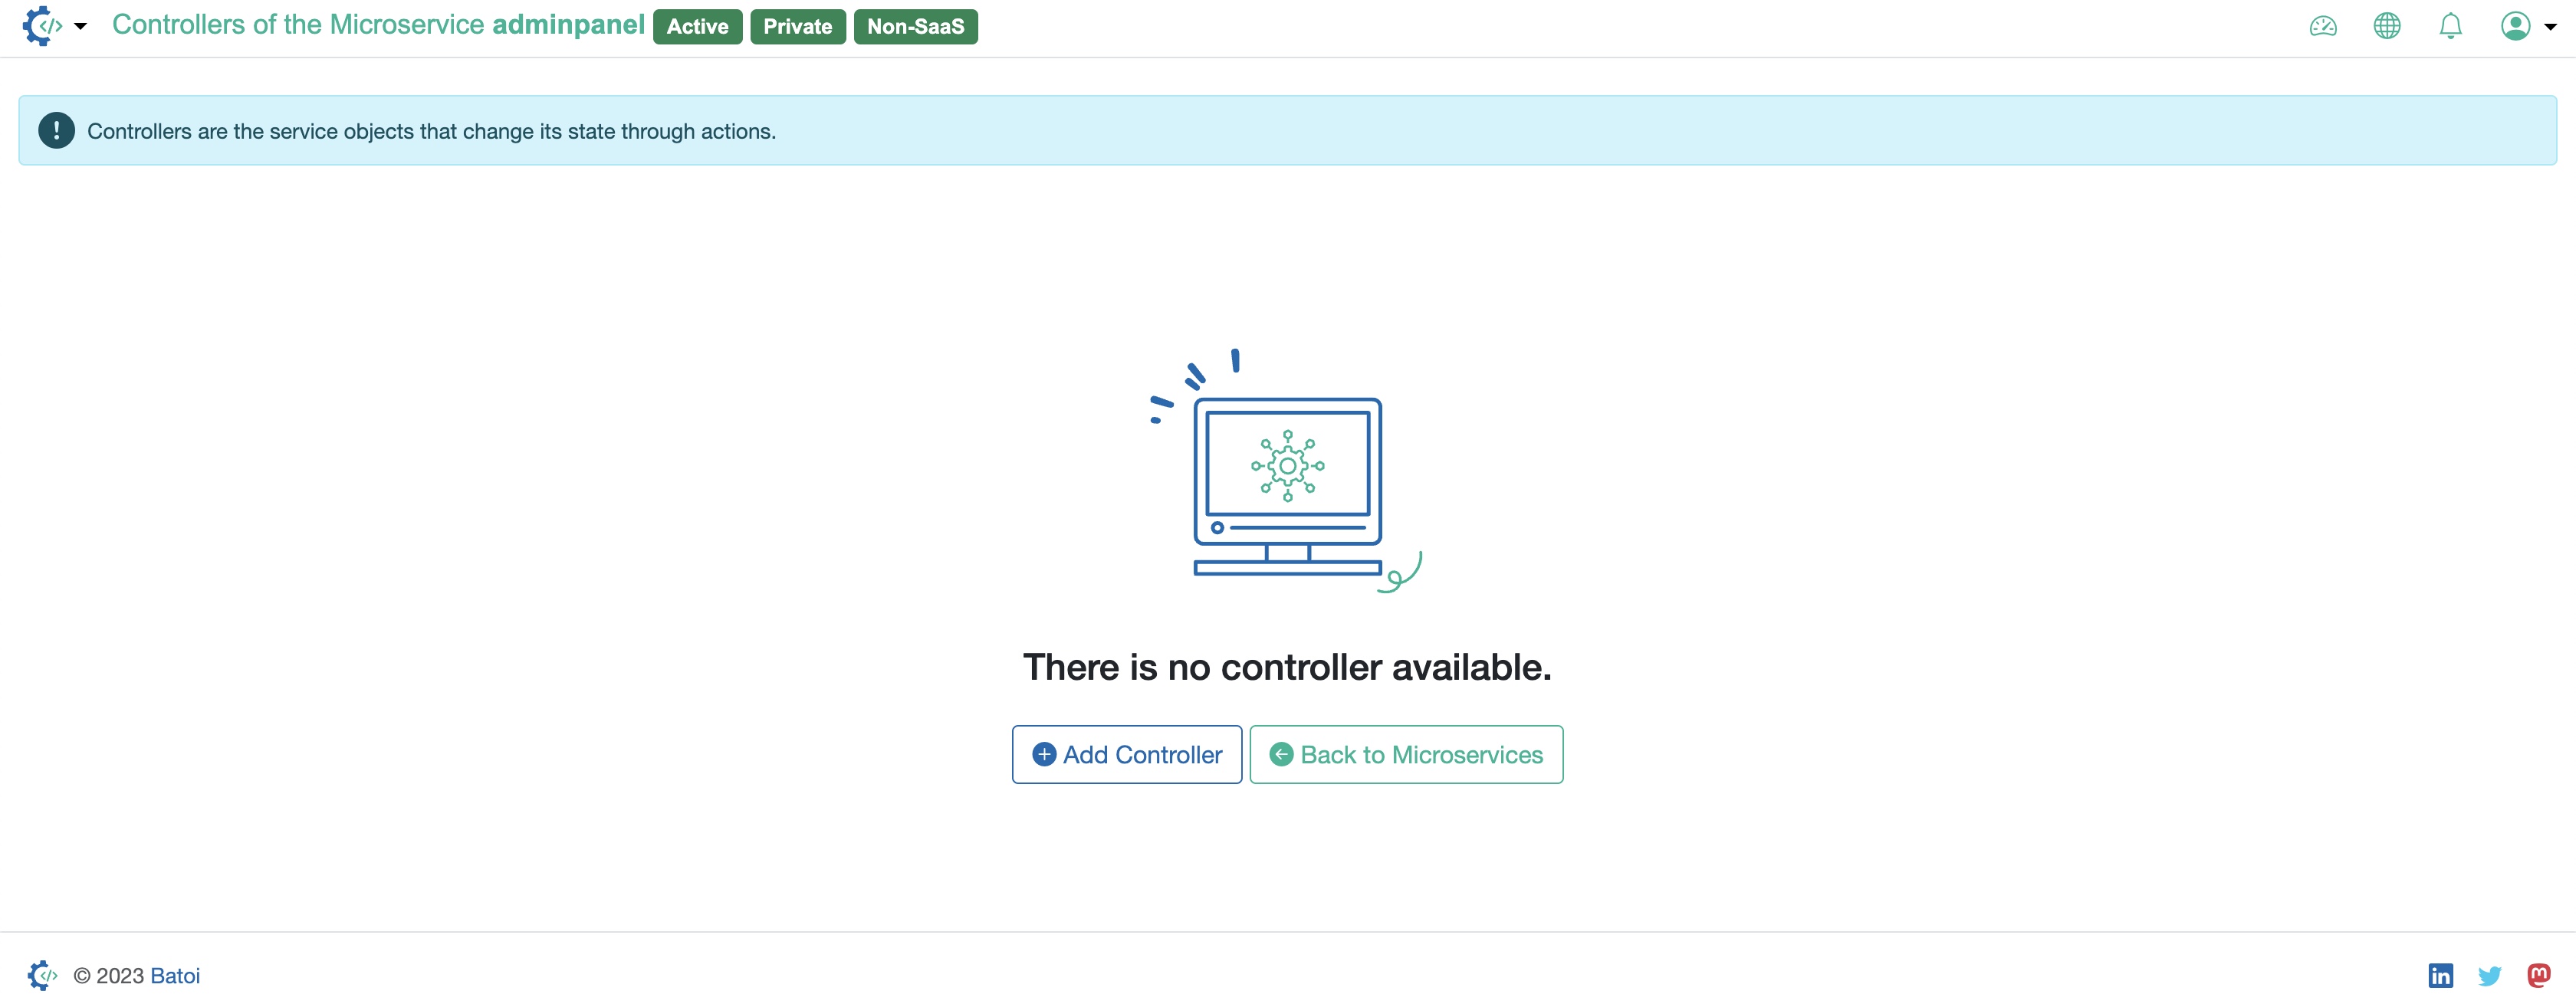
Click on the Add Controller button available on the screen to add a new controller, as illustrated in Figure 2 above.
Click on the Back to Microservices button available on the screen to go back to the Microservice list page, as illustrated in Figure 2 above.