


Managing Meetings by a Batoi Bridge Member
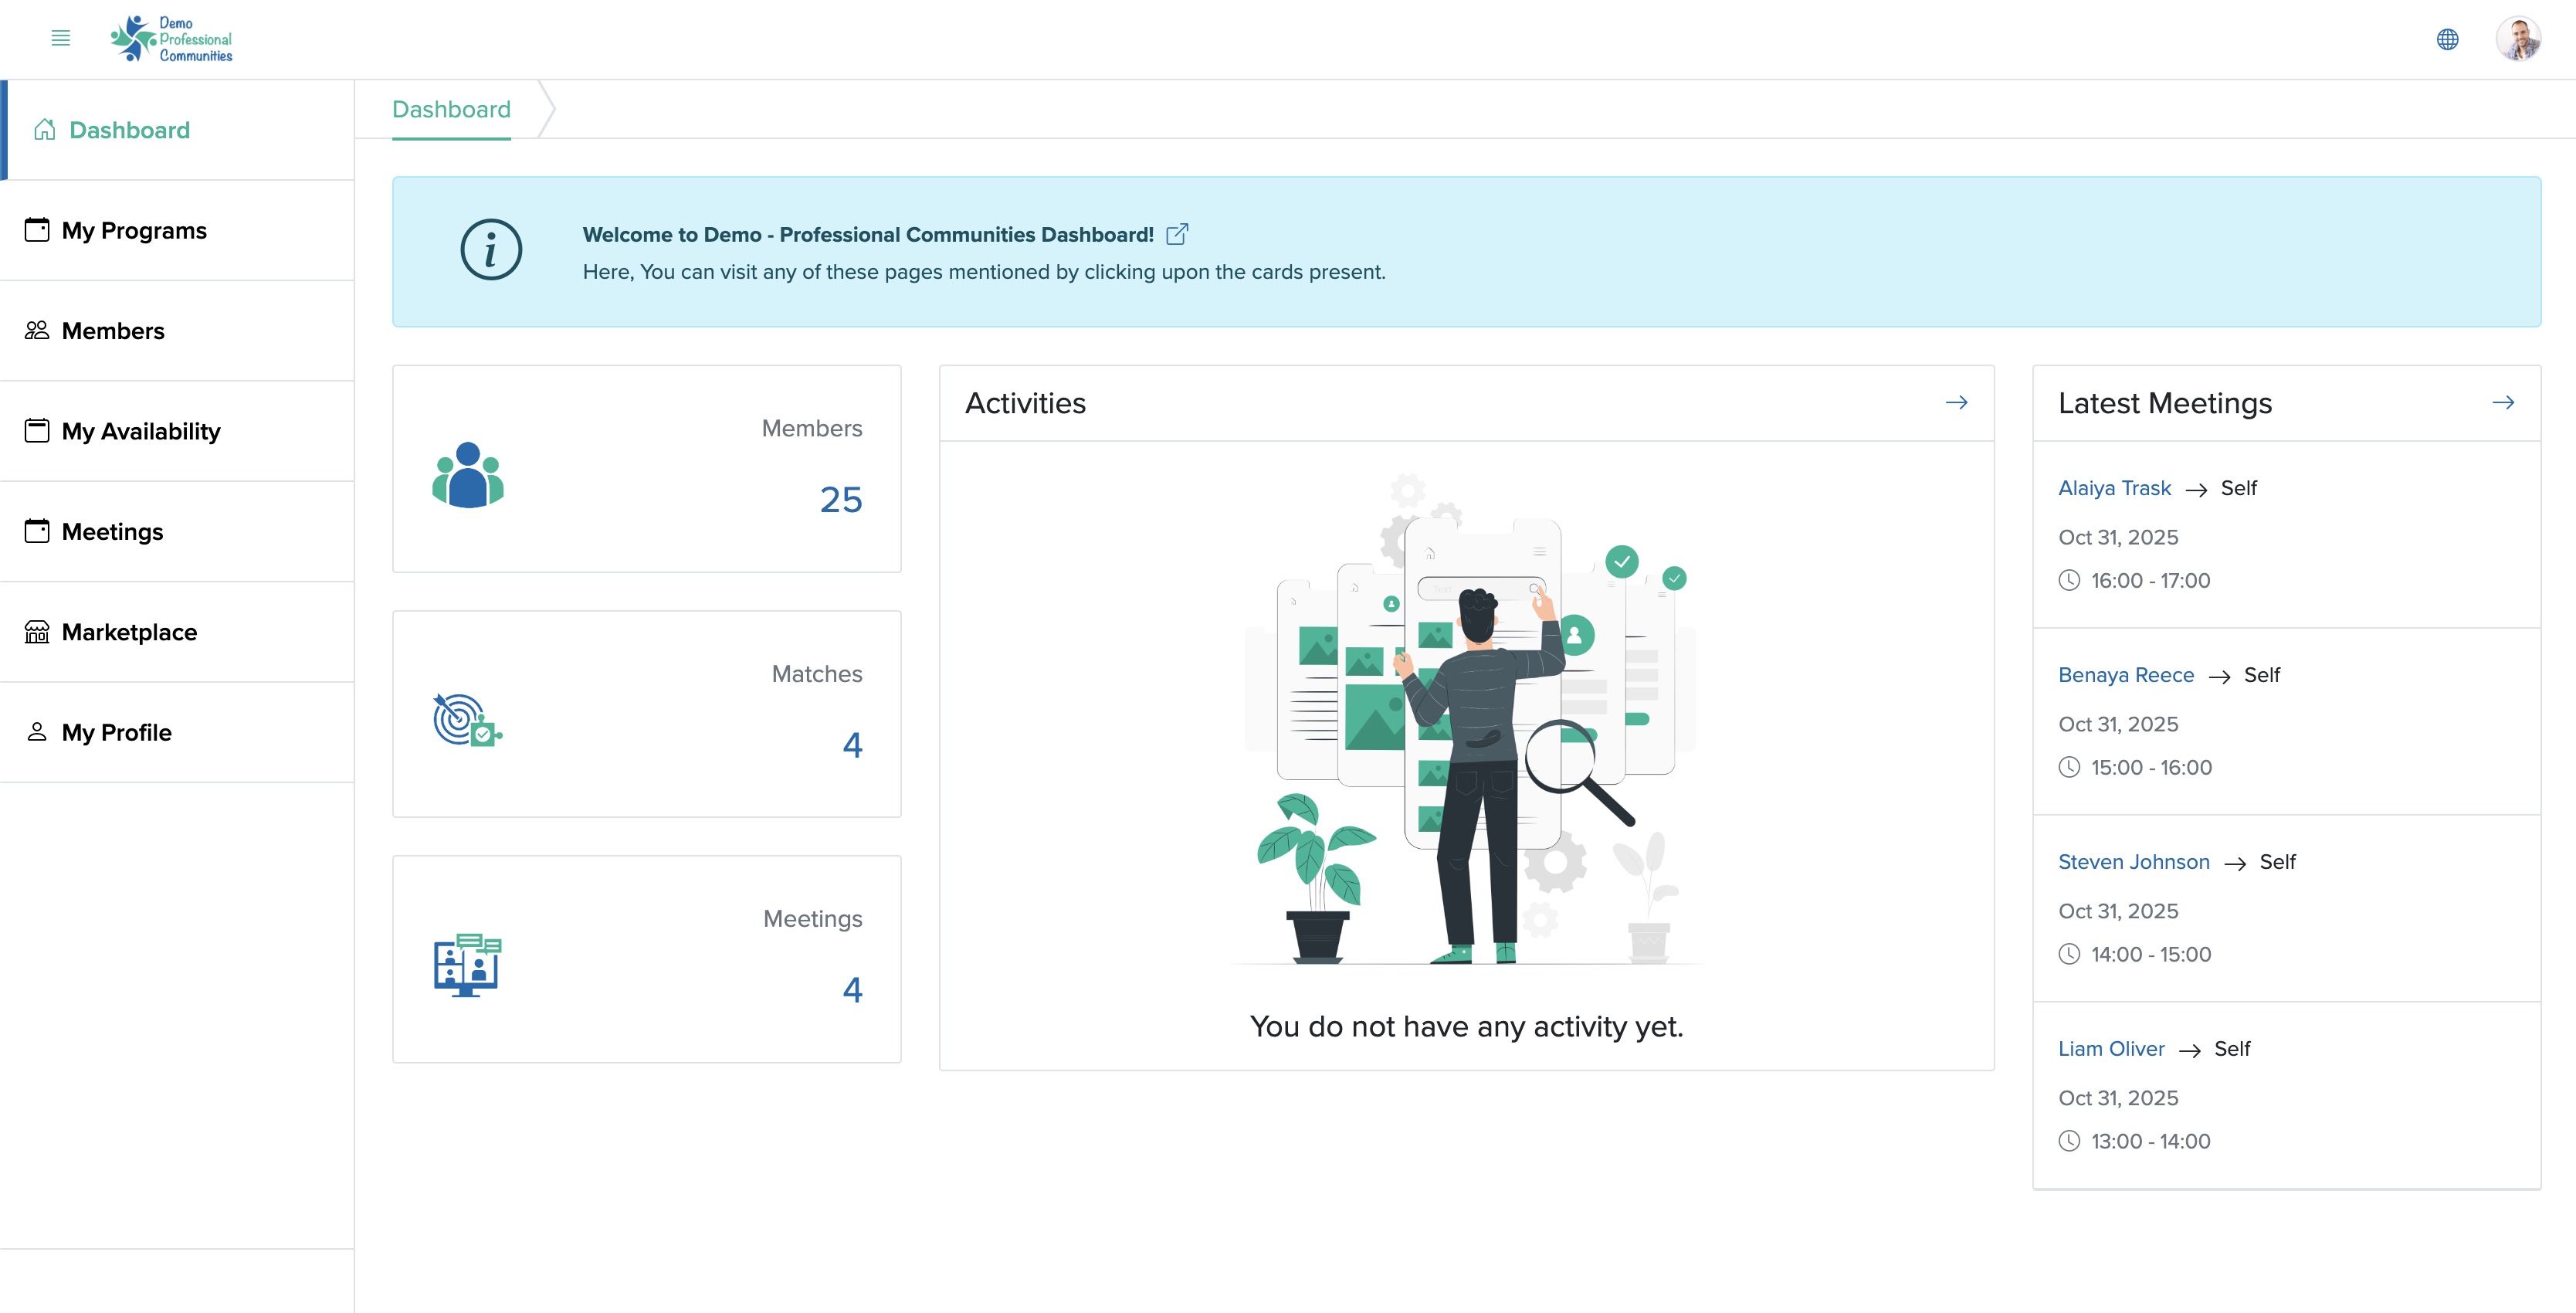
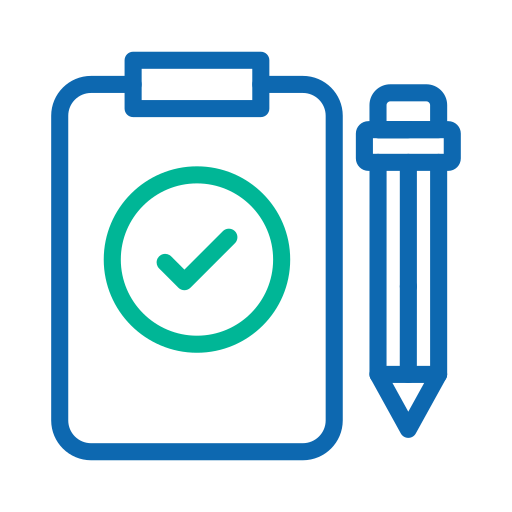
Click the Meetings menu from the primary menu section, as shown in Figure 1 above and the Meetings list page will open, as shown in Figure 2 below.

This page consists of the list of meetings that are already scheduled and are yet to be scheduled, as shown in Figure 2 above.
To view the Notes, click on the + plus icon present in each card, as shown in Figure 2 above.
To approve a requested meeting slot, click on the Approve button present on the card with a Request Pending status, as shown in Figure 2 above.
To decline a requested meeting slot, click on the Decline button present in the card with a Request Pending status, as shown in Figure 2 above.
Download Meetings
Click on the Download Meetings button at the top right of the meeting list page, as shown in Figure 2 above, the meeting list will be downloaded to your system in Excel or PDF format based on your request, as shown in Figure 3 below.
Meeting Dashboard
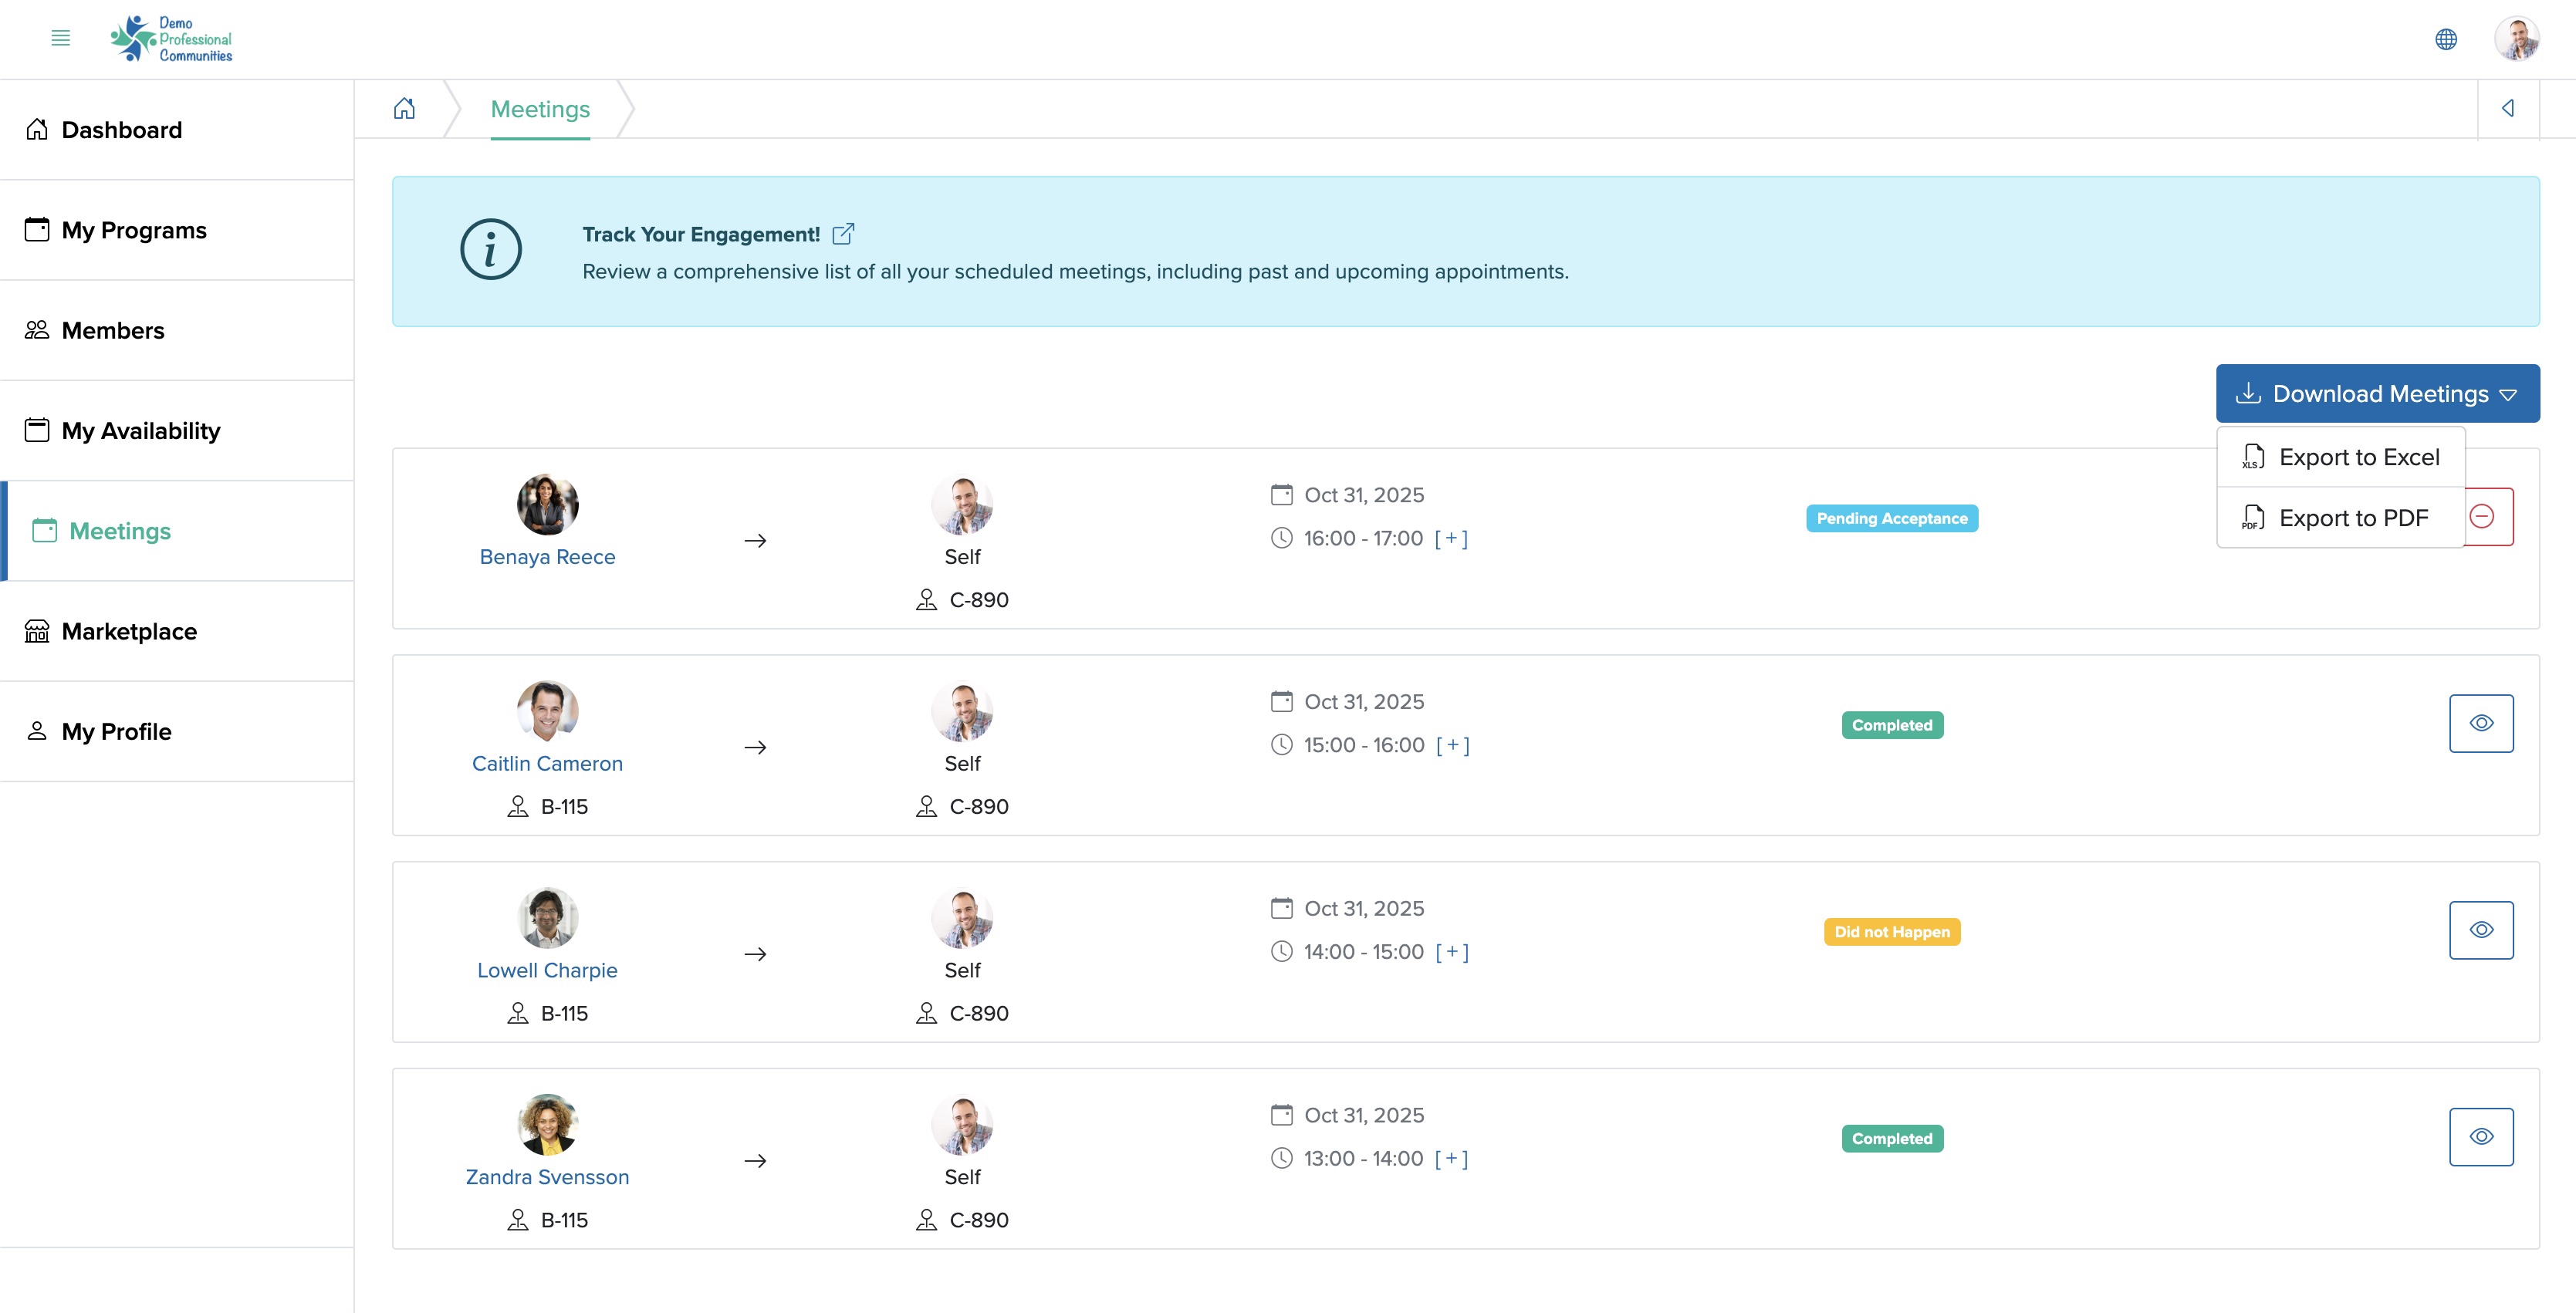
Click on the View icon associated with each meeting, as shown in Figure 3 above and the meeting dashboard will open, as shown in Figure 4 below.
You can add notes regarding the meeting on the Add a Note textbox, as shown in Figure 4 above. All the one-to-one discussions through adding notes will be listed in a tabular format below the meeting dashboard screen, as shown in Figure 4 above. You can delete your note by clicking the Delete icon associated with the note, as shown in Figure 4 above.
To cancel the meeting, click the Cancel button at the top right of the screen, as shown in Figure 4 above.
Once the meeting is approved by the member, the Didn’t Happen and Completed button will appear on the top right side of the screen, as shown in Figure 5 below.
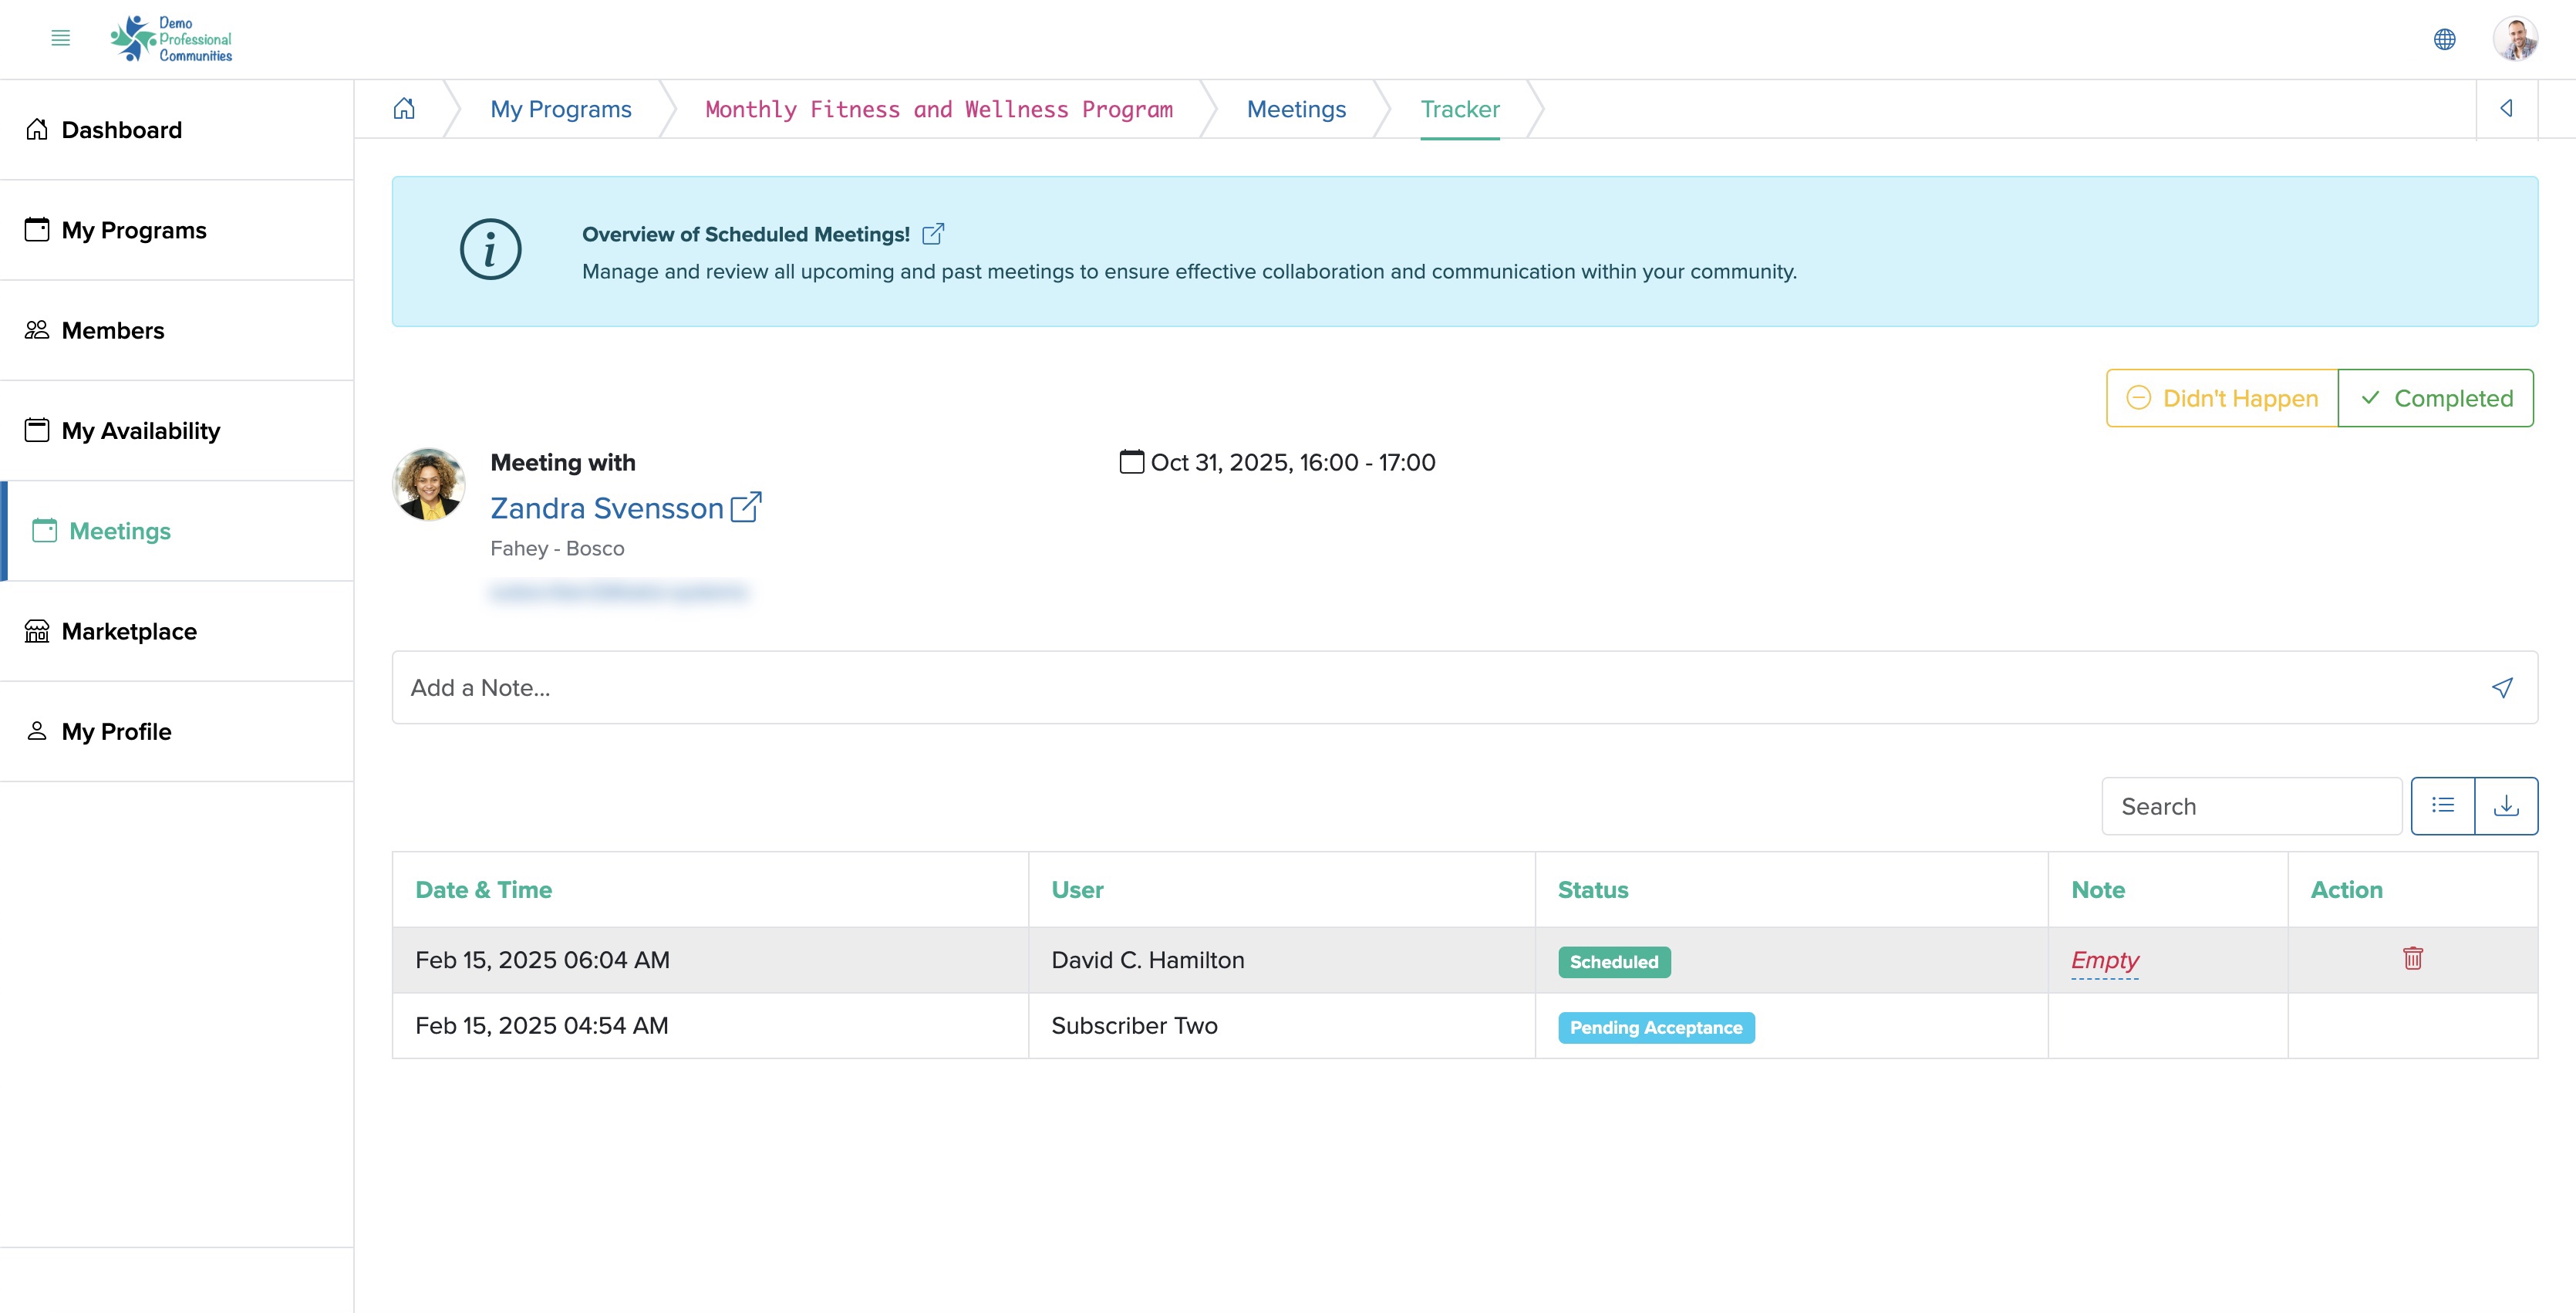
Click on the Didn’t Happen button if the meeting was not done as per the schedule and click the Completed button if the meeting is done as per the schedule, as shown in Figure 5 above.