


Manage Your Programs as a Tenant
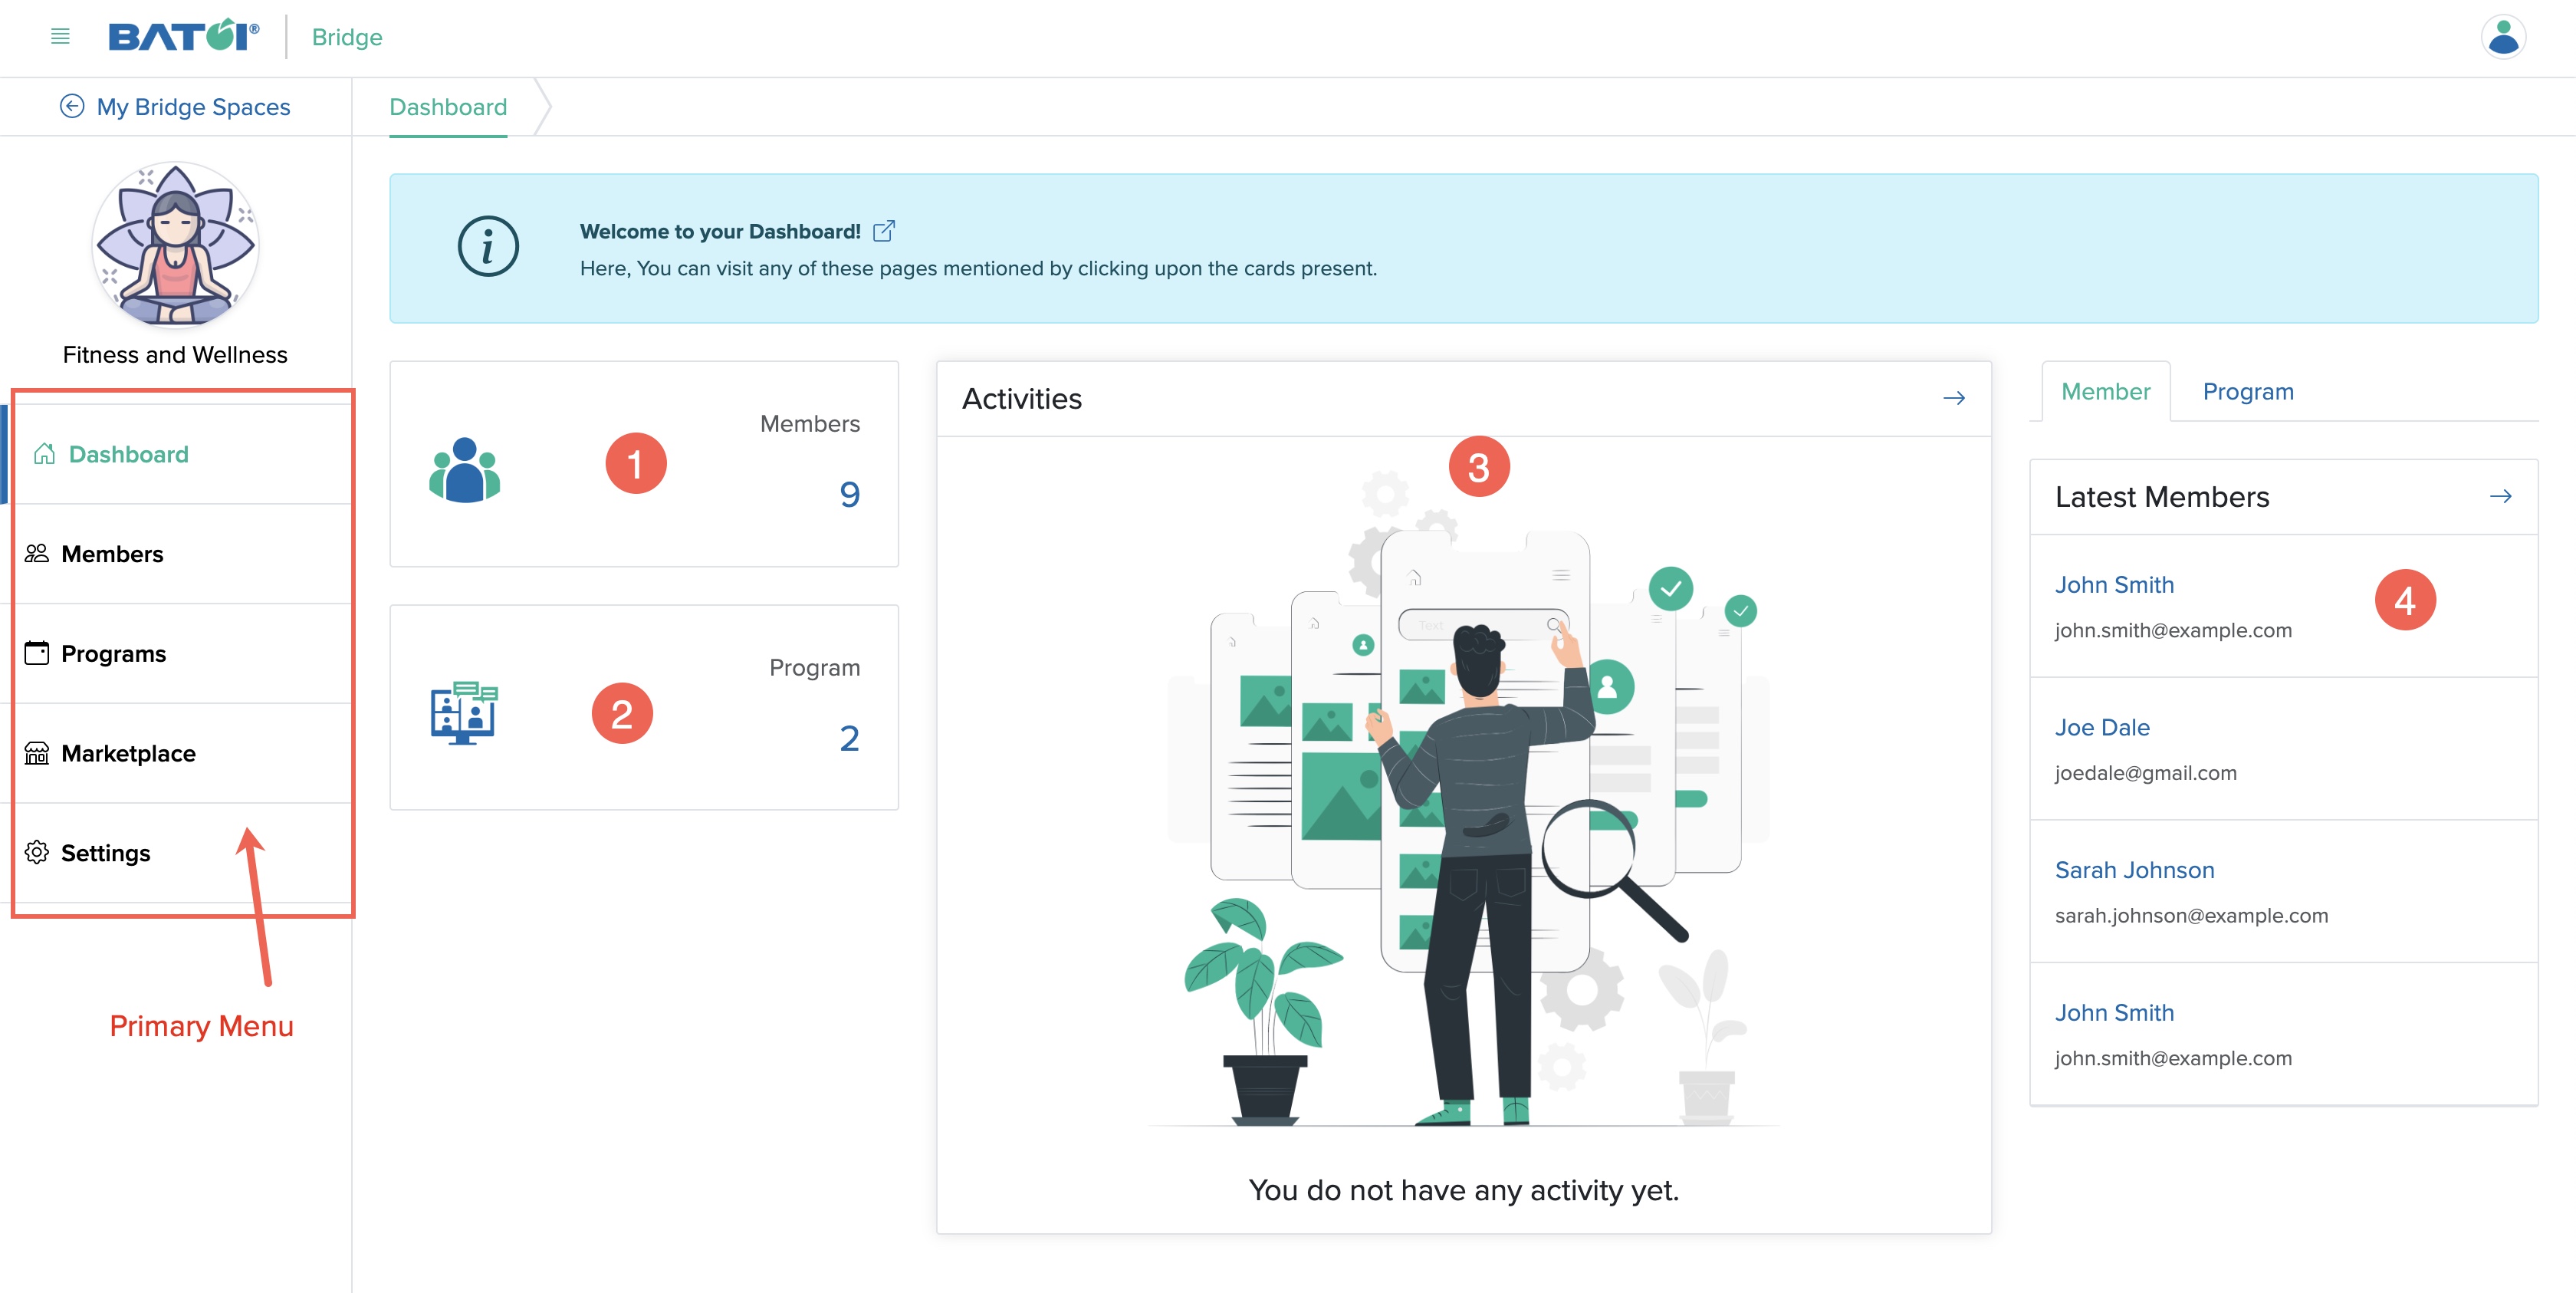
Click the Programs menu from the Manager Control Panel dashboard, as shown in Figure 1 above, and you will be redirected to the program list page, as shown in Figure 2 below.
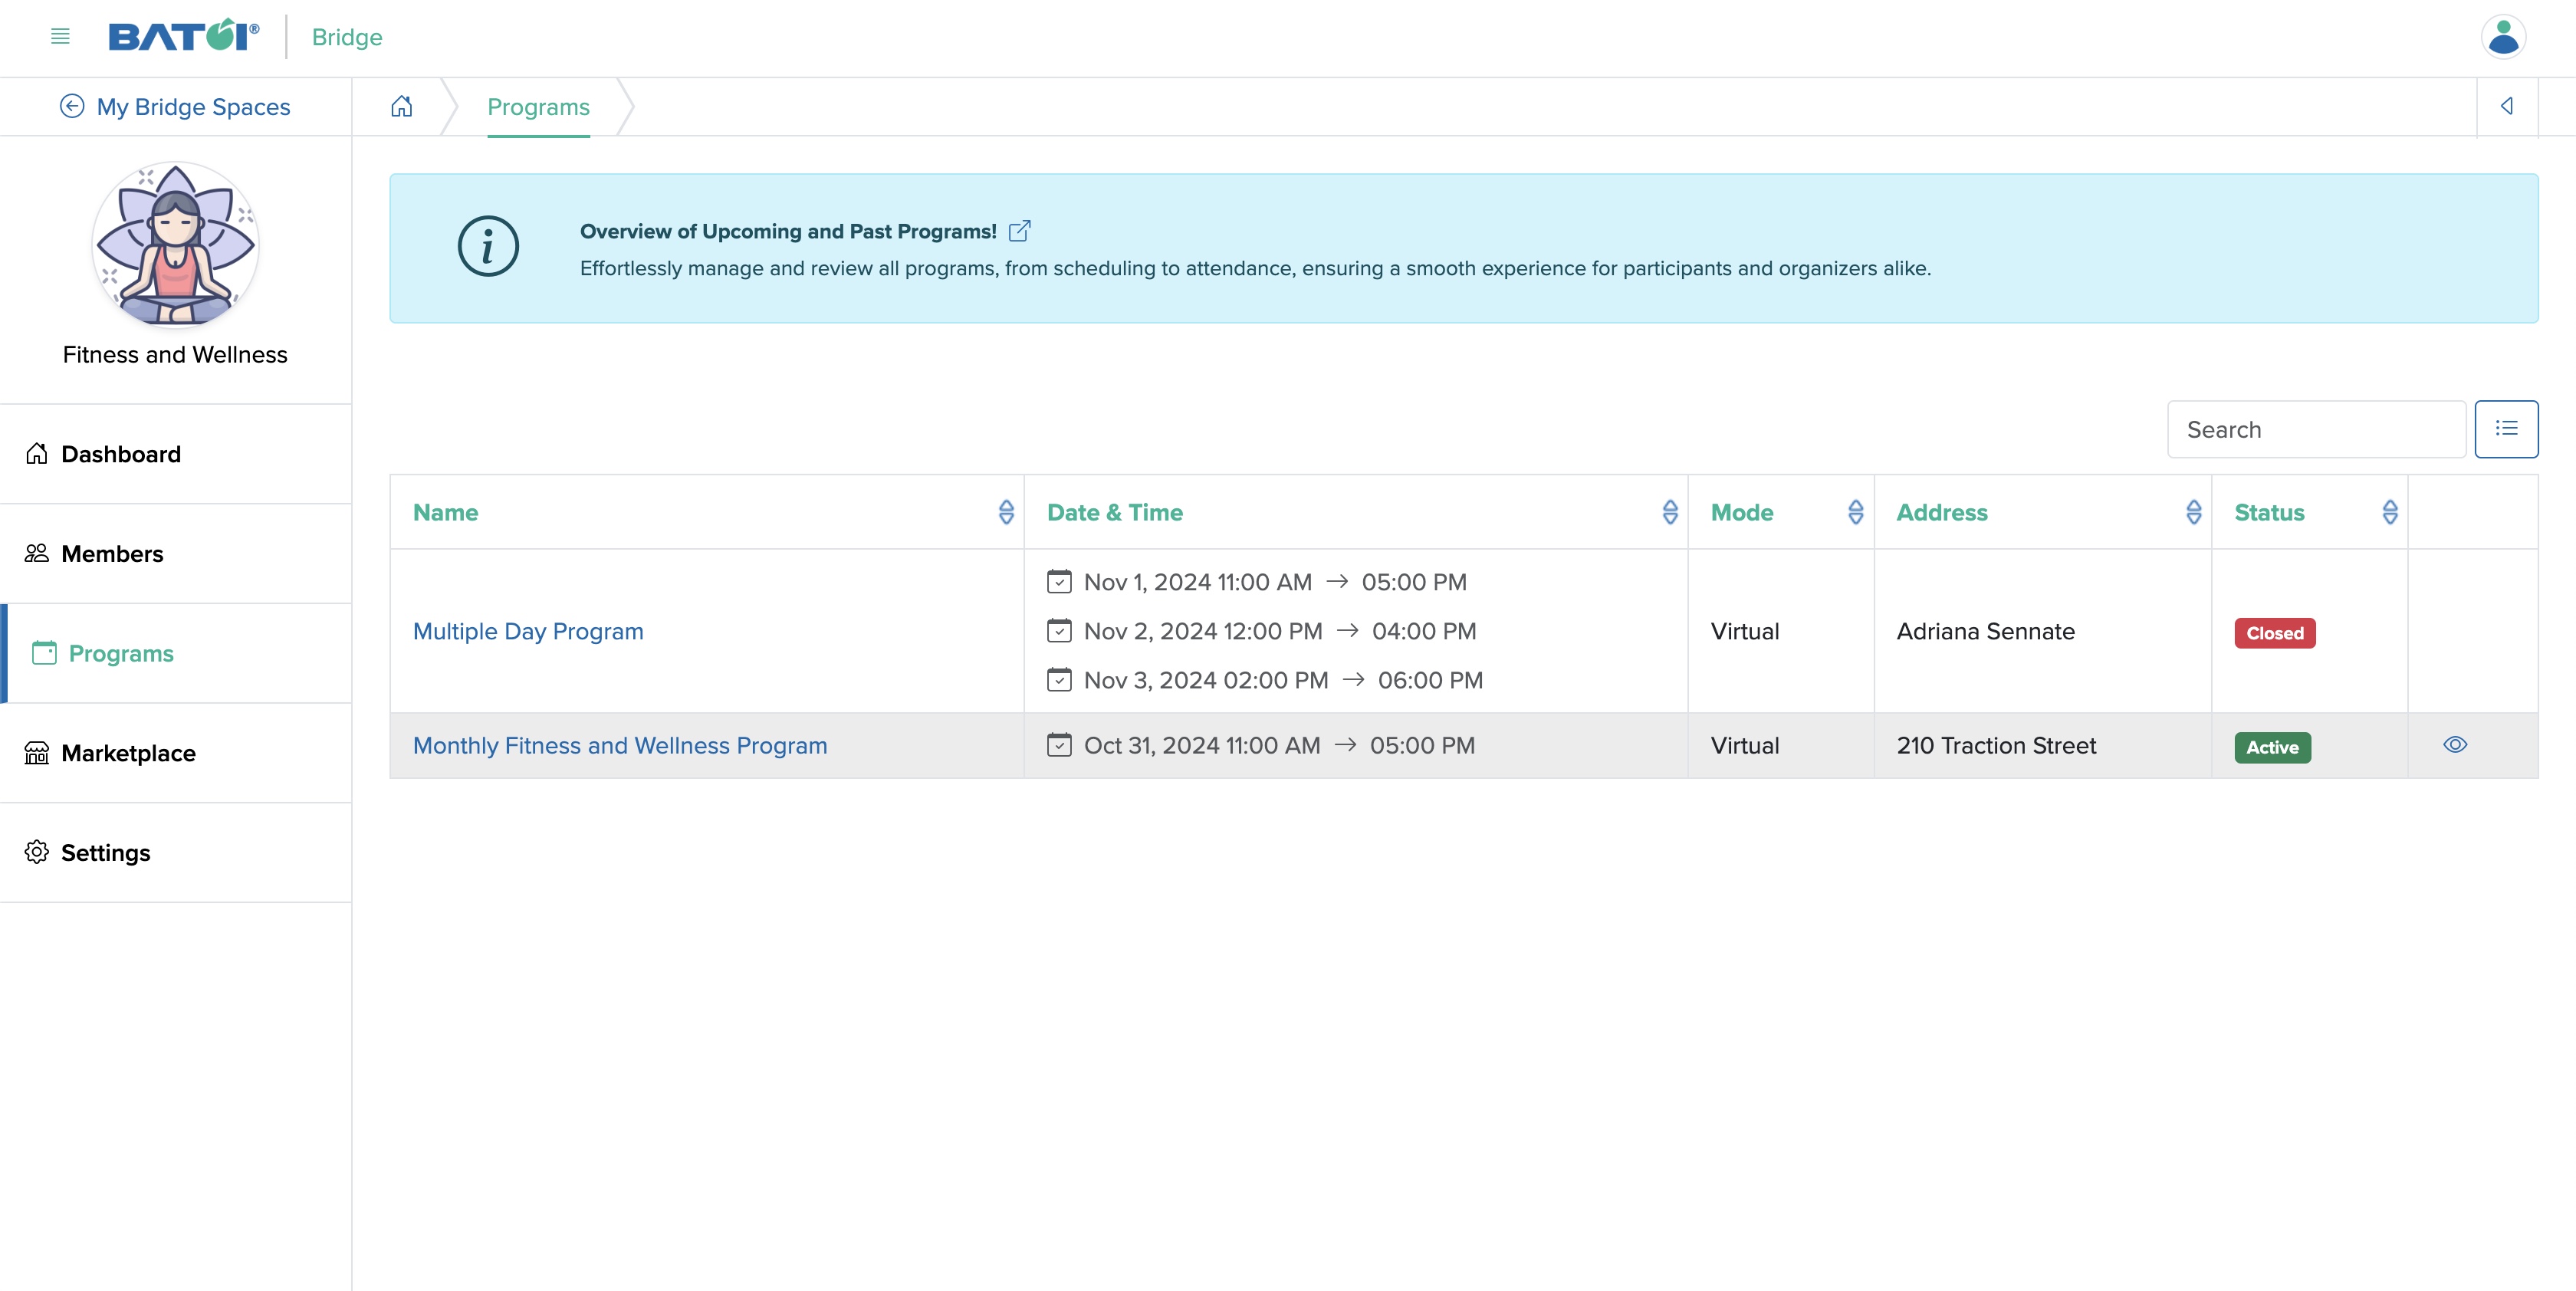
Click on the View icon associated with the each program row or click the program title to view the program details, as shown in Figure 2 above, and the Program Dashboard page will open, as shown in Figure 3 below.
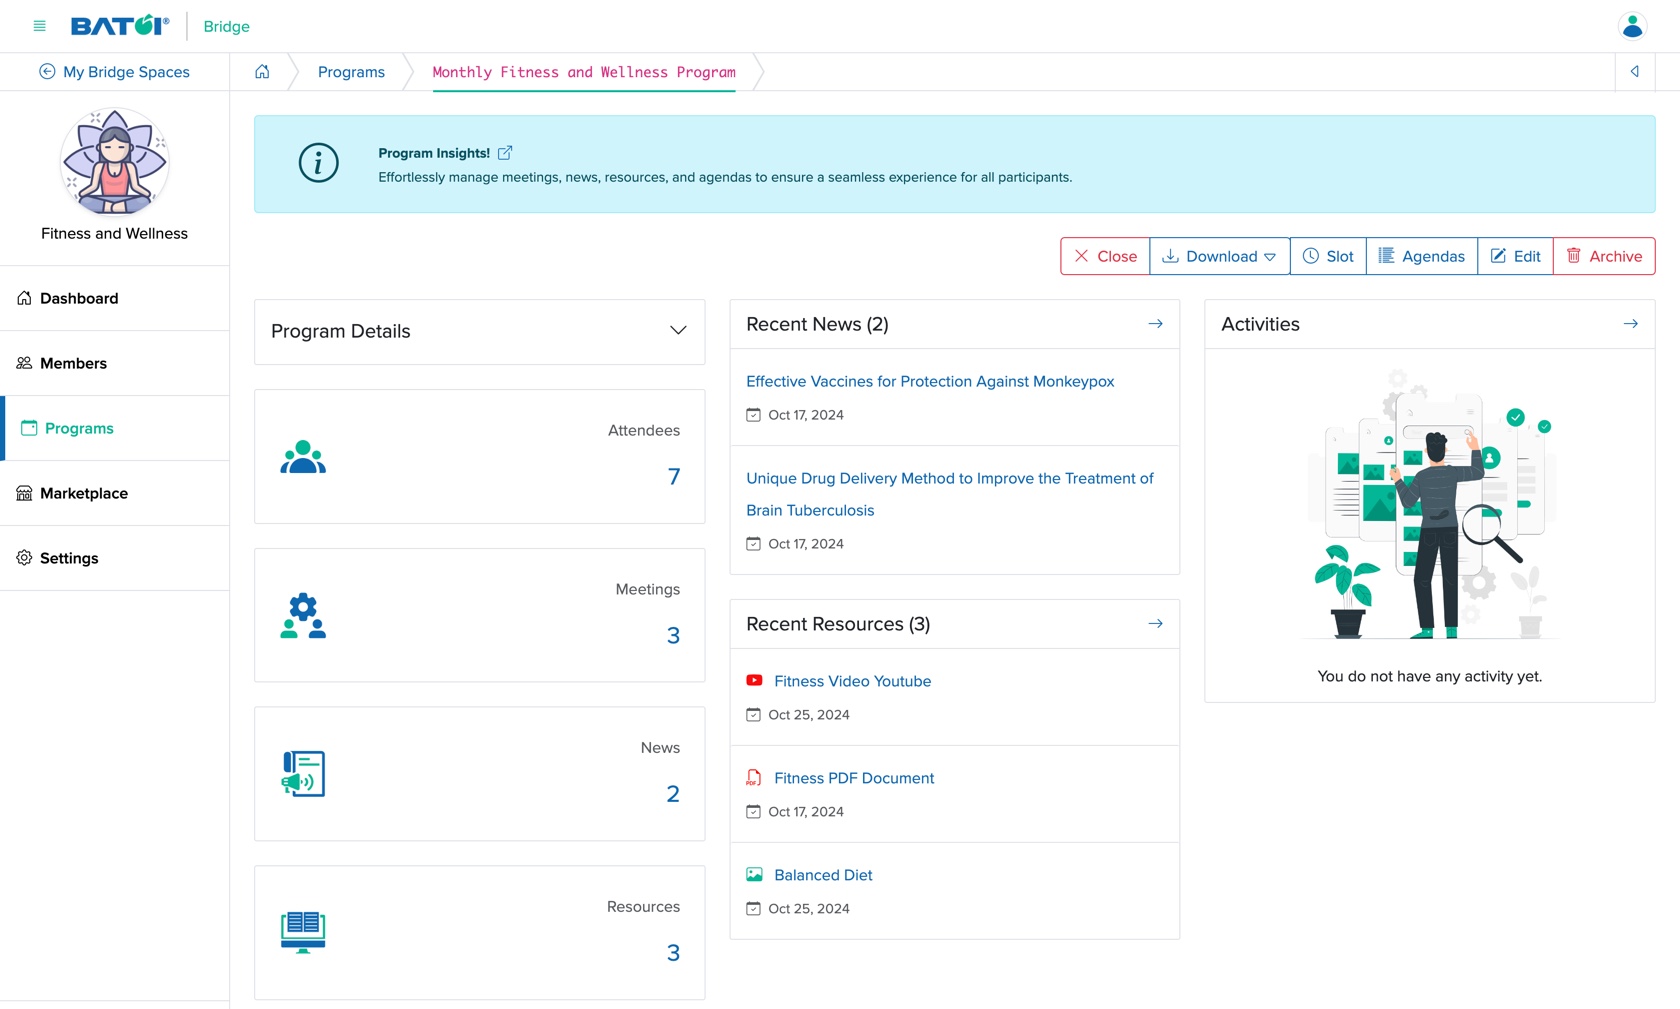
On the left side of the program dashboard screen, the Program details, number of Attendees, number of Meetings scheduled, number of News published, and number of Resources added will be visible in card format.
The program dashboard's middle section shows the latest news published and the addition of recent resources.
On the right side of the program dashboard screen, the Activity details will be visible.
Program Details
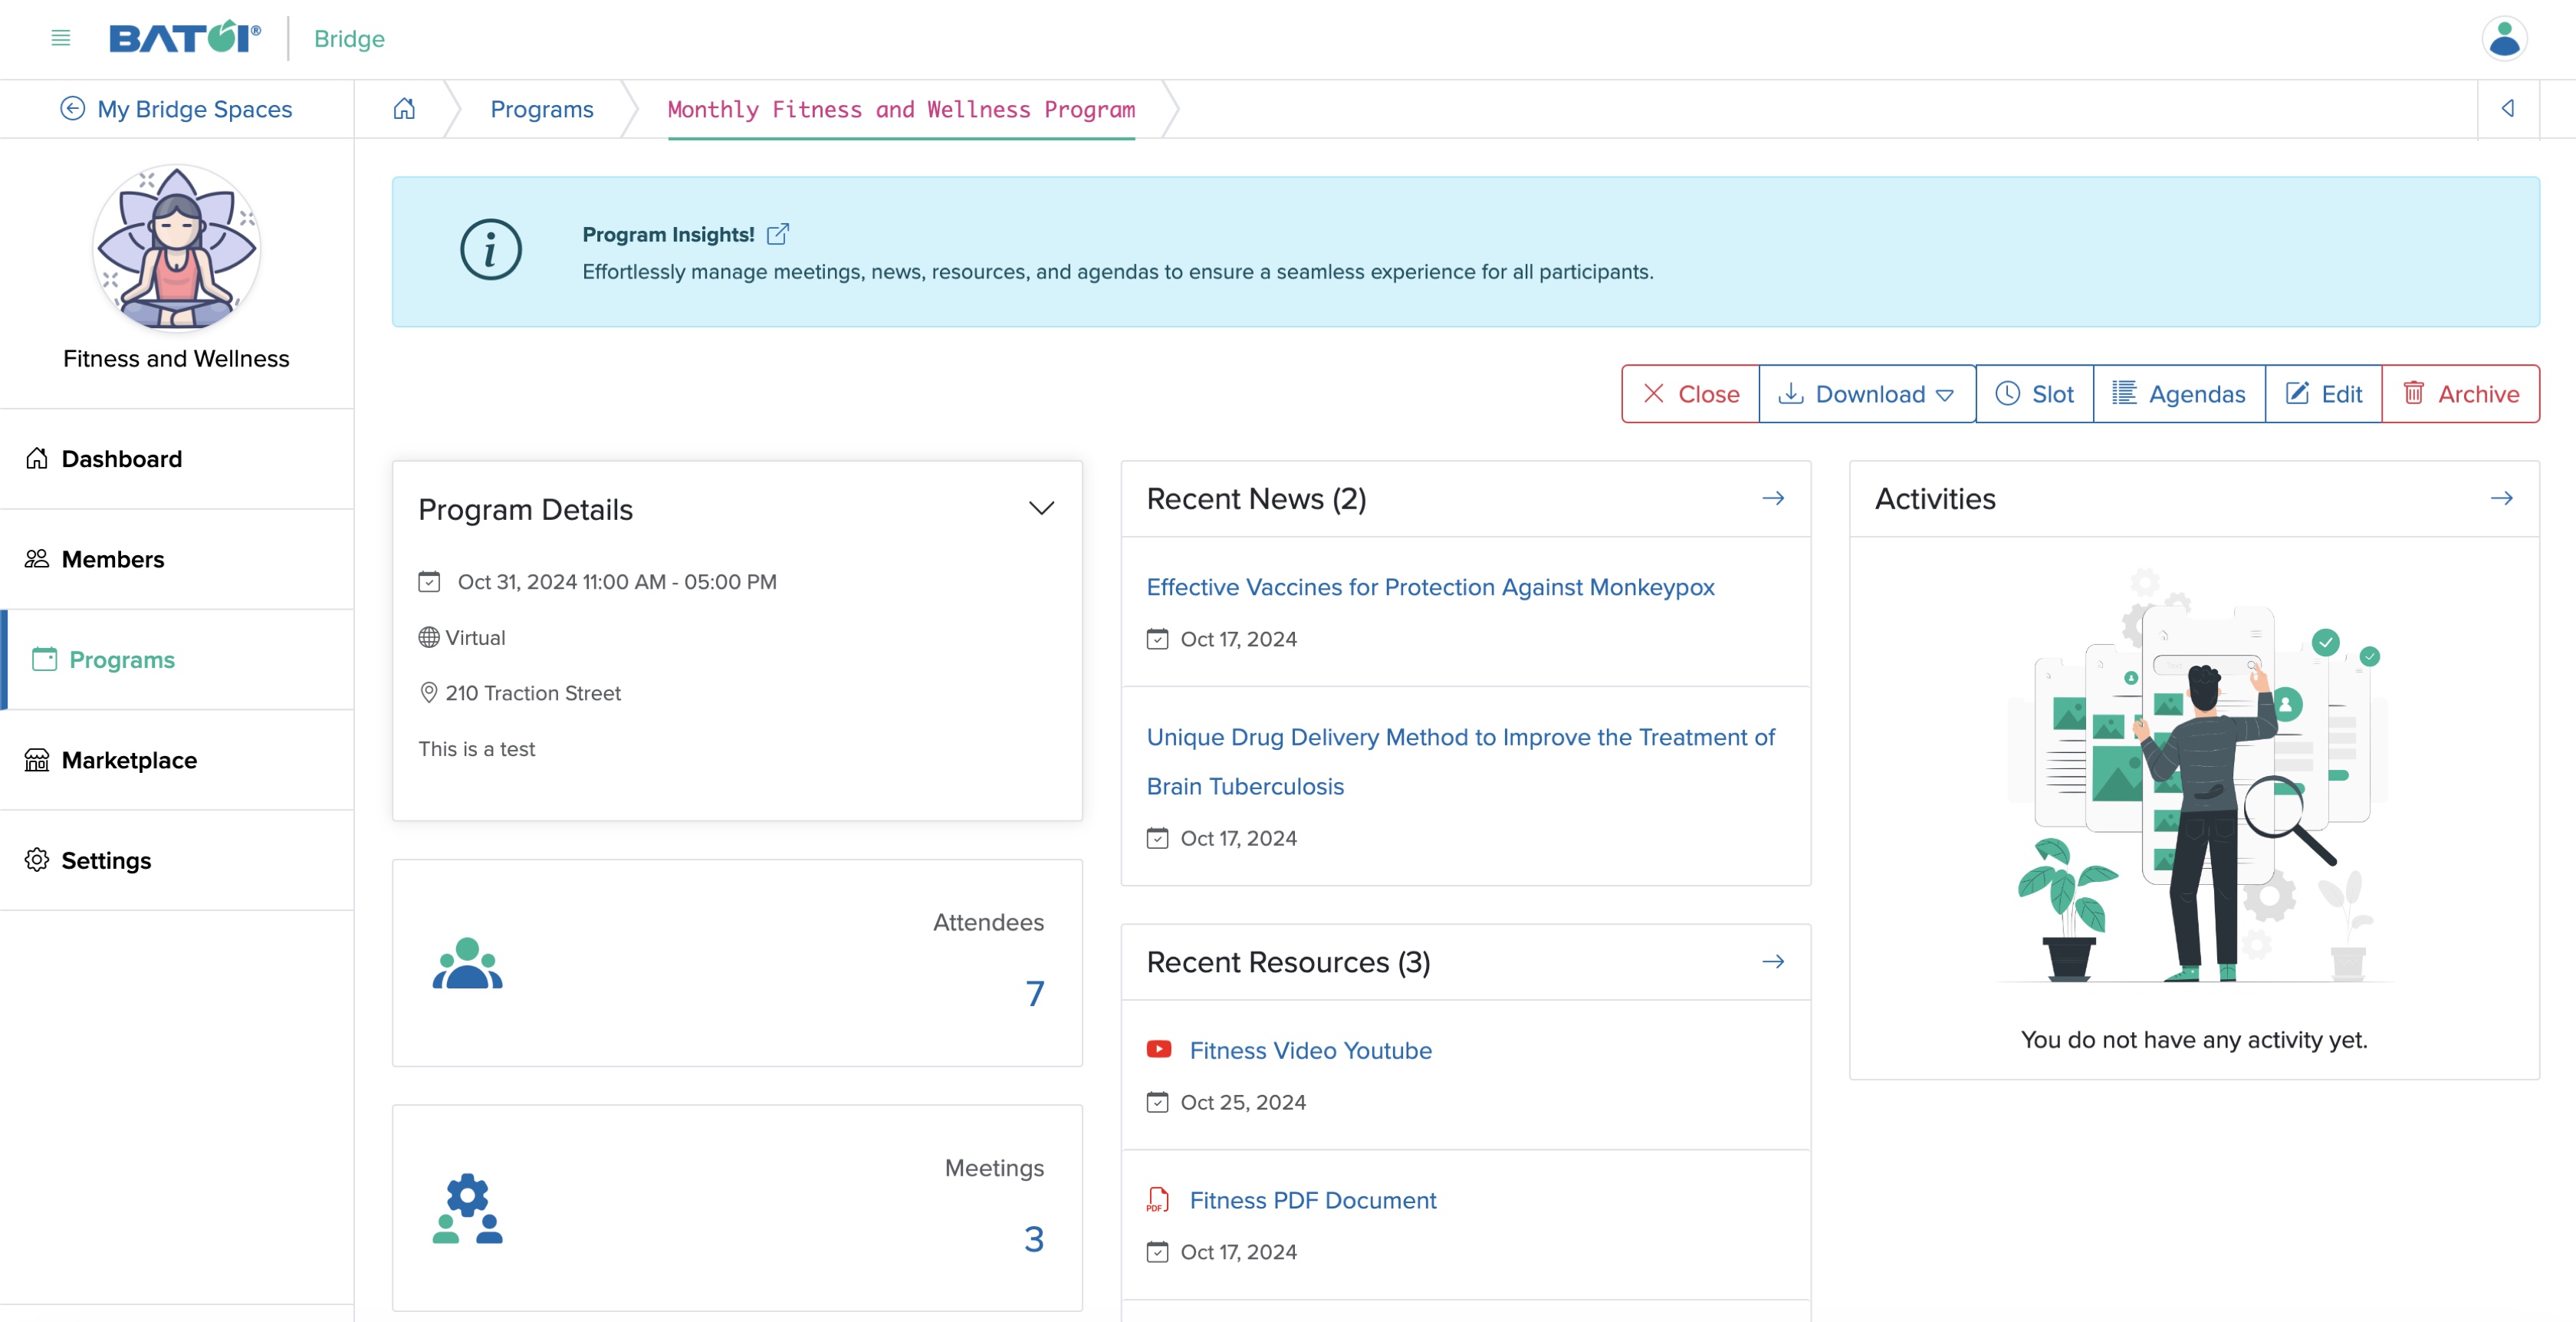
Click the down arrow on the Program Details card on the program dashboard, as shown in Figure 3 above. The card will expand, and you can view program details like Date and Time, Type, Location, and Program Details, as shown in Figure 4 below.
Attendees
Click the Attendees card available on the program dashboard, as shown in Figure 3 above and you will be redirected to the attendee list screen where all the attendees will be shown in a tabular format, as shown in Figure 6 below.
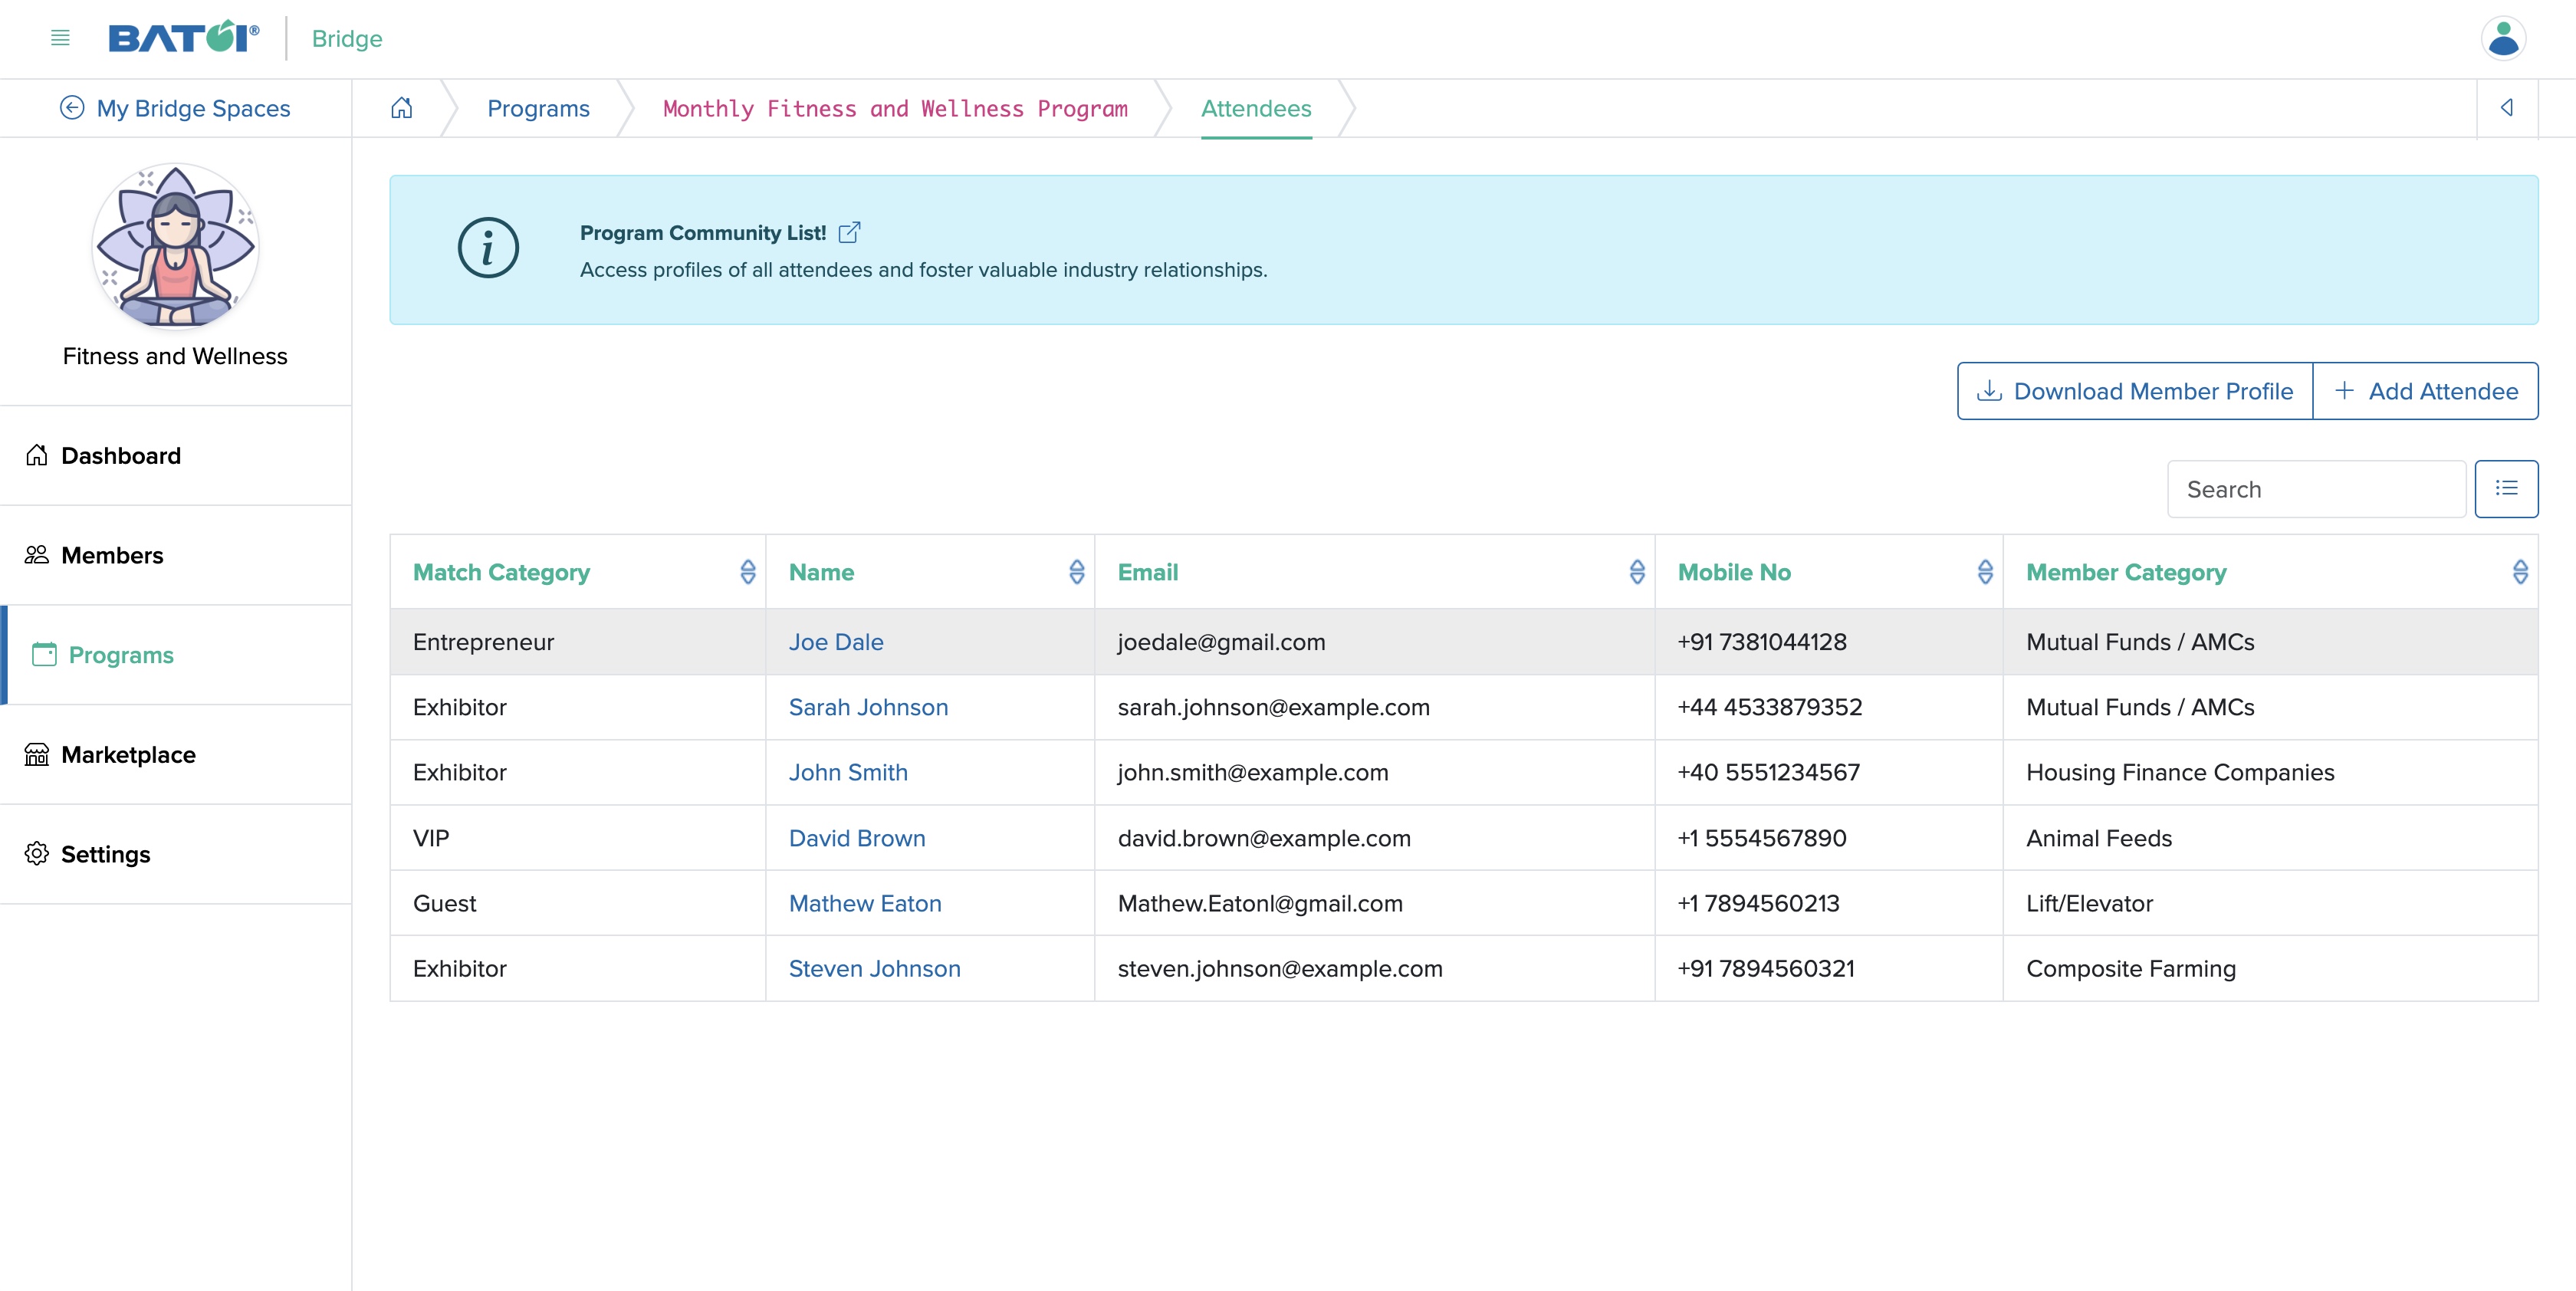
Click on the individual member name, as shown in Figure 6 above, and the attendee (member) profile page will open, as shown in Figure 7 below.
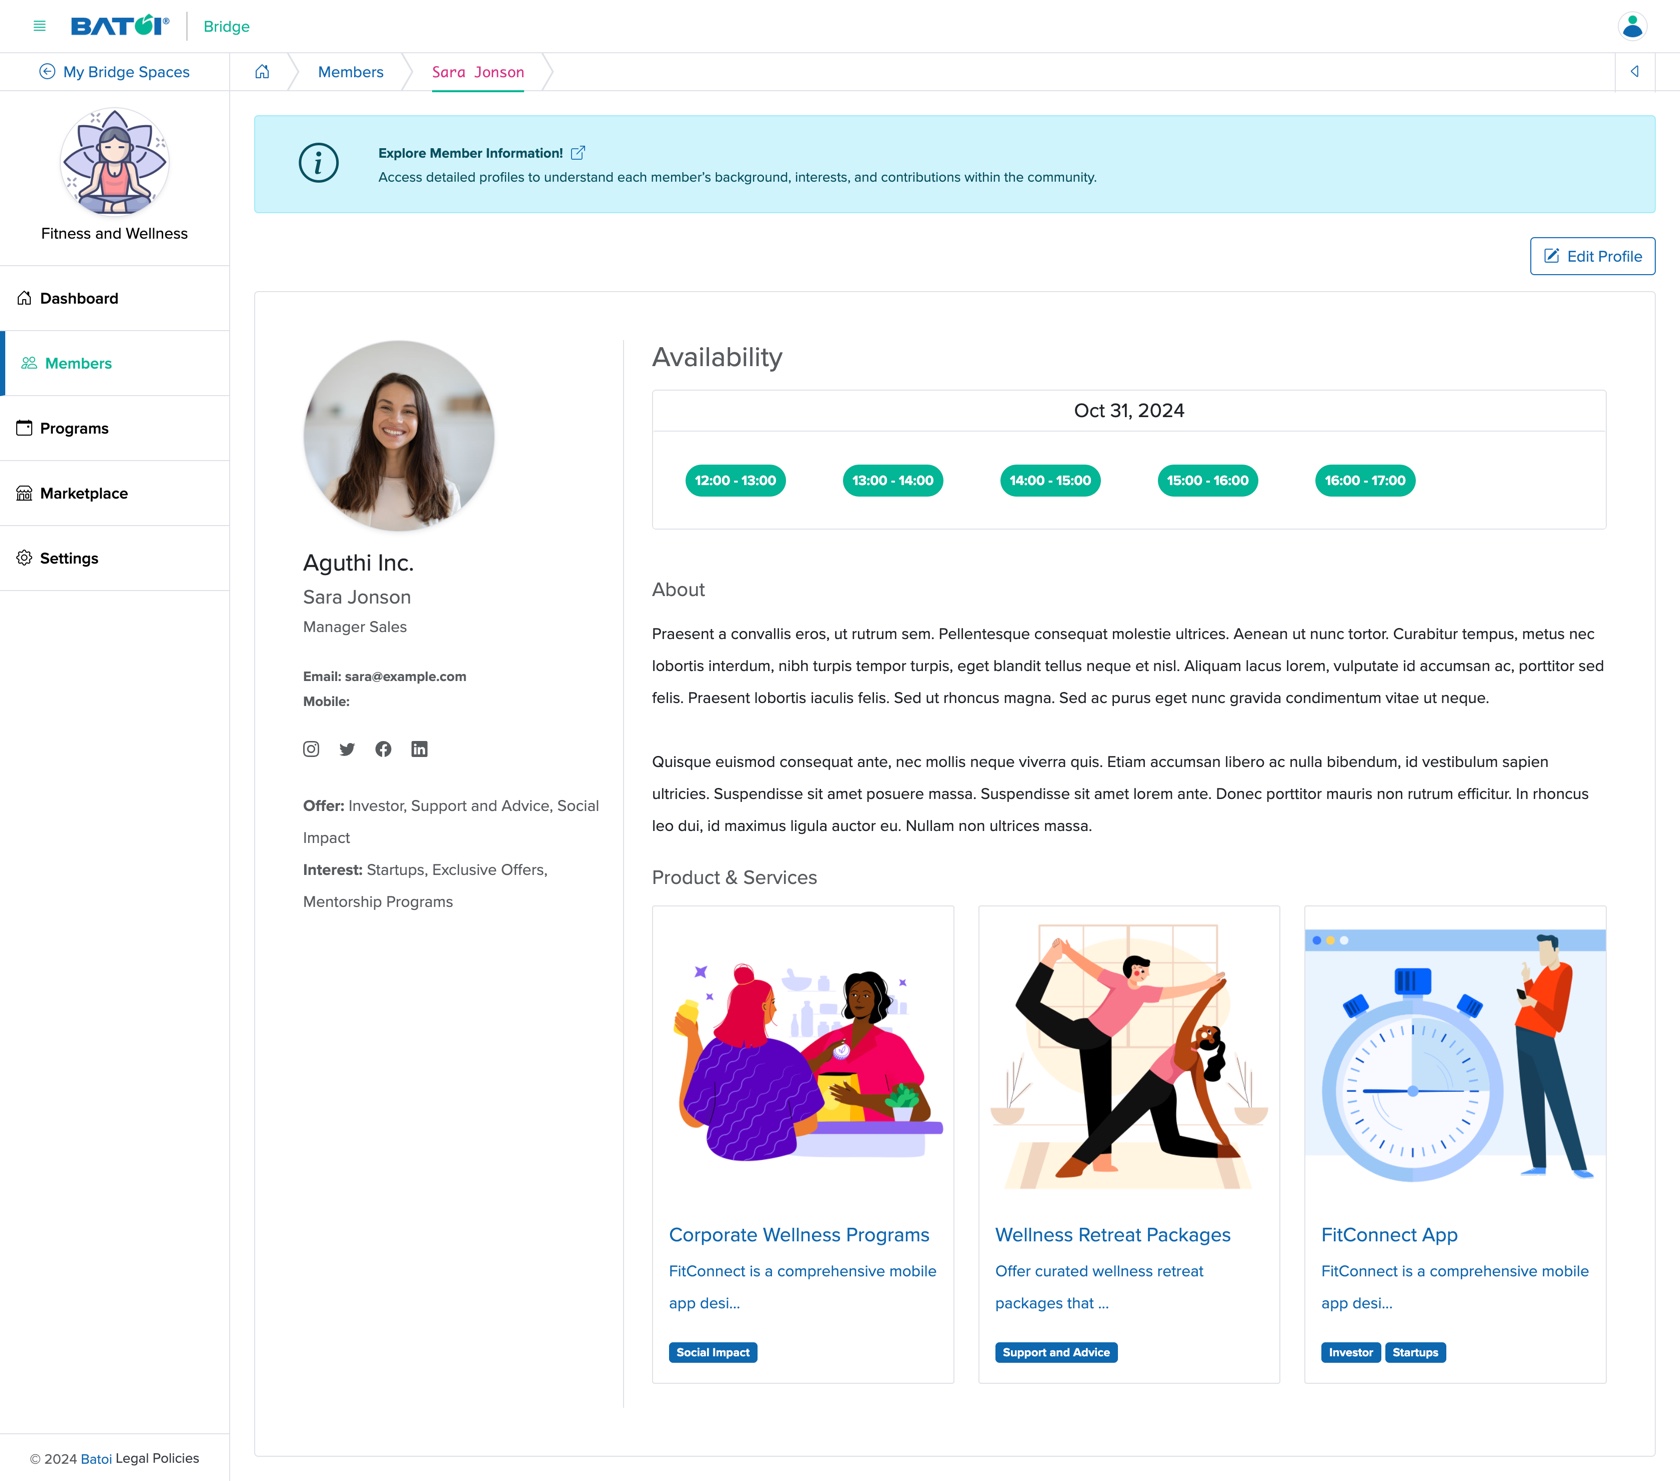
Add Attendee
Click the Add Attendee button available on the top right side of the list page, as shown in Figure 6 above and you will be redirected to the Add Attendee page, as shown in Figure 8 below.

All the members added to the program will be displayed, as shown in Figure 8 above and you can select the members to whom you want to add as attendees and click the Submit button once you are done with and the system will add all the members selected to the attendee list as shown in Figure 6 above.
Download Member Profile
To download all the member’s profiles in a PDF format, click on the Download Member Profile button at the top right of the attendee list page, as shown in Figure 6 above, and a popup window will open with the profile details of all the members so that you can print them using a printer command or save the file in PDF format for later use, as shown in Figure 9 below.

Edit Attendee Profile
Click the Edit button available on the top right side of the profile page, as shown in Figure 7 above and you will be redirected to the profile edit page, as shown in Figure 10 below.
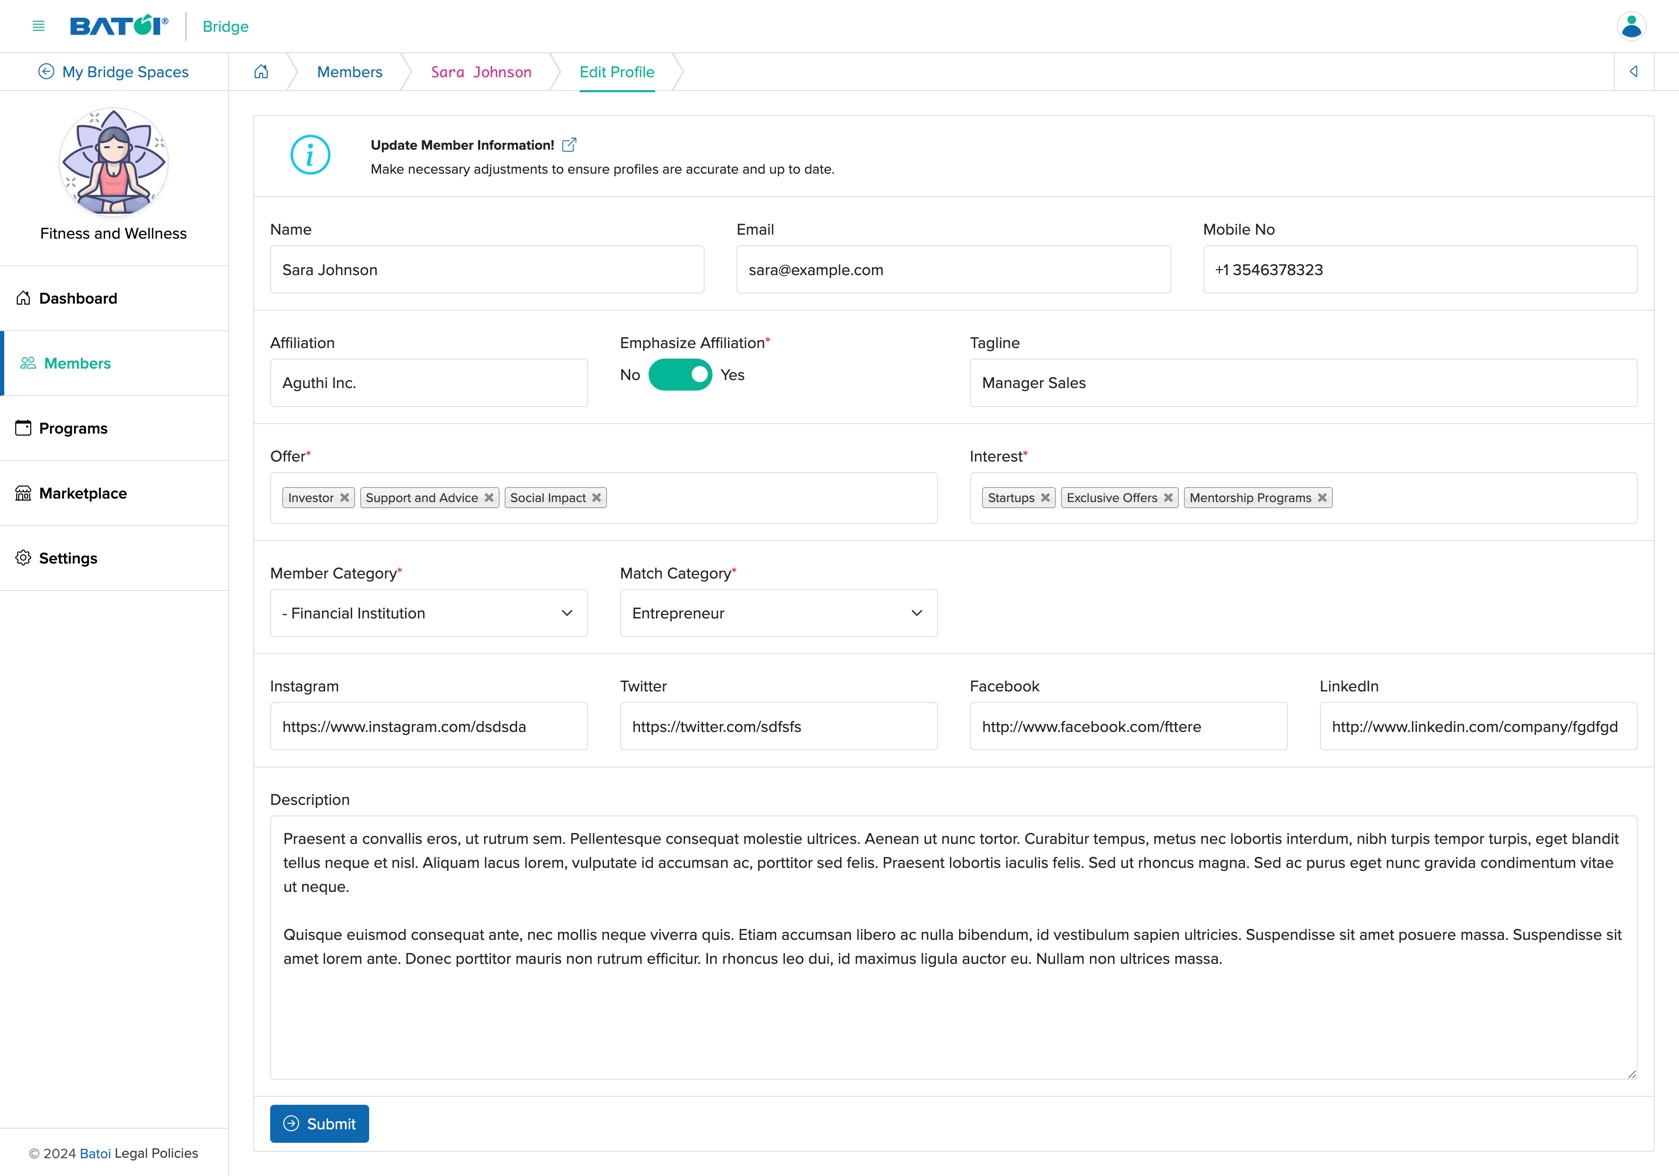
You can edit the below details and click the Submit button to update the member profile, as shown in Figure 10 above. The details that can be updated are:
- Name (Textbox - Mandatory): Name of the Member
- Email (Textbox - Mandatory): Email ID of the Member
- Mobile (Textbox - Mandatory): Mobile number of the Member
- Affiliation (Textbox - Mandatory): Name of the Organisation of Affiliation of the Member
- Emphasize Affiliation (Radio Button - Mandatory): Select if you want a emphasize the affiliation name of your profile page or not (If selected Yes, then the Affiliation name will come first and the contact name will come below that)
- Tagline (Textbox - Mandatory): Tagline to describe you
- Offers (Multi-select - Mandatory): Select the category of service you offer from the options available
- Interest (Multi-select - Mandatory): Select the category of service you are looking for from the options available
- Social Media Handles
- Description (Textarea - Optional): Write about you or your organisation
As shown in Figure 10 above, click the Back icon at the top right of the screen to return to the member profile page.
Meetings
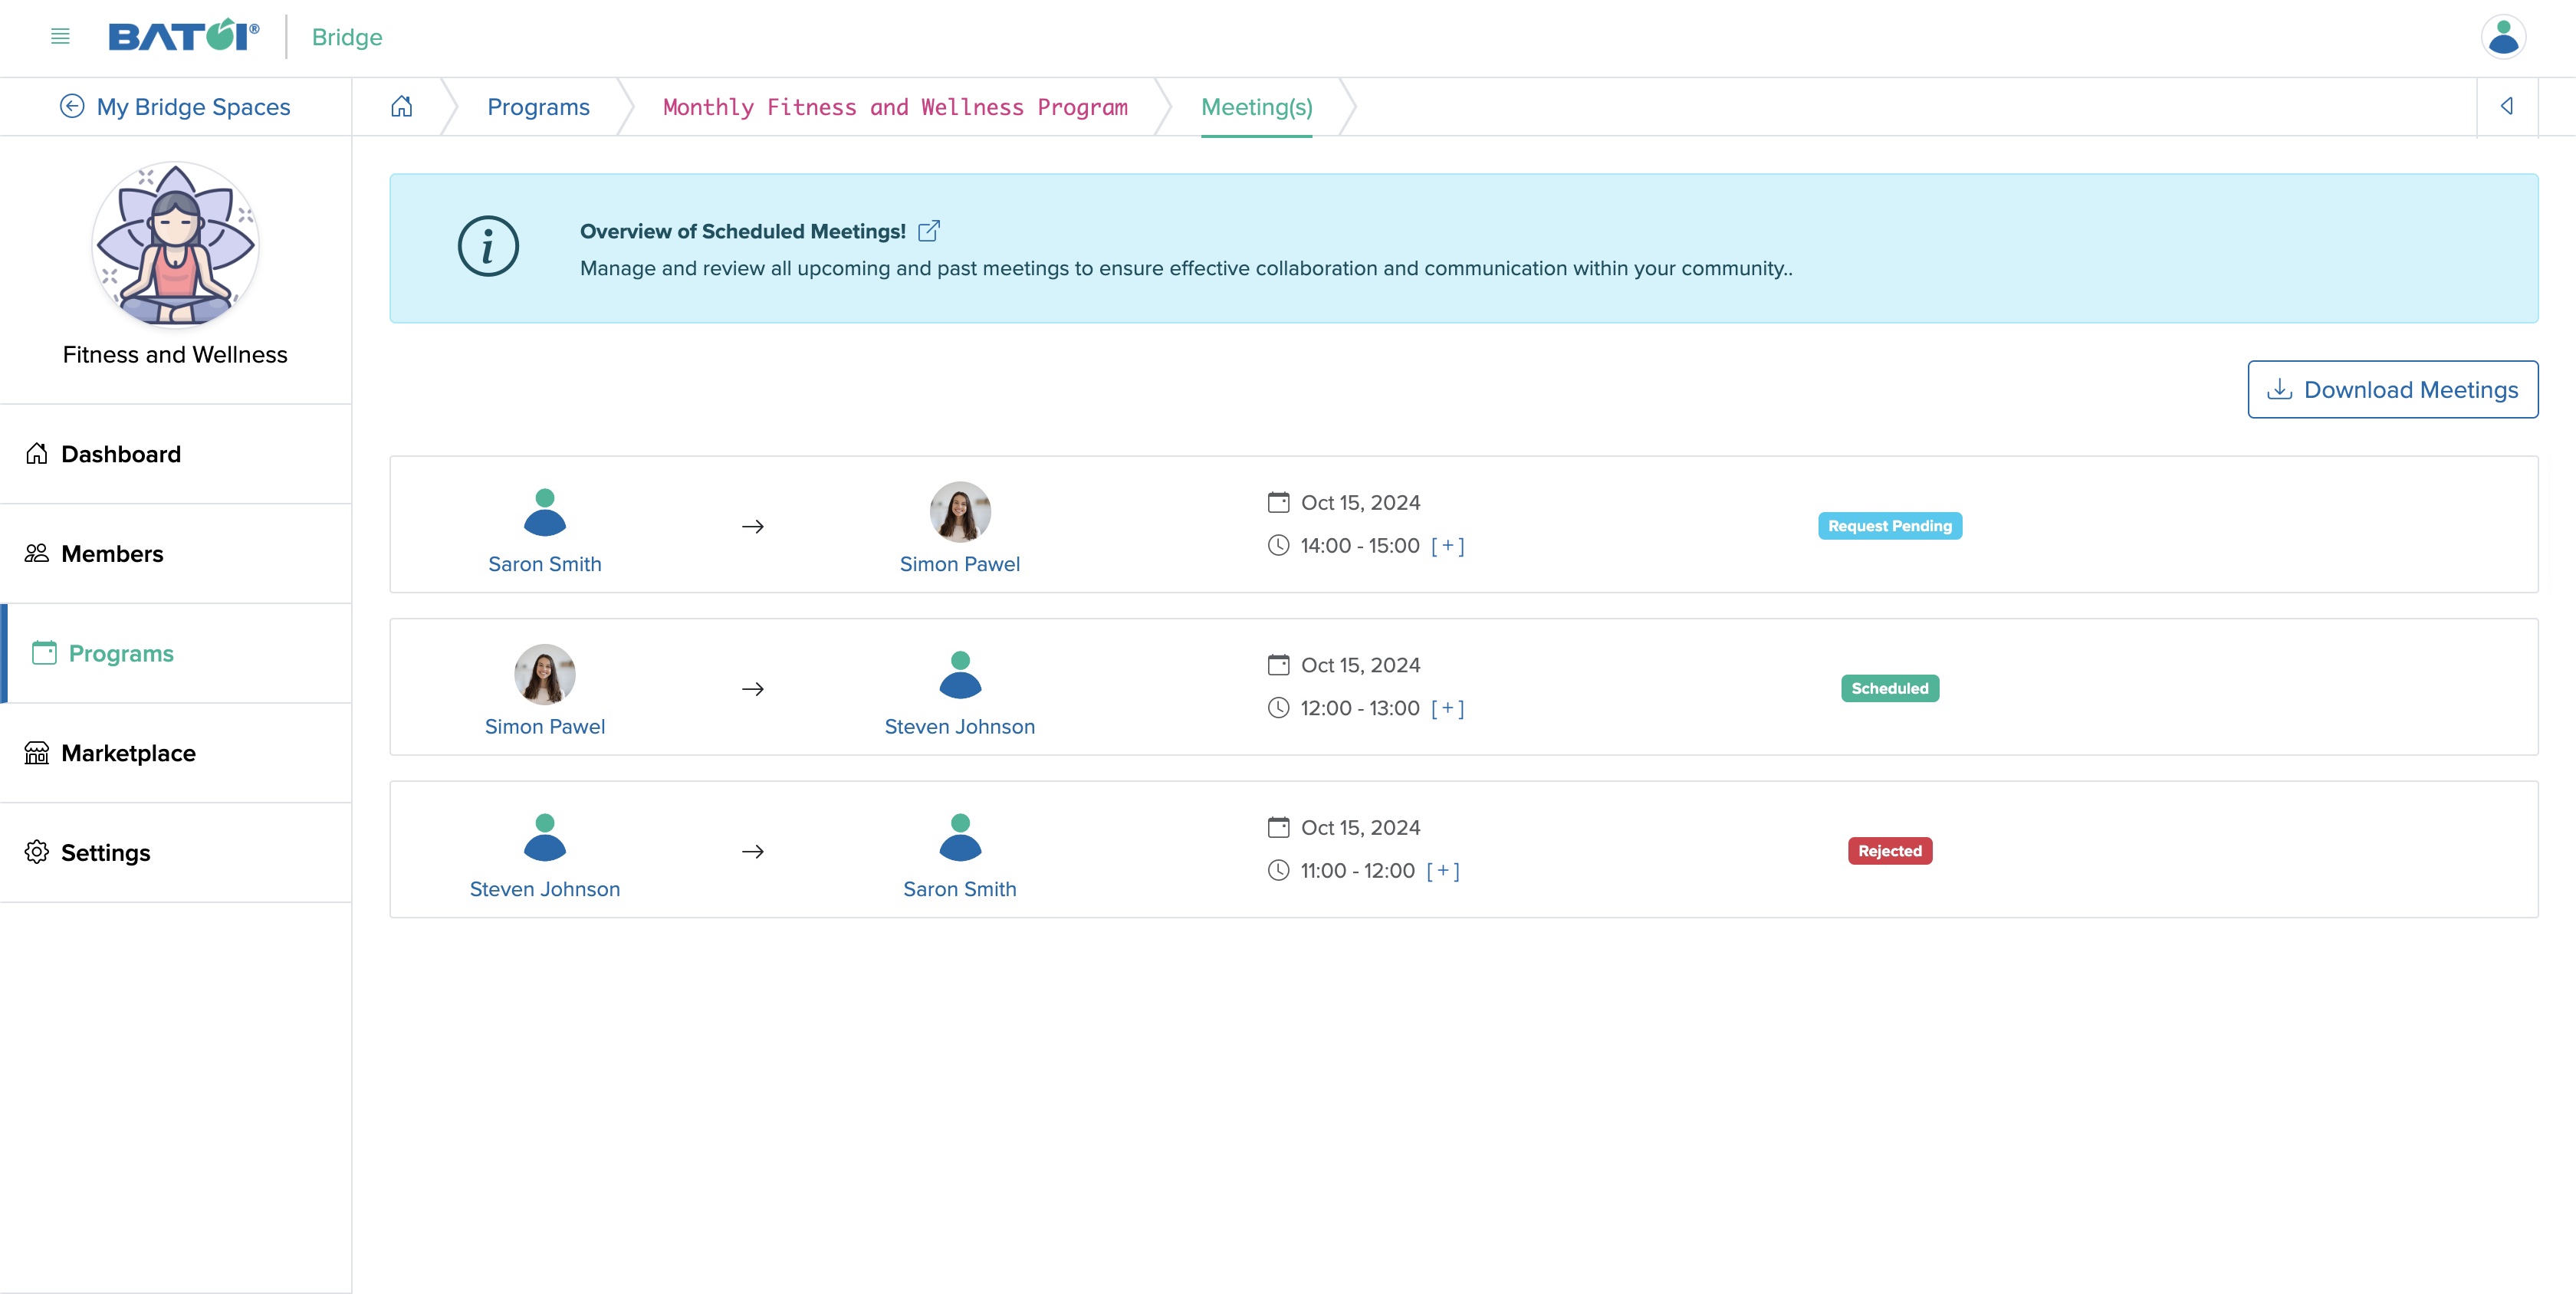
Click the Meeting card available on the program dashboard, as shown in Figure 3 above and you will be redirected to the meeting list screen where all the meetings will be shown in a tabular format, as shown in Figure 11 below.
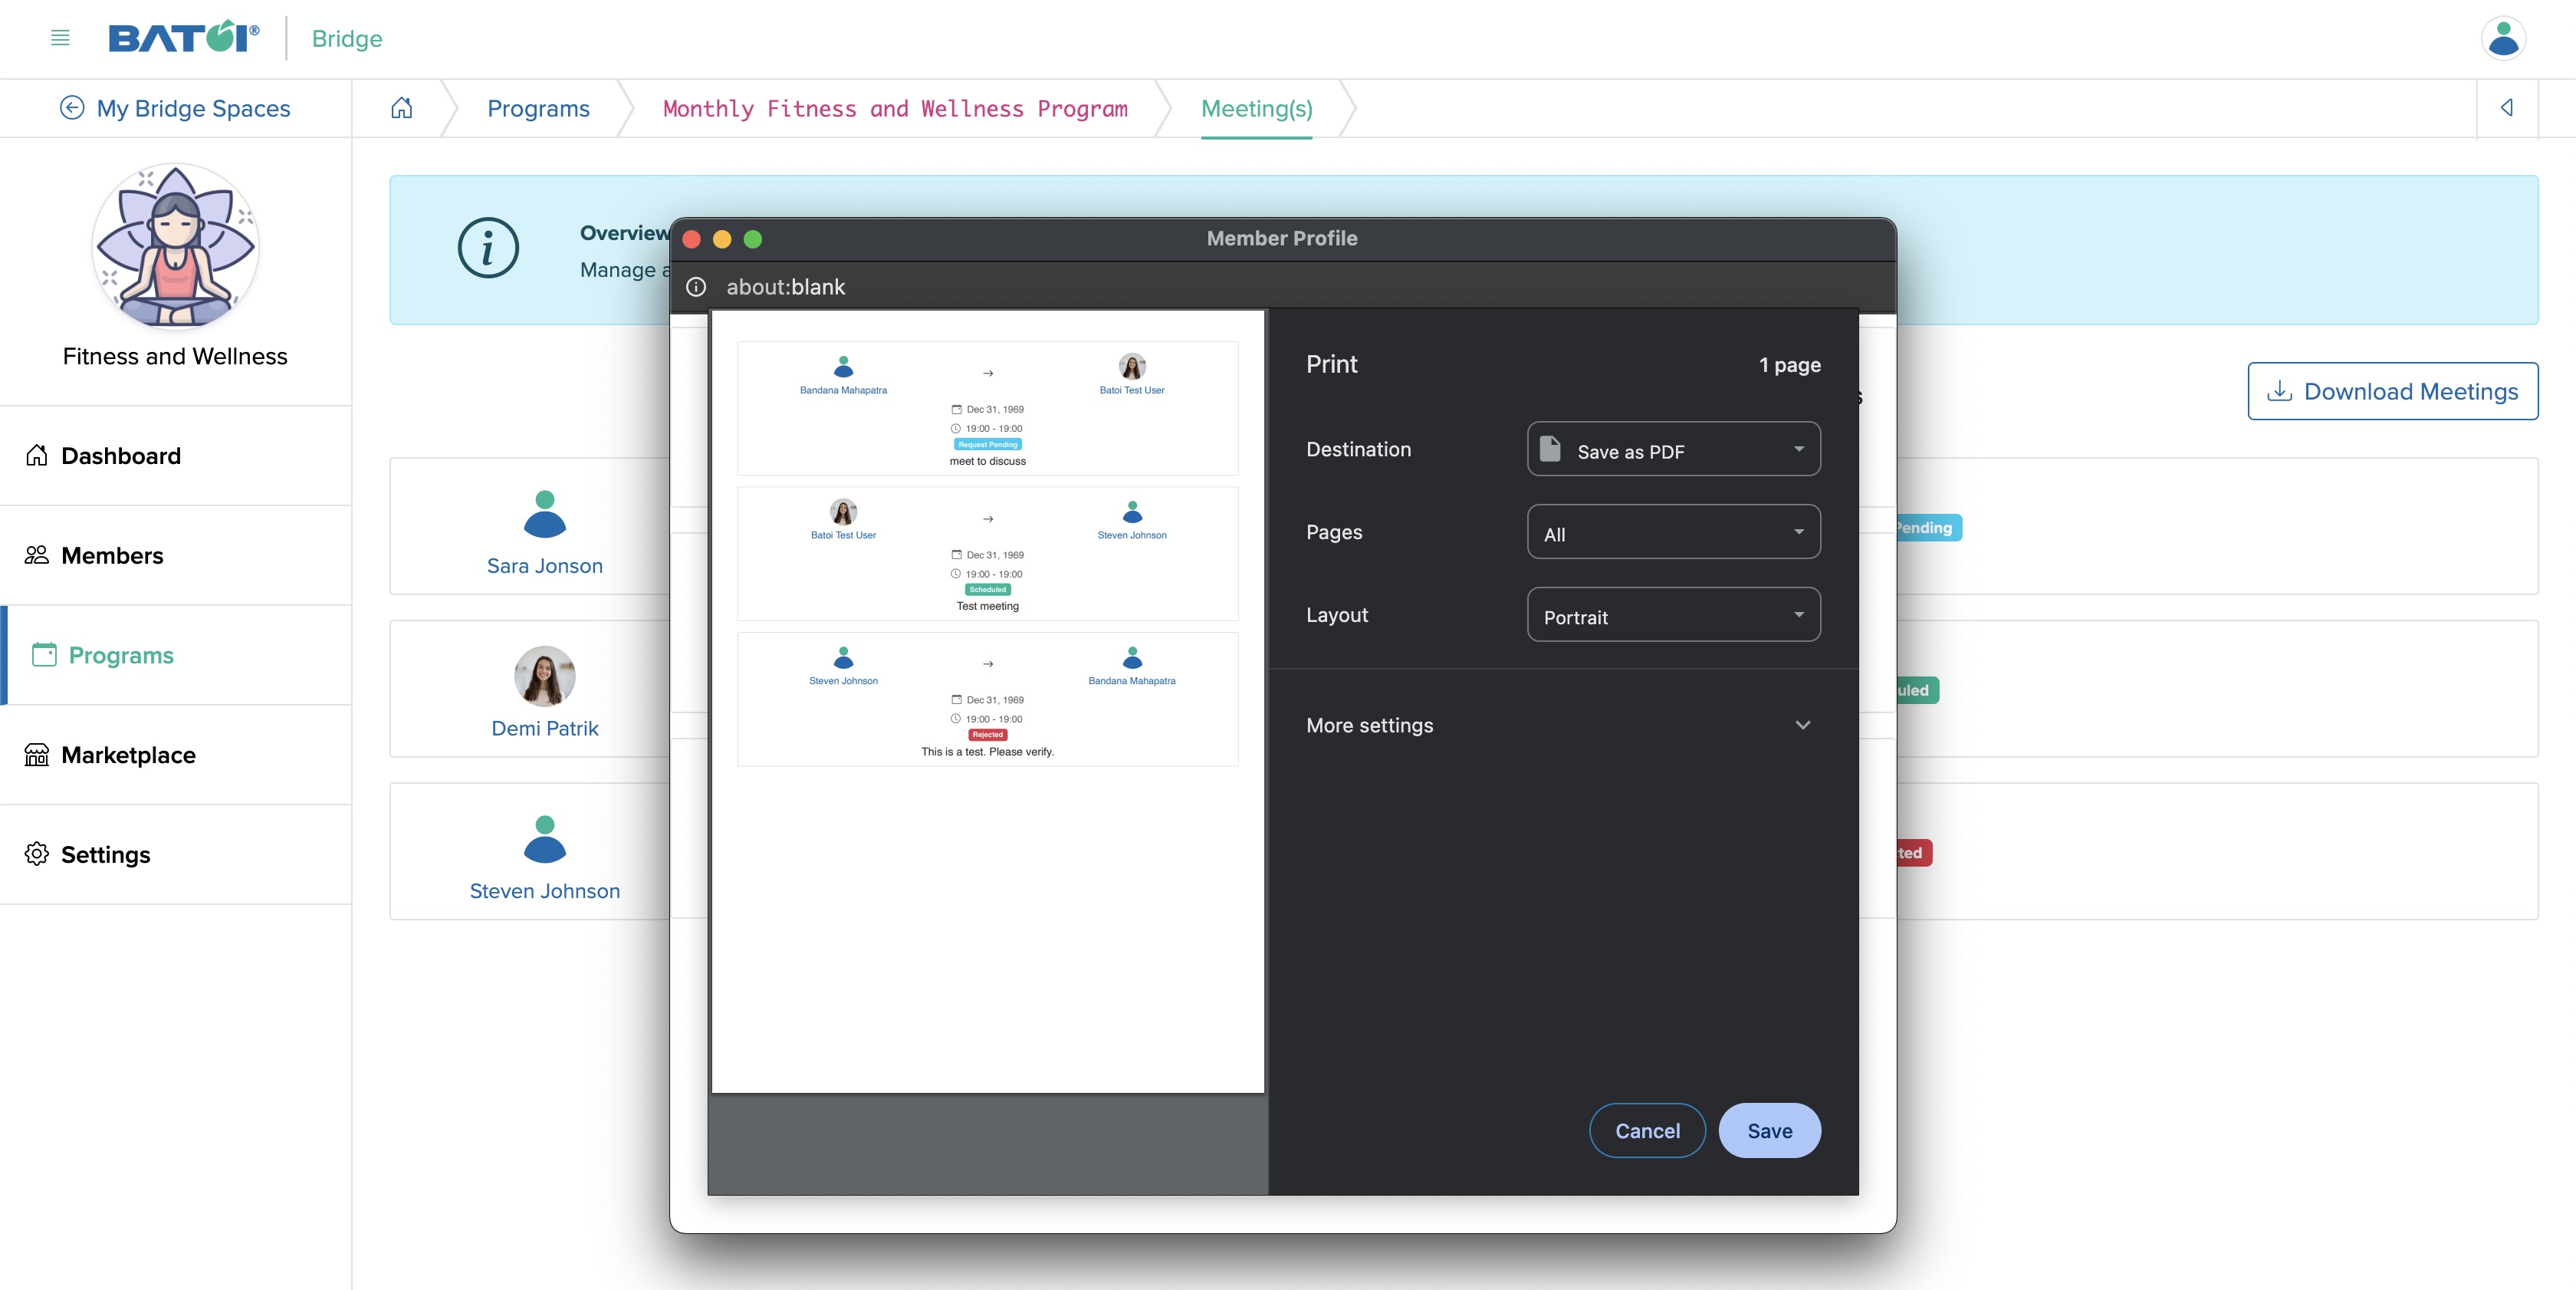
Download Meeting
To download all the meetings in a PDF format, click on the Download Meeting button at the top right of the meeting list page, as shown in Figure 11 above, and a popup window will open with the profile details of all the members so that you can print them using a printer command or save the file in PDF format for later use, as shown in Figure 12 below.
News
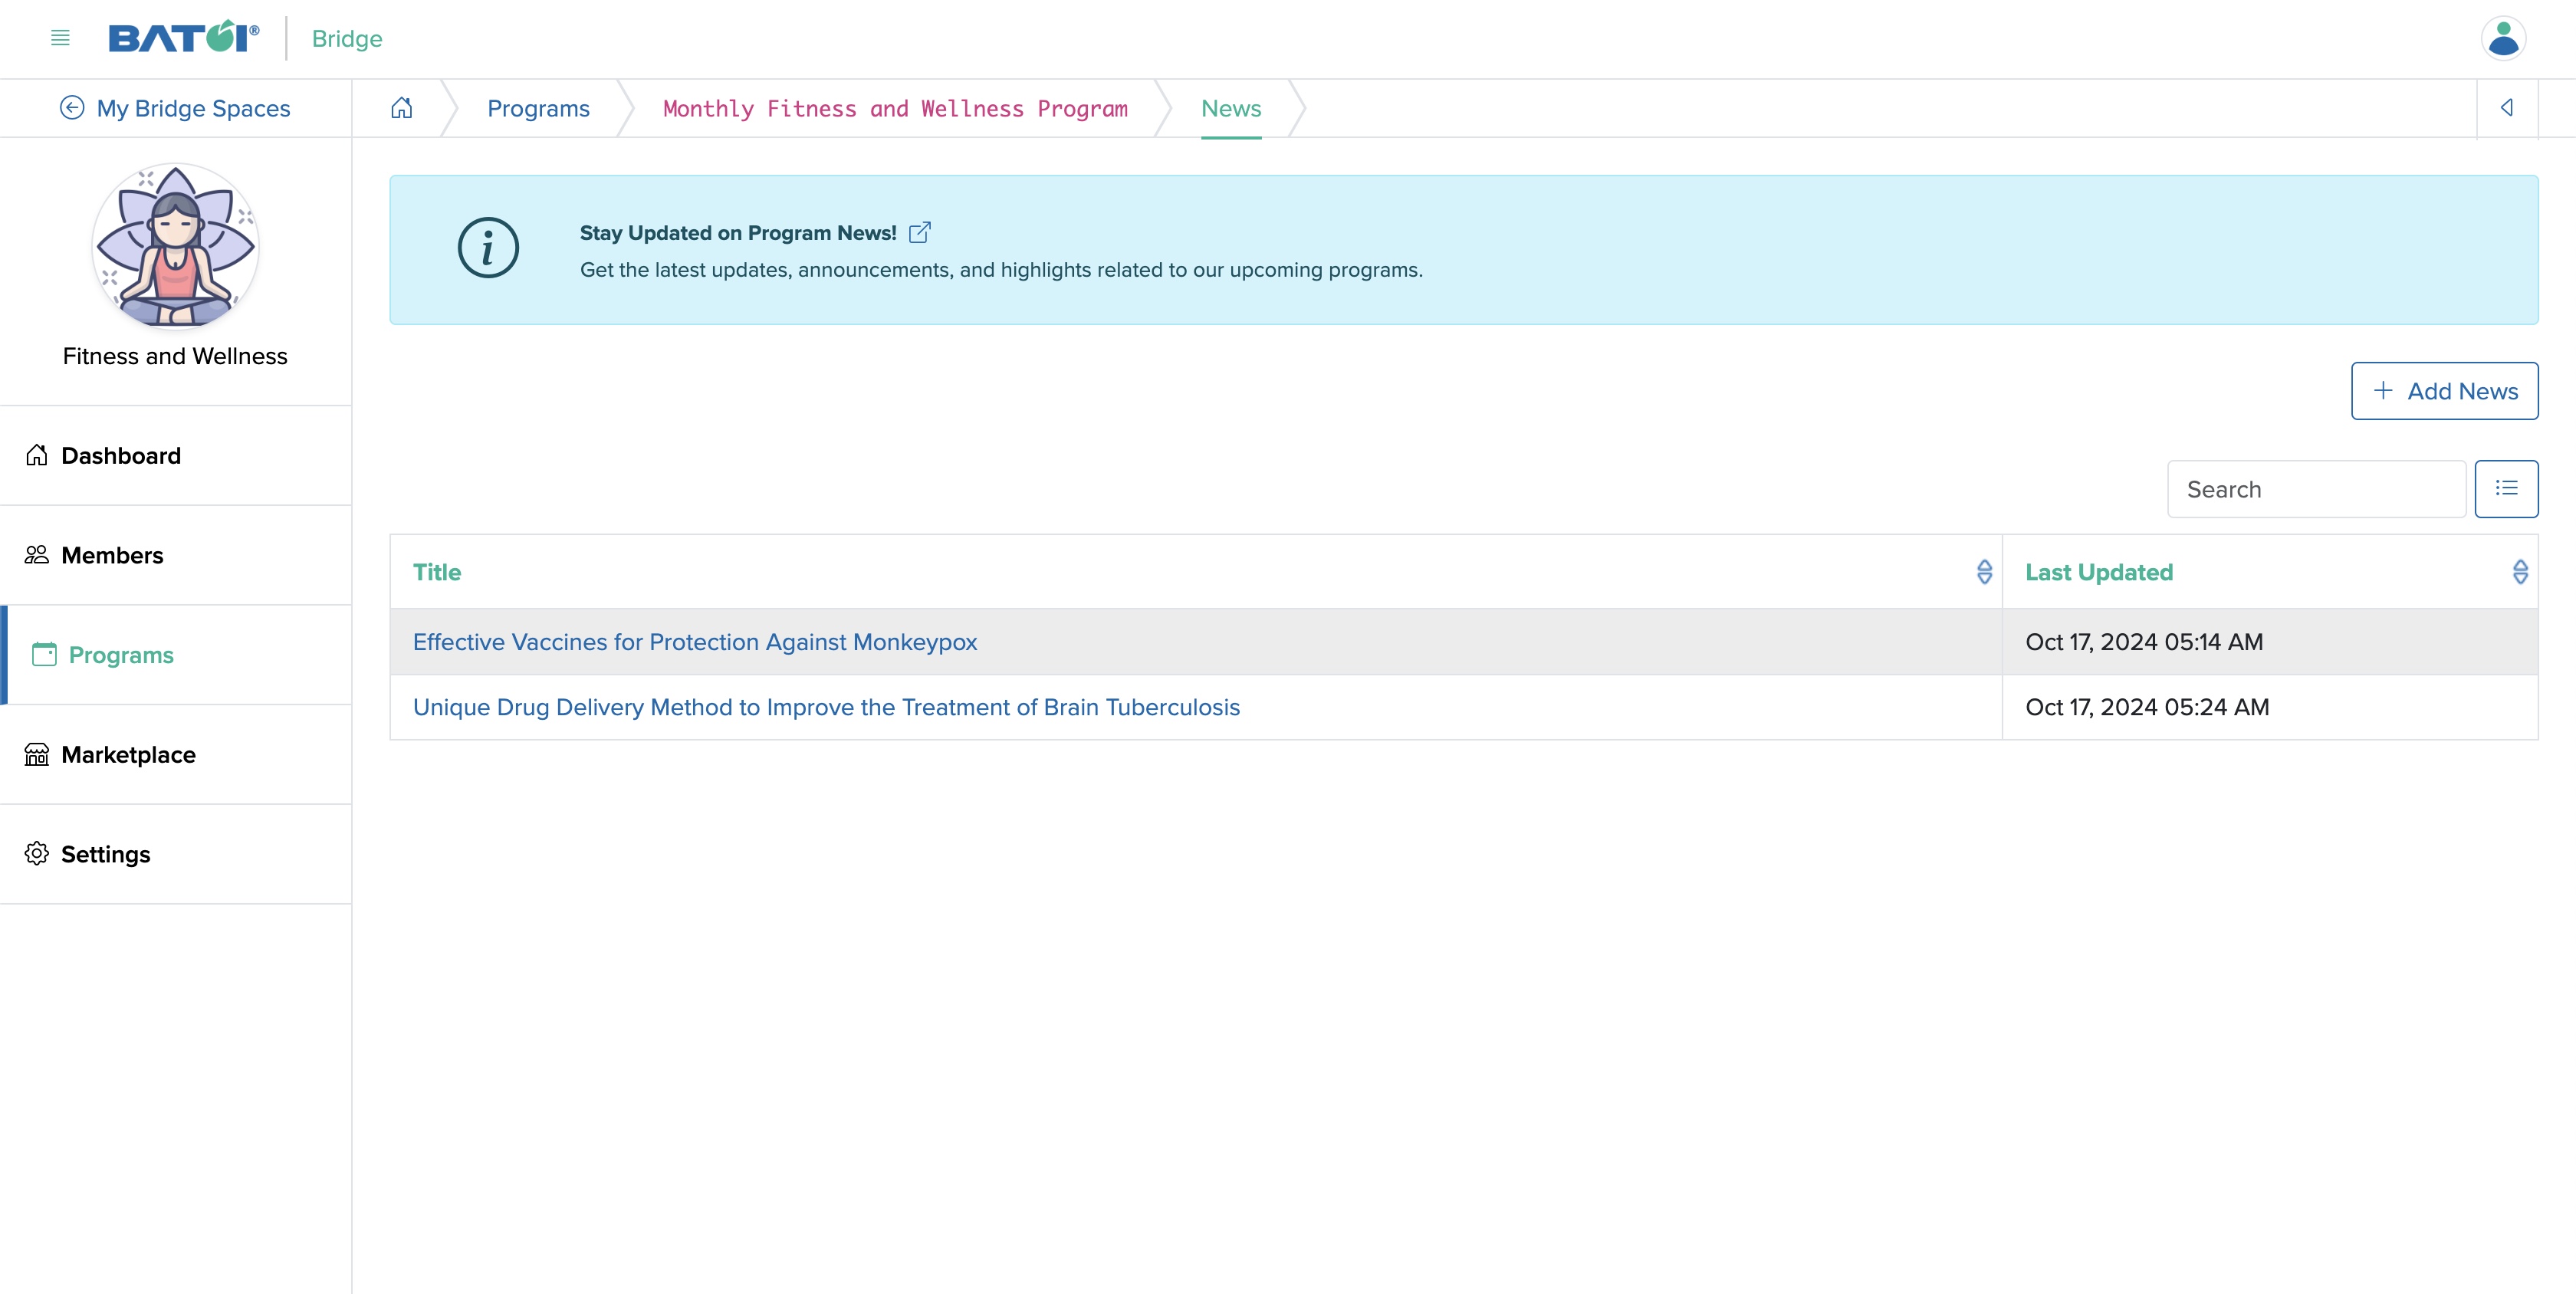
Click the News card available on the program dashboard, as shown in Figure 3 above and you will be redirected to the news list screen where all the news related to the program will be shown in a tabular format, as shown in Figure 13 below.
Add News
Click on the Add News button available at the top of the news list page and you will be redirected to the Add News page, as shown in Figure 14 below.
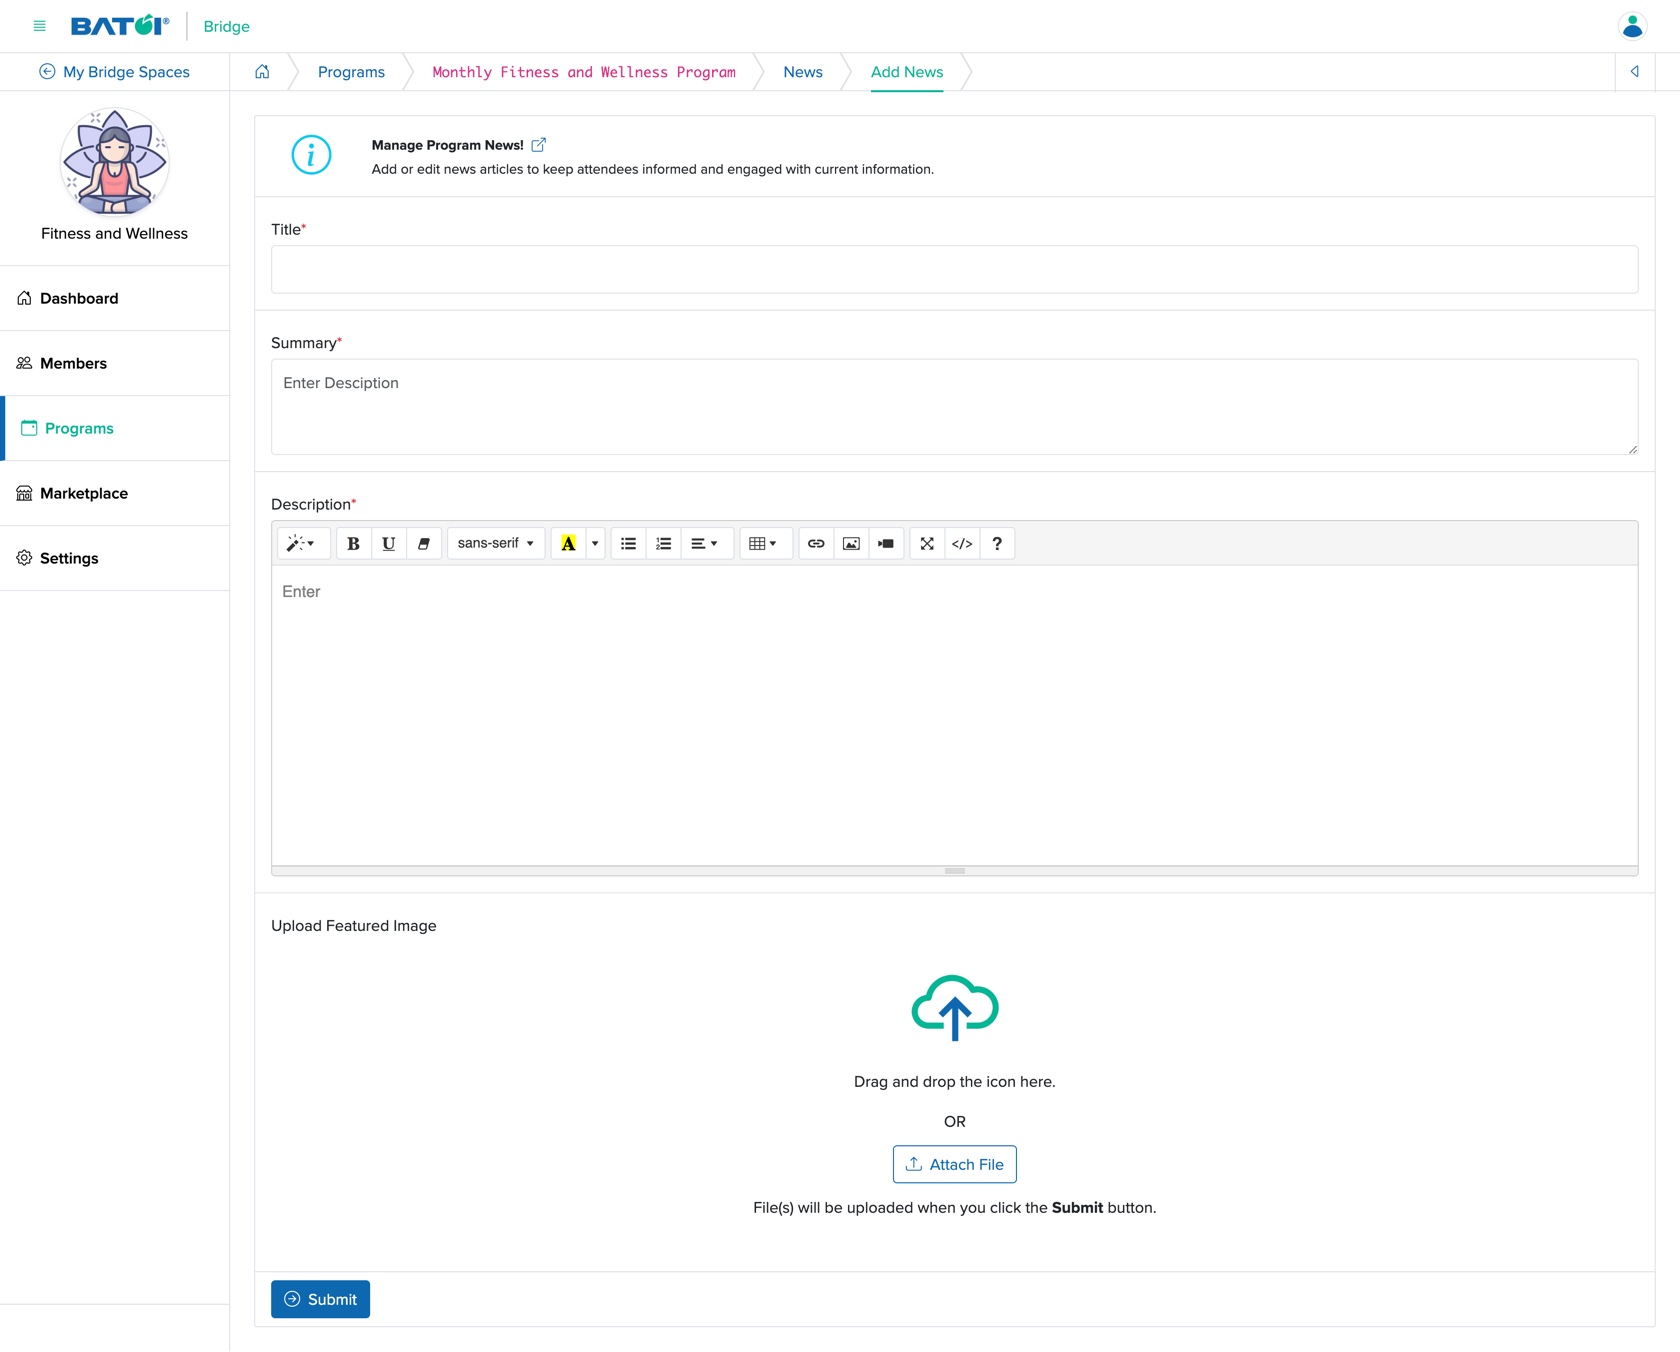
You can enter the below details and click the Submit button to create new news, as shown in Figure 14 above.
- Title (Textbox - Mandatory): Enter the Title of the News
- Summary (Textbox - Mandatory): Enter the summary of the News
- Description (Textarea - Mandatory): Enter the description of the News
- Upload (File Upload - Optional): Upload the attachment
Edit News
Click on the Edit News icon associated with each news row on the news list page and you will be redirected to the edit news page, as shown in Figure 15 below.
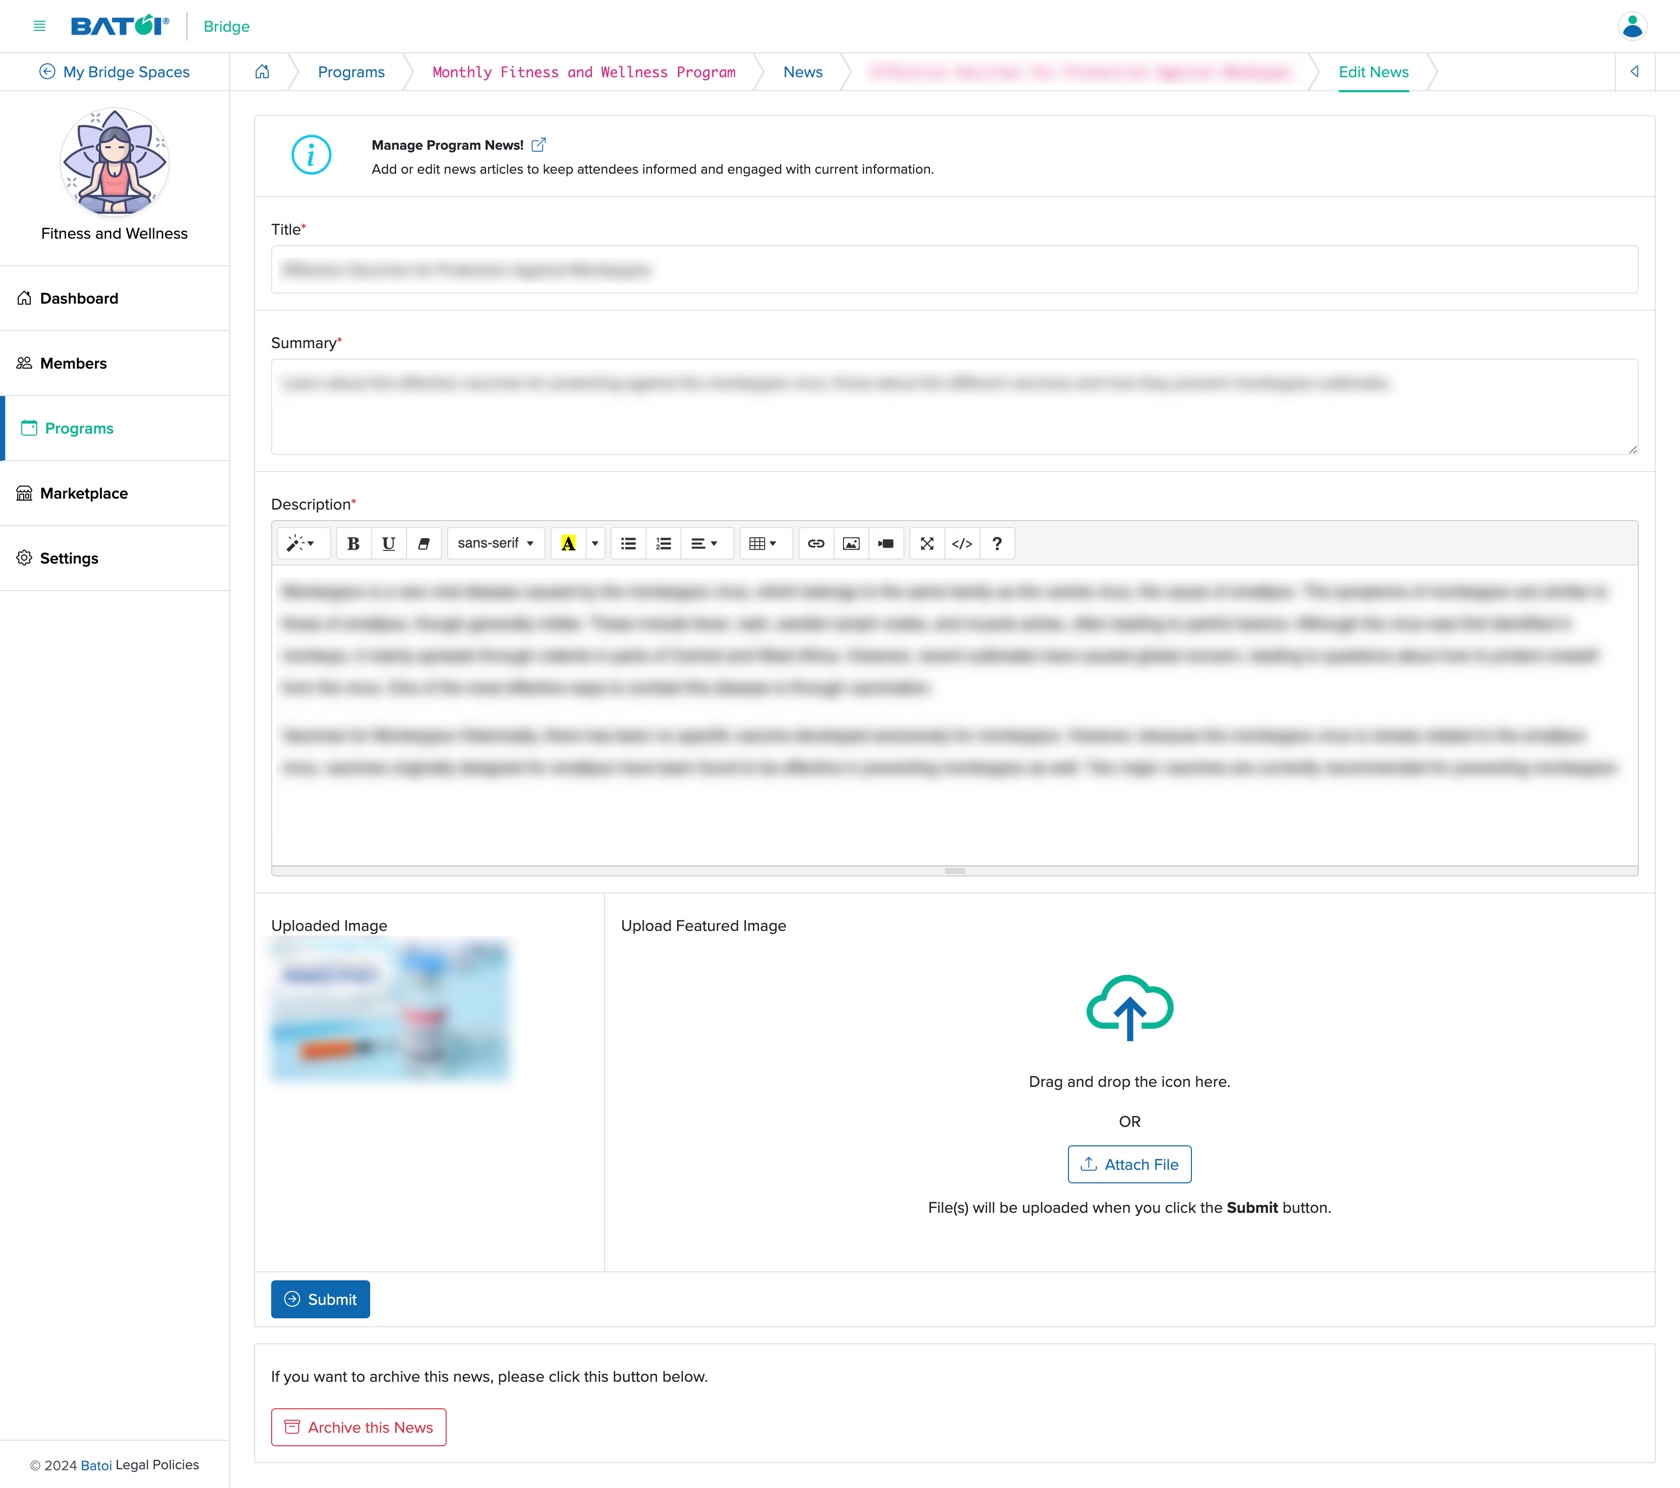
You can update the below details and click the Submit button to modify the news, as shown in Figure 15 above.
- Title (Textbox - Mandatory): Enter the Title of the News
- Summary (Textbox - Mandatory): Enter the summary of the News
- Description (Textarea - Mandatory): Enter the description of the News
- Upload (File Upload - Optional): Upload the attachment
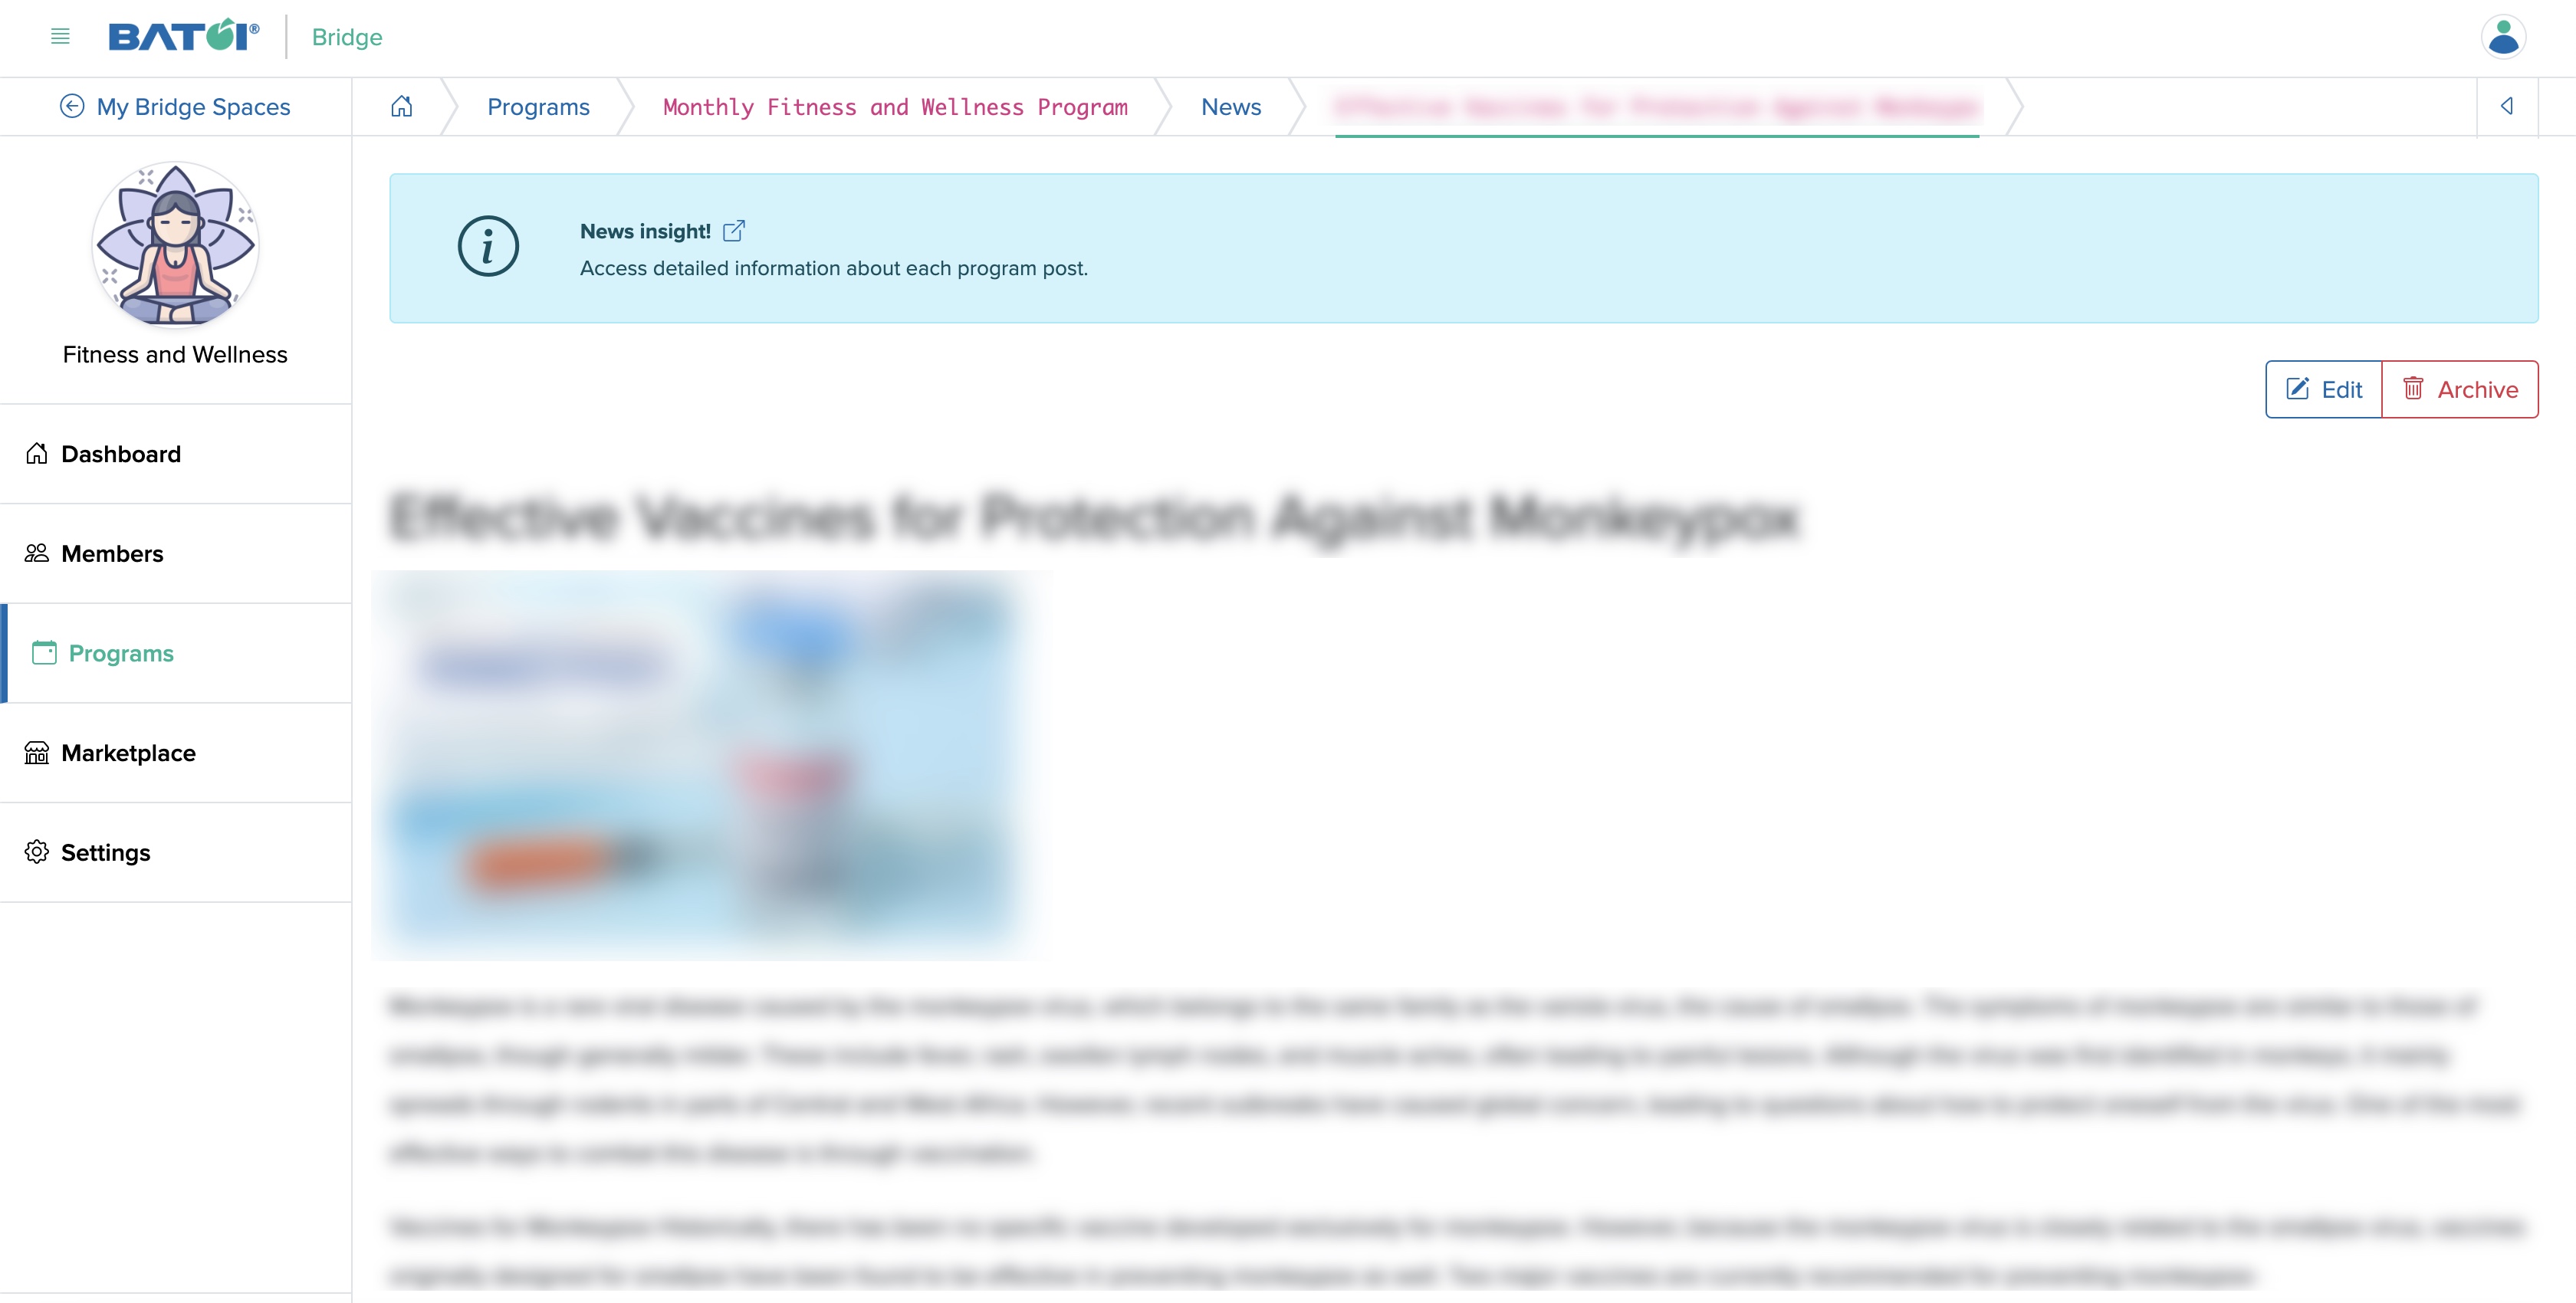
View News
Click on the news Title from the news list page, as shown in Figure 13 above and the news detail page and you will, as shown in Figure 16 below.
Archive News
To archive news, go to the edit page of that particular news and click the Archive this News button available at the bottom of the edit page, as shown in Figure 15 above.
Resources
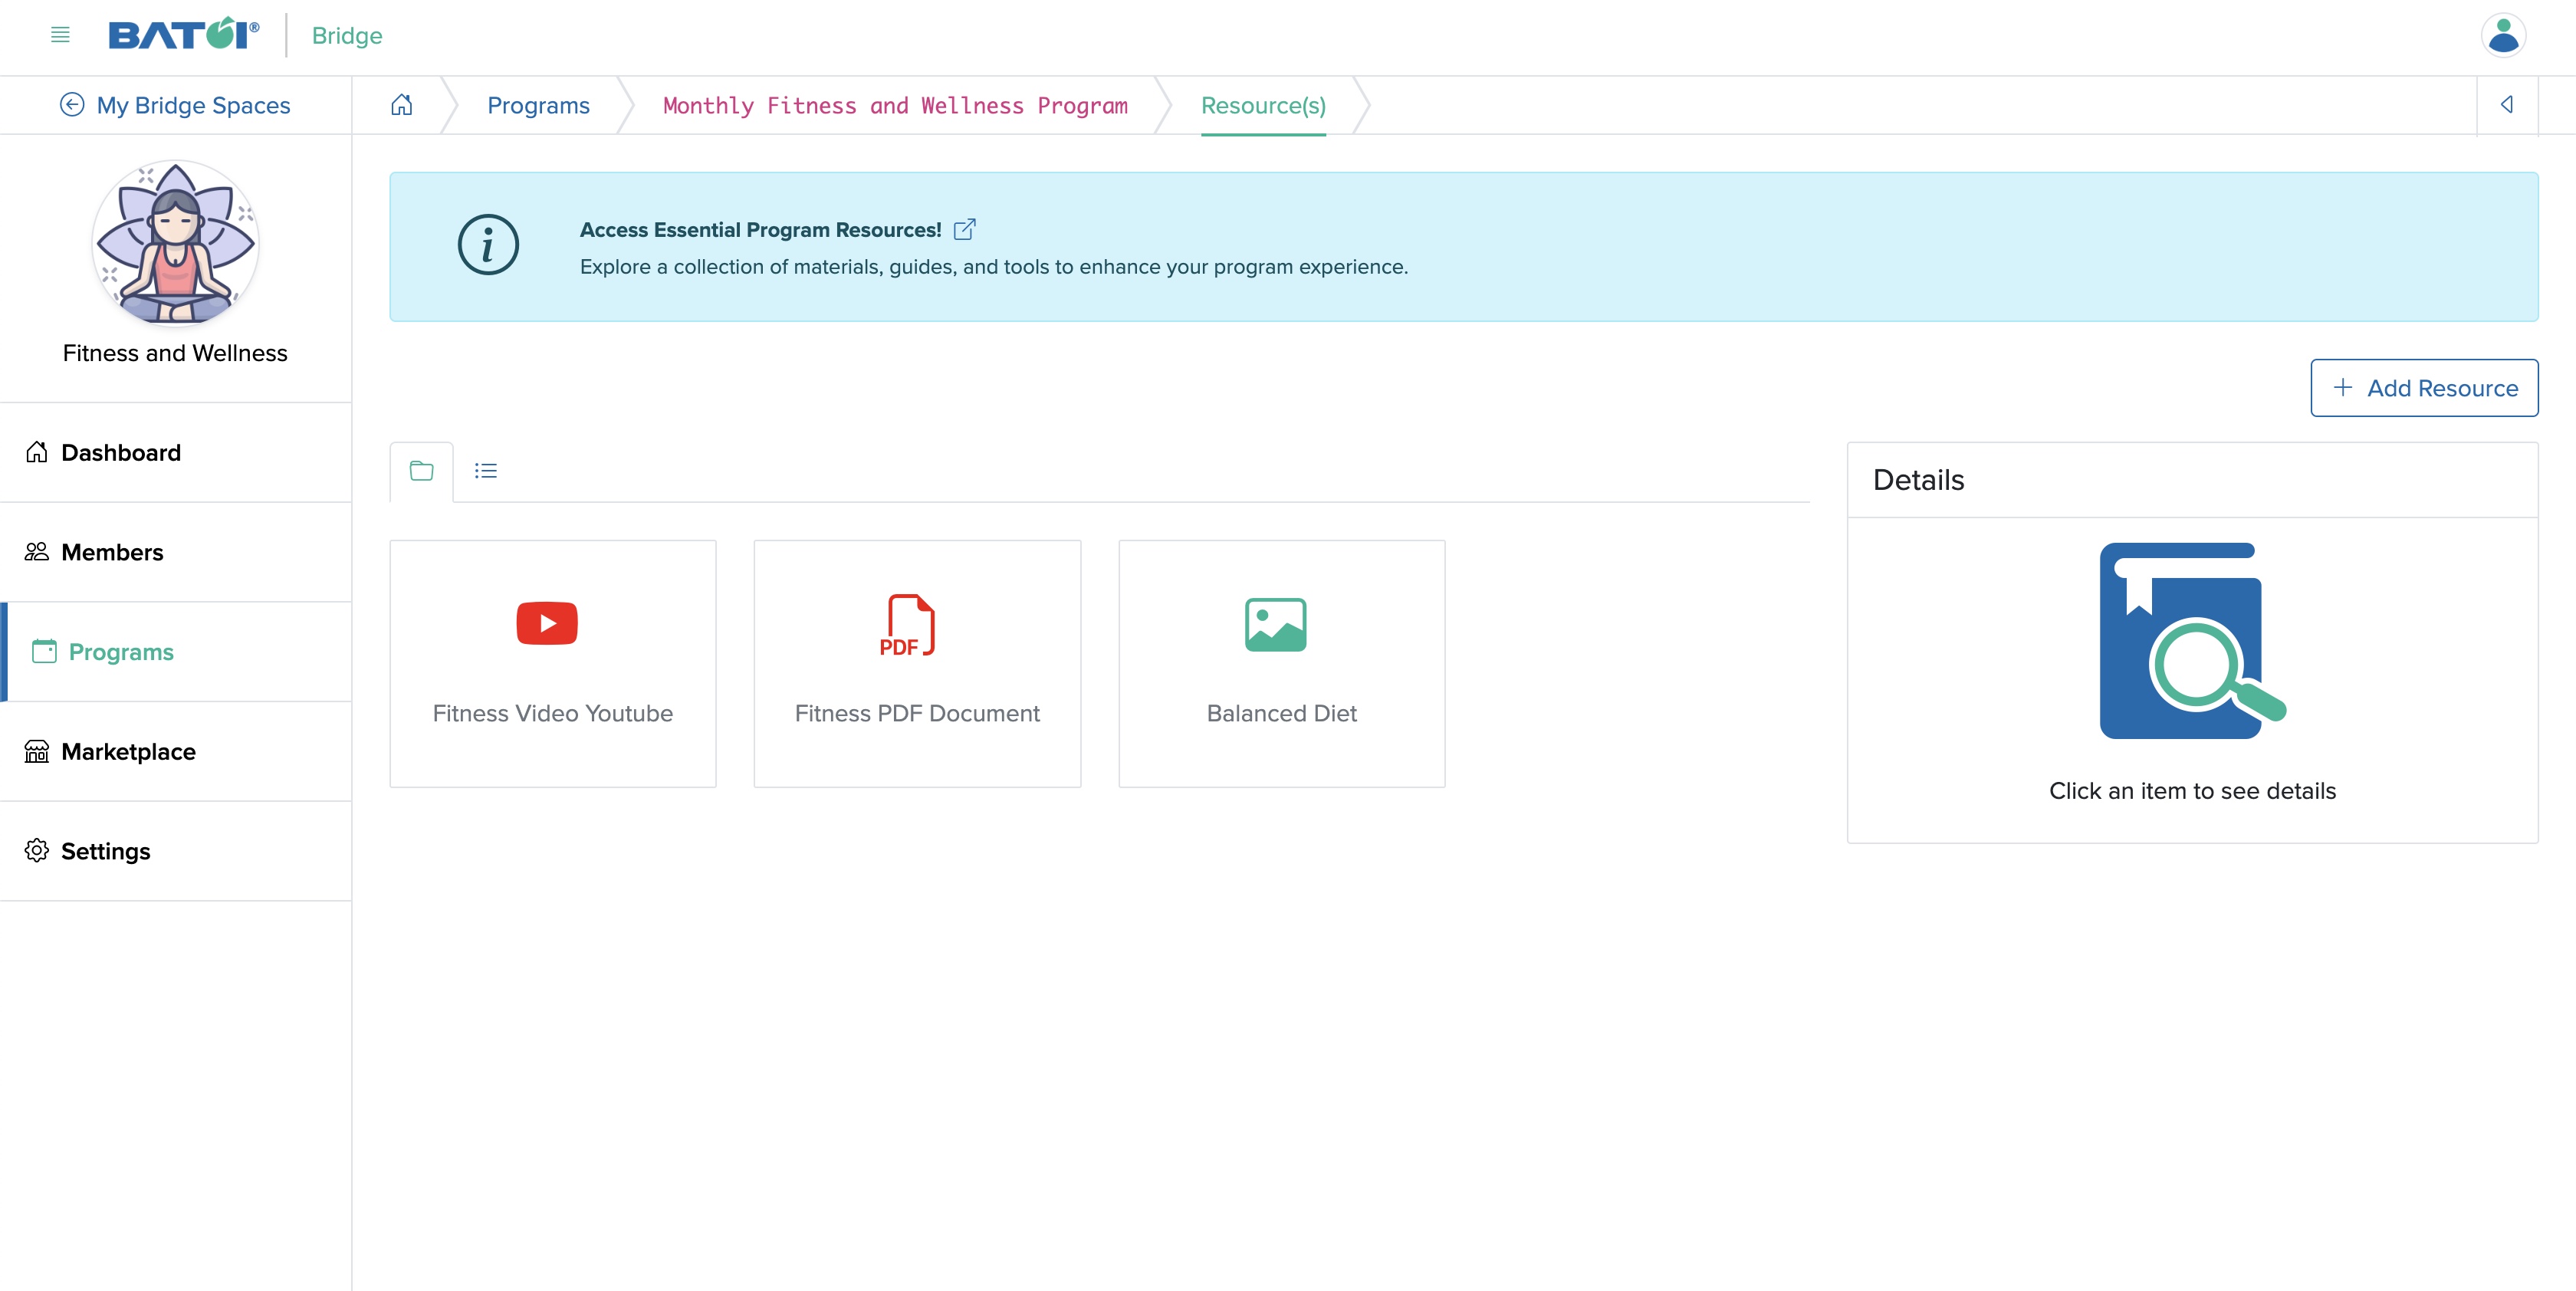
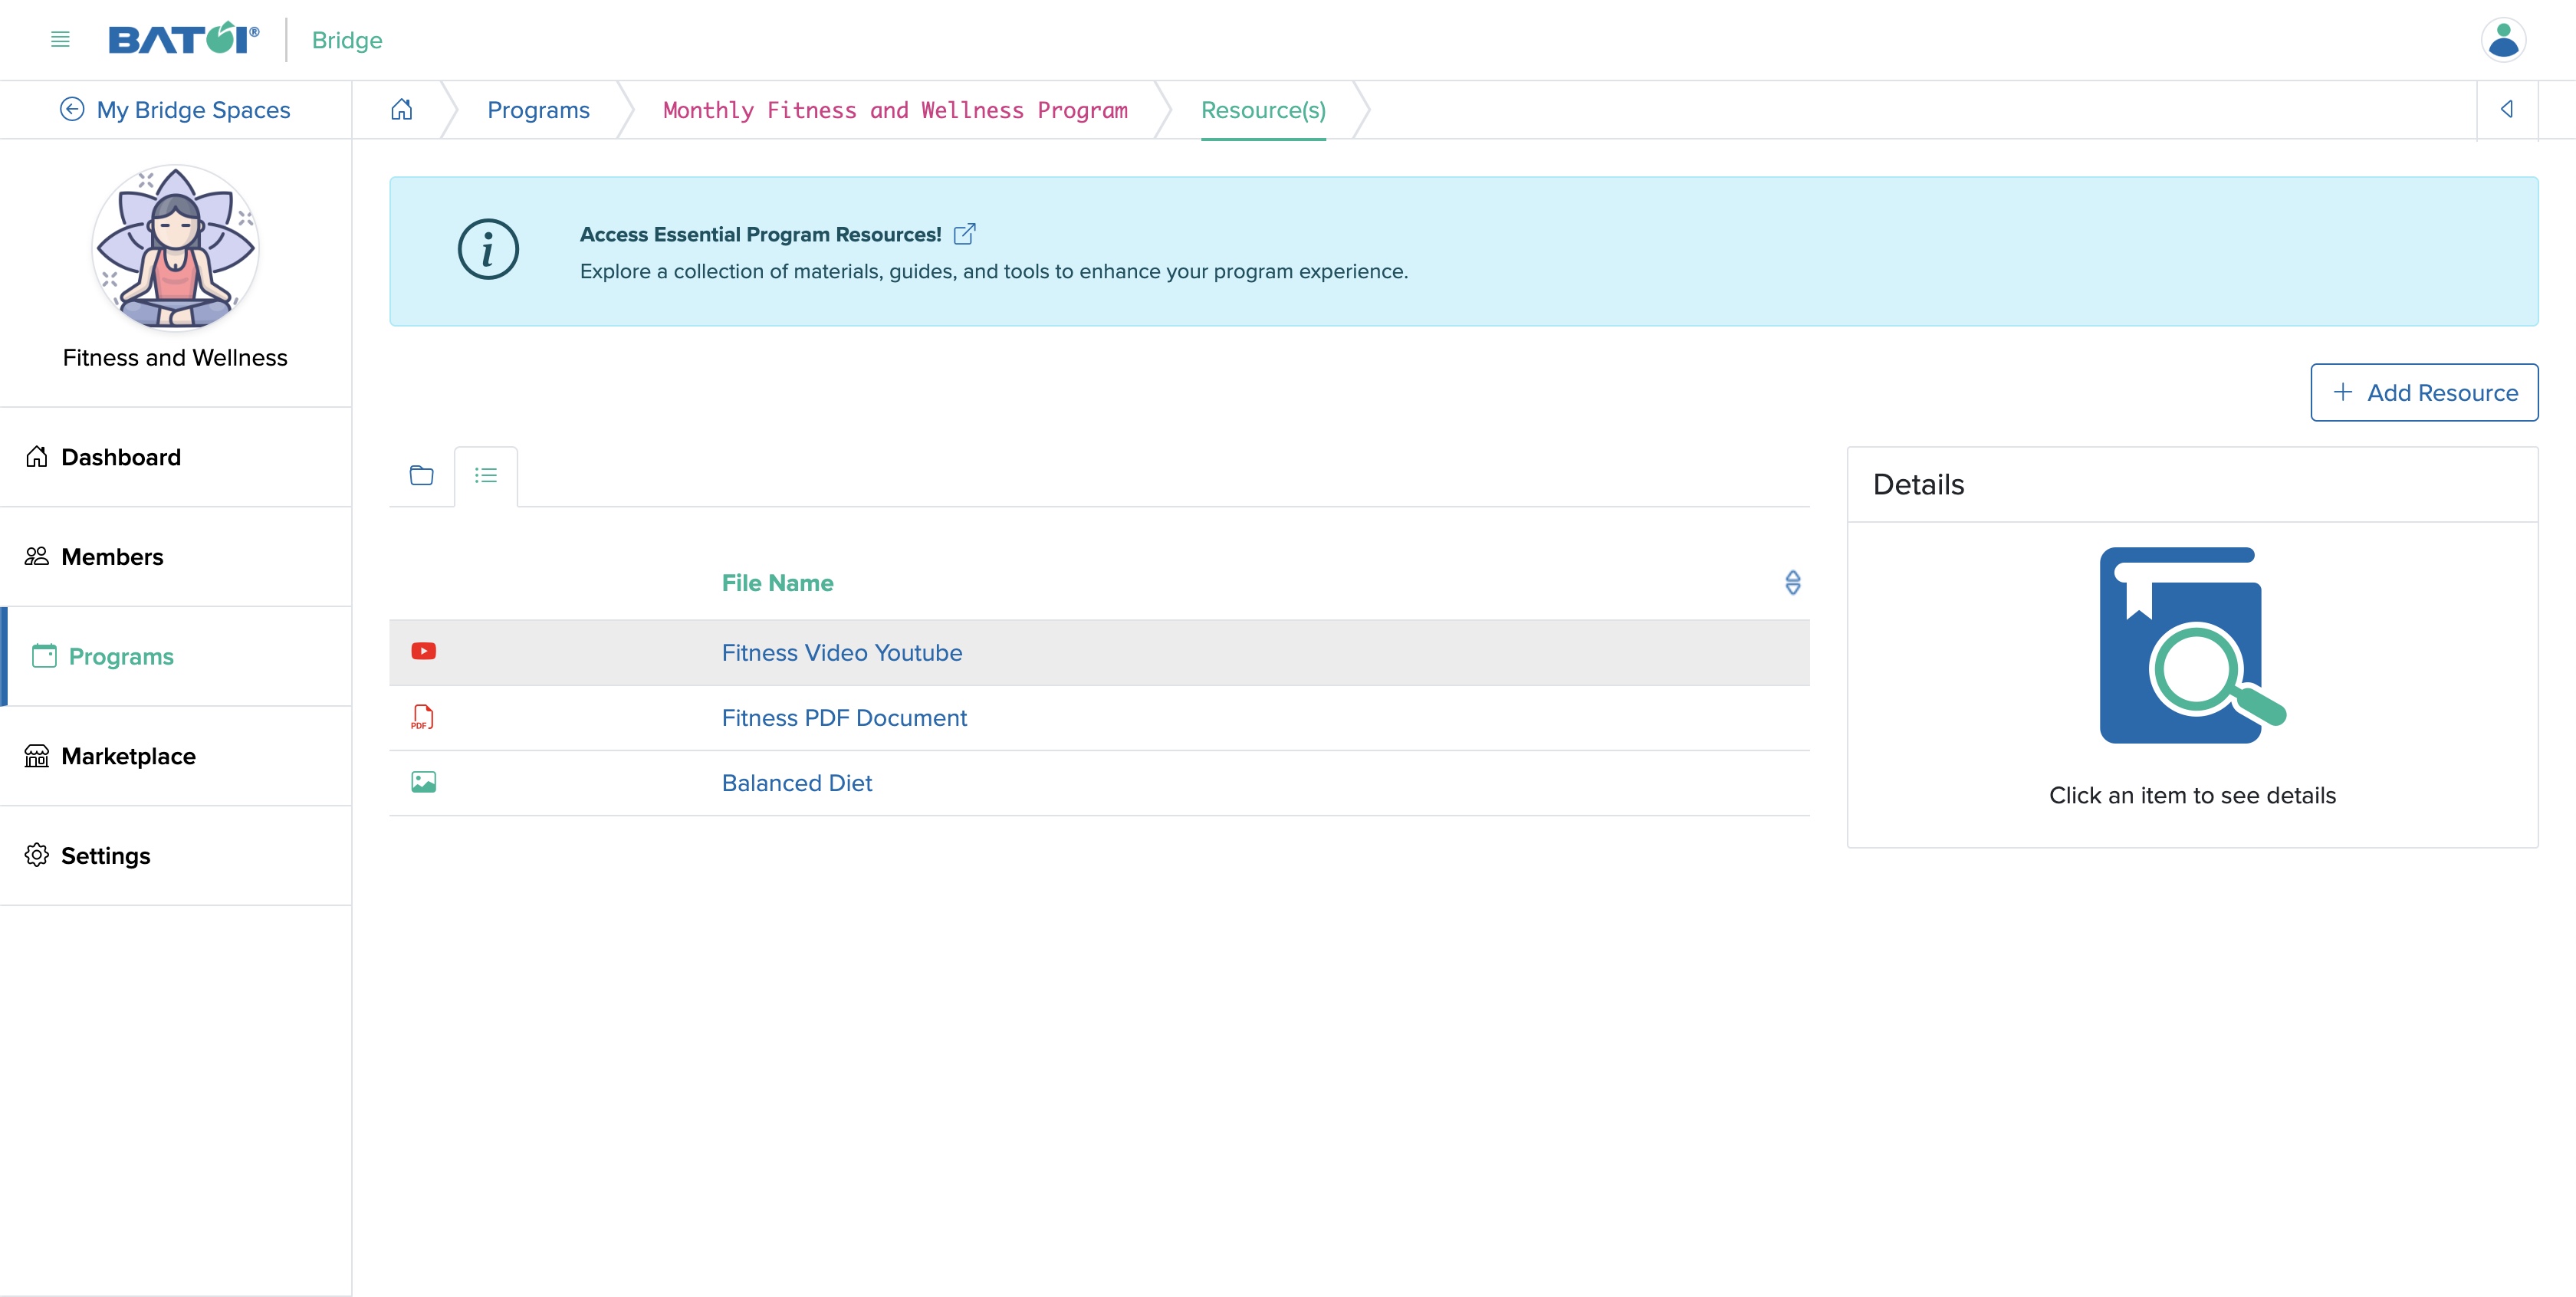
Click the Resources card available on the program dashboard, as shown in Figure 3 above and you will be redirected to the resource list screen where all the resource files related to the program will be shown in a card format, as shown in Figure 17 below. Click on the list tab to view the resource files in a tabular format, as shown in Figure 18 below.
Add Resource
Click on the Add Resource button available at the top of the resource list page and you will be redirected to the Add Resource page, as shown in Figure 19 below.
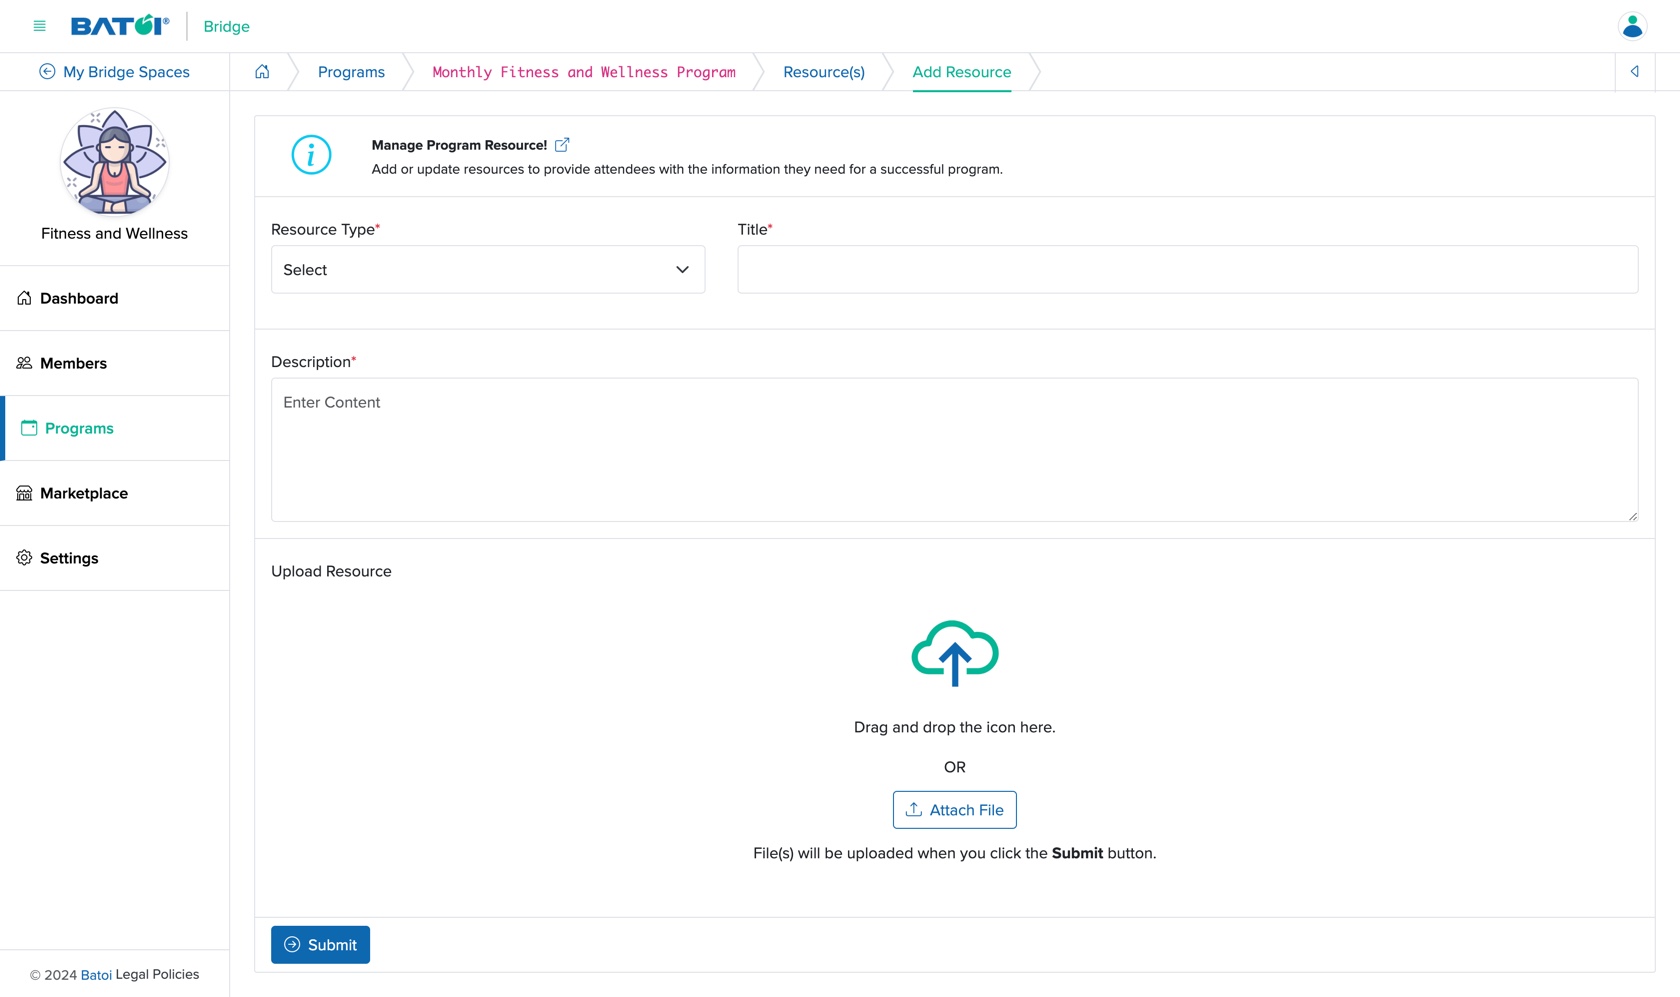
You can enter the below details and click the Submit button to upload a new resource, as shown in Figure 19 above.
- Resource Type (Dropdown List - Mandatory): Select the type of resource file
- Photo (JPG, PNG format allowed)
- Document (PDF format allowed)
- Video (YouTube link allowed)
- Title (Textbox - Mandatory): Title of the resource file
- Description (Textarea - Mandatory): Enter the description of the resource
- Upload (File Upload - Optional): Upload the attachment
View Resource
Click on the individual resource Card or Title, as shown in Figure 18 above and the view screen will open on the right side of the resource list page, as shown in Figure 20 below.
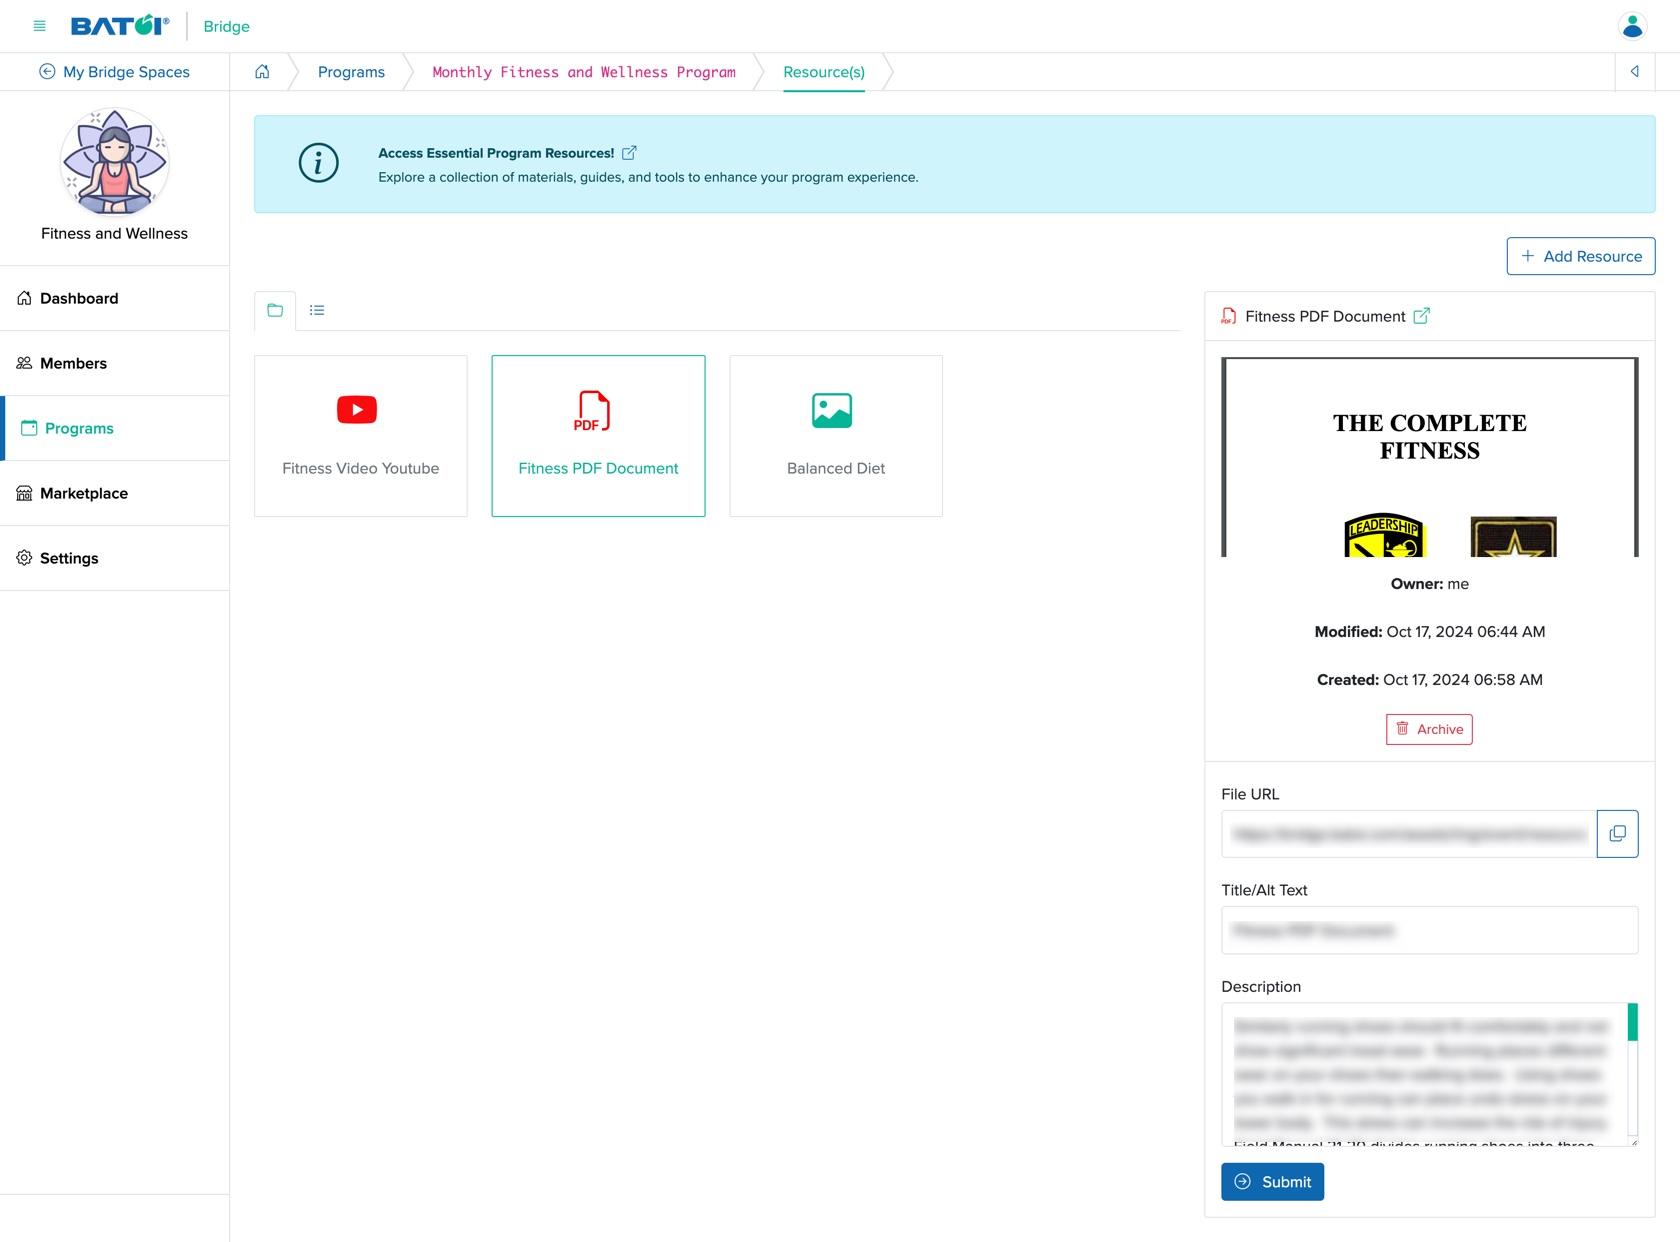
Click on the External Link icon available on the right side of the file name to view the resource file in a new window, as shown in Figure 20 above.
Click on the Copy Link icon available on the file URL to copy the file name, as shown in Figure 20 above.
You can edit the Title/Alt Text, Description of the resource and click the Submit button to update the resource, as shown in Figure 20 above.
To archive a resource, click the Archive button available on right side of the resource list page, as shown in Figure 20 above.
Download
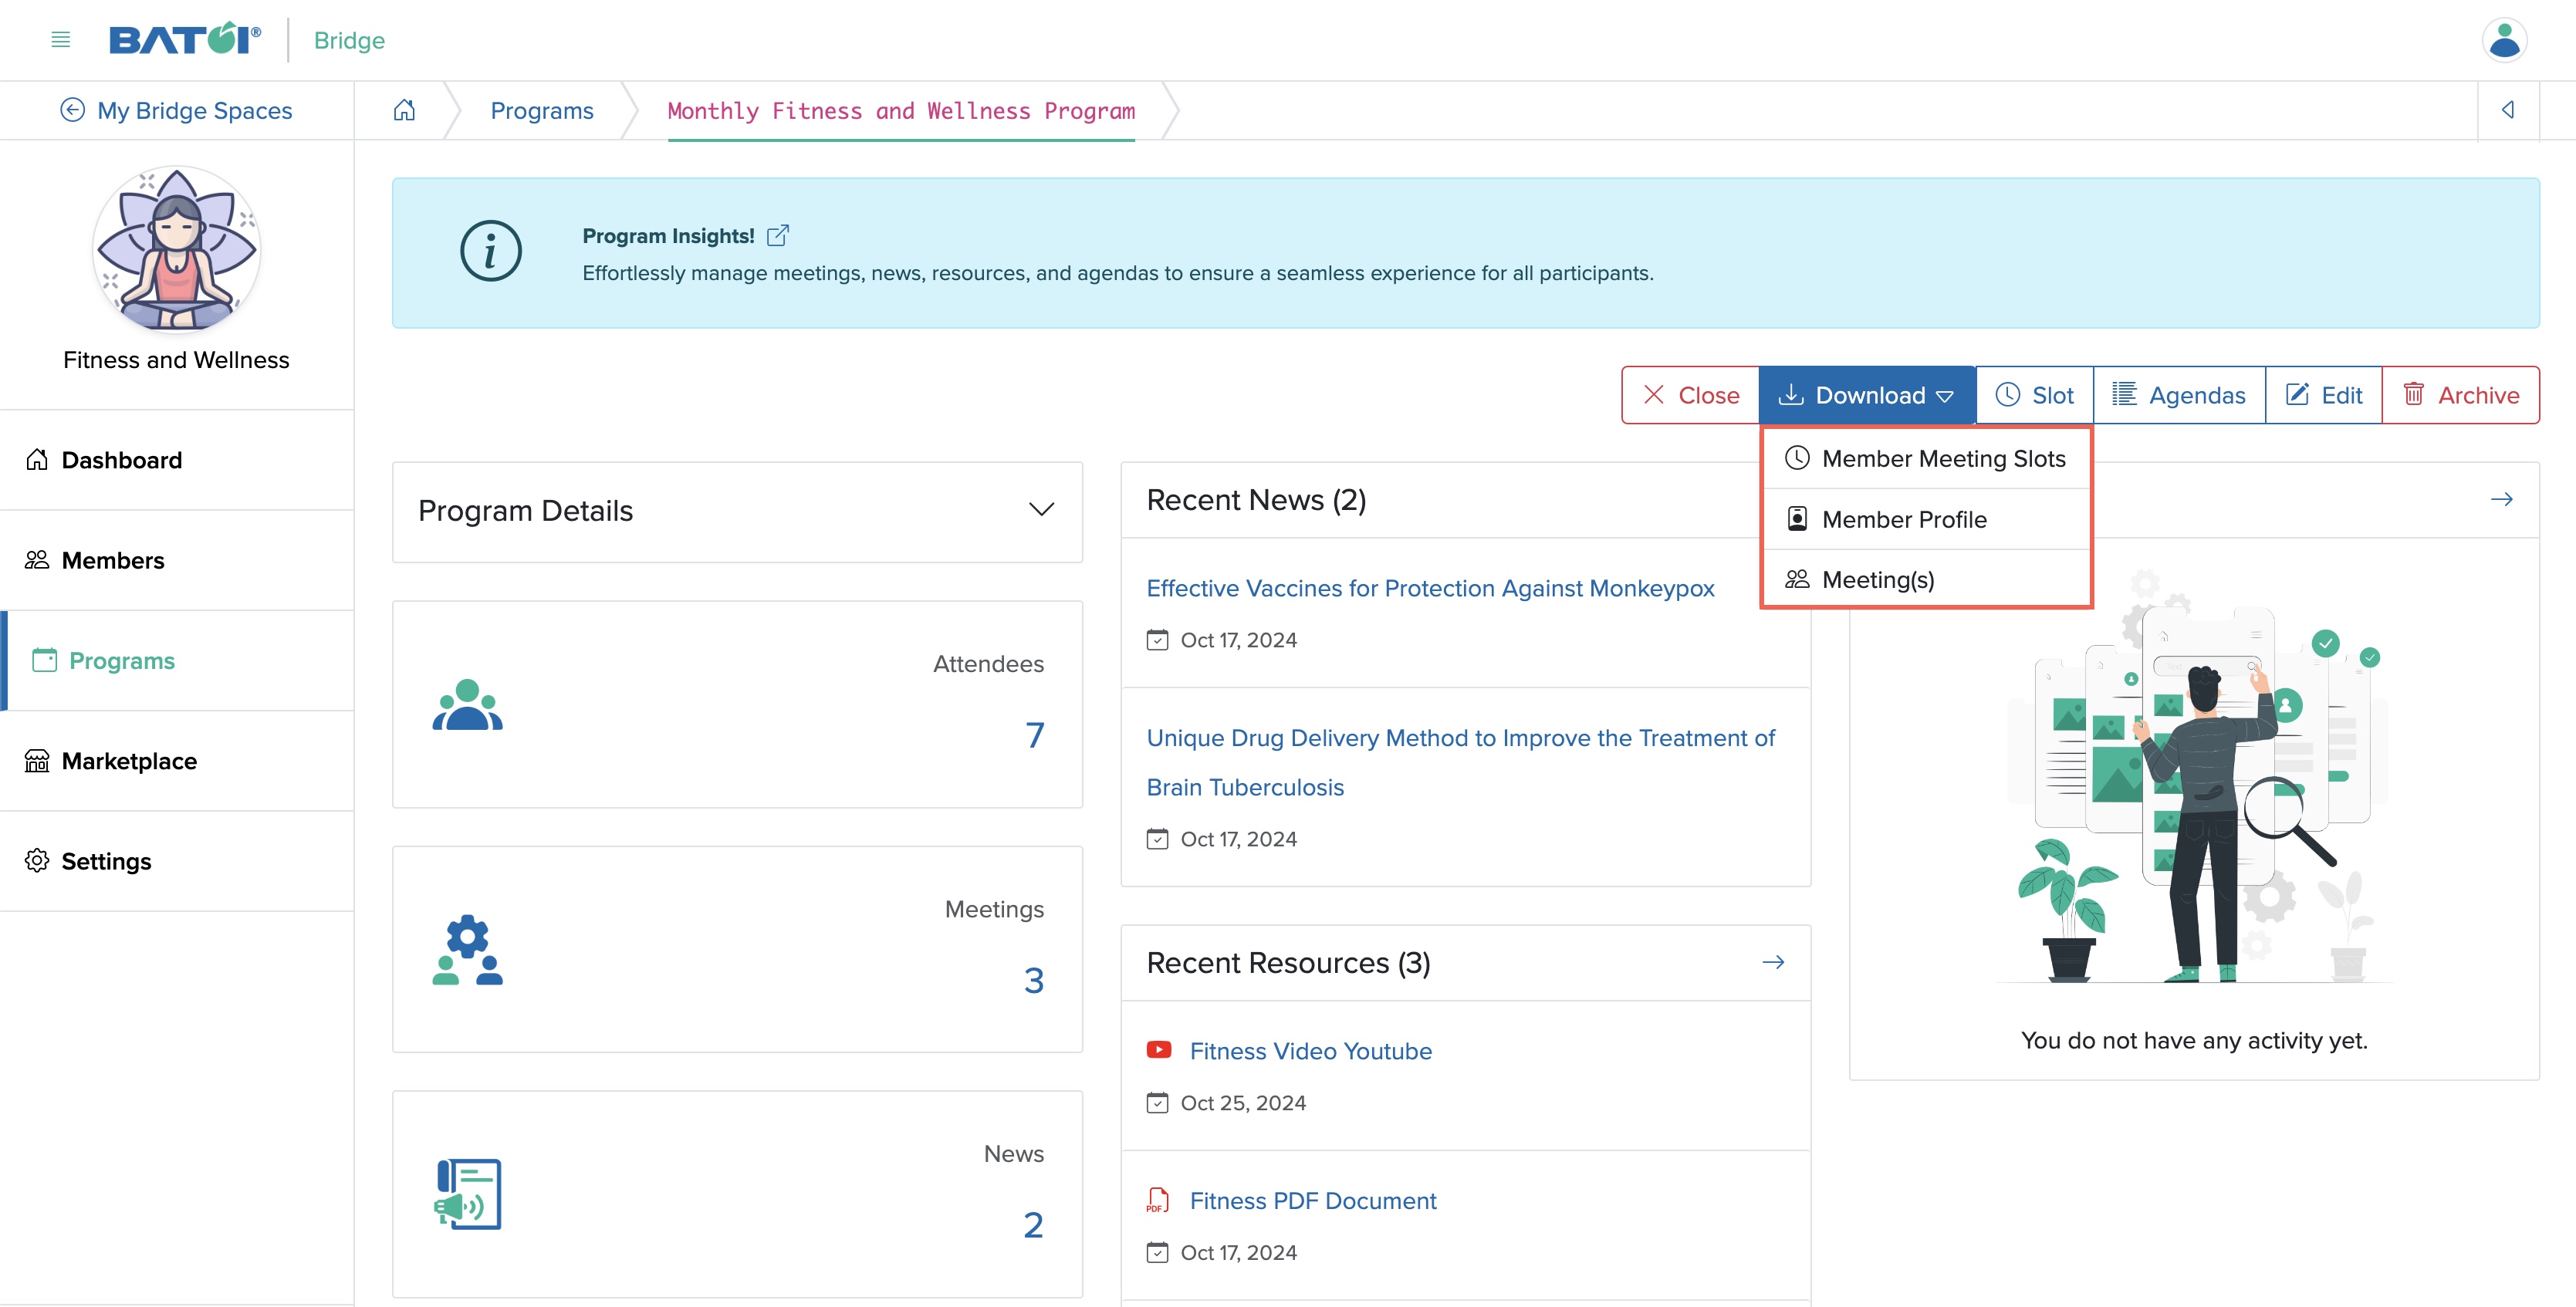
Click on the Download button available on the top of the Program Dashboard screen, as shown in Figure 3 above and you will find three options for downloading, as shown in Figure 21 below.
- Member Meeting Slots
- Member Profile
- Meetings
Download Member Meeting Slots Details
Click on the Download Member Meeting Slot button, as shown in Figure 21 above and a popup window will open with the details of all the meetings meeting sloats so that you can print them using a printer command or save the file in PDF format for later use, as shown in Figure 22 below.
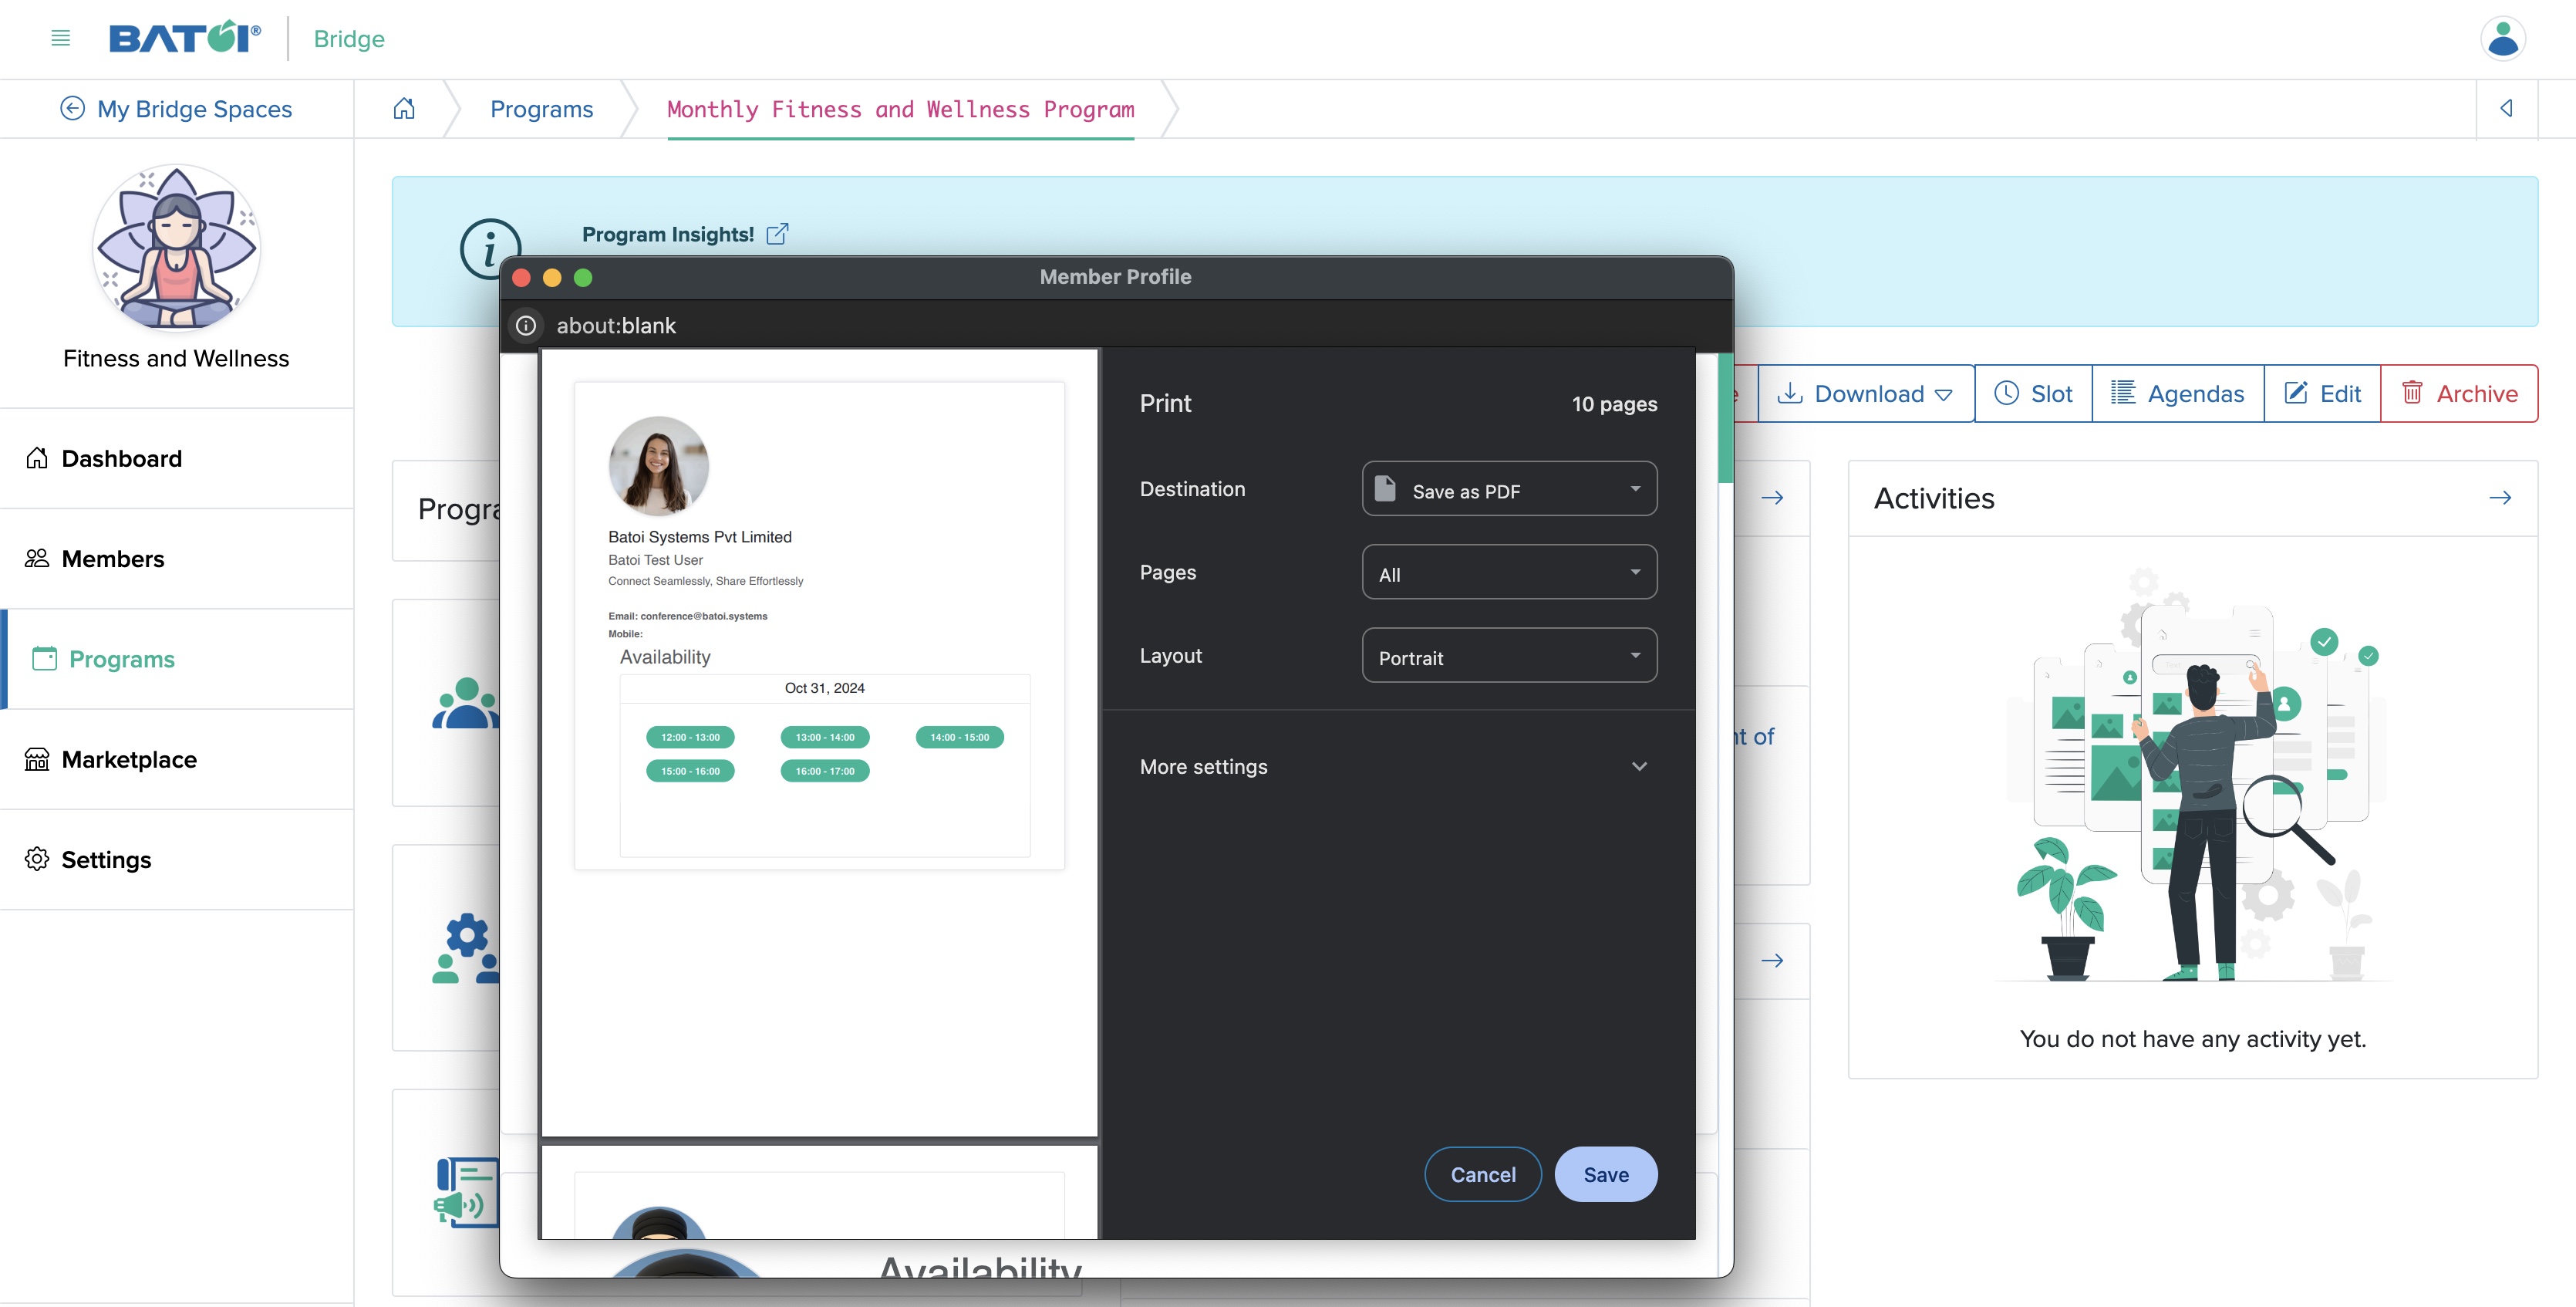
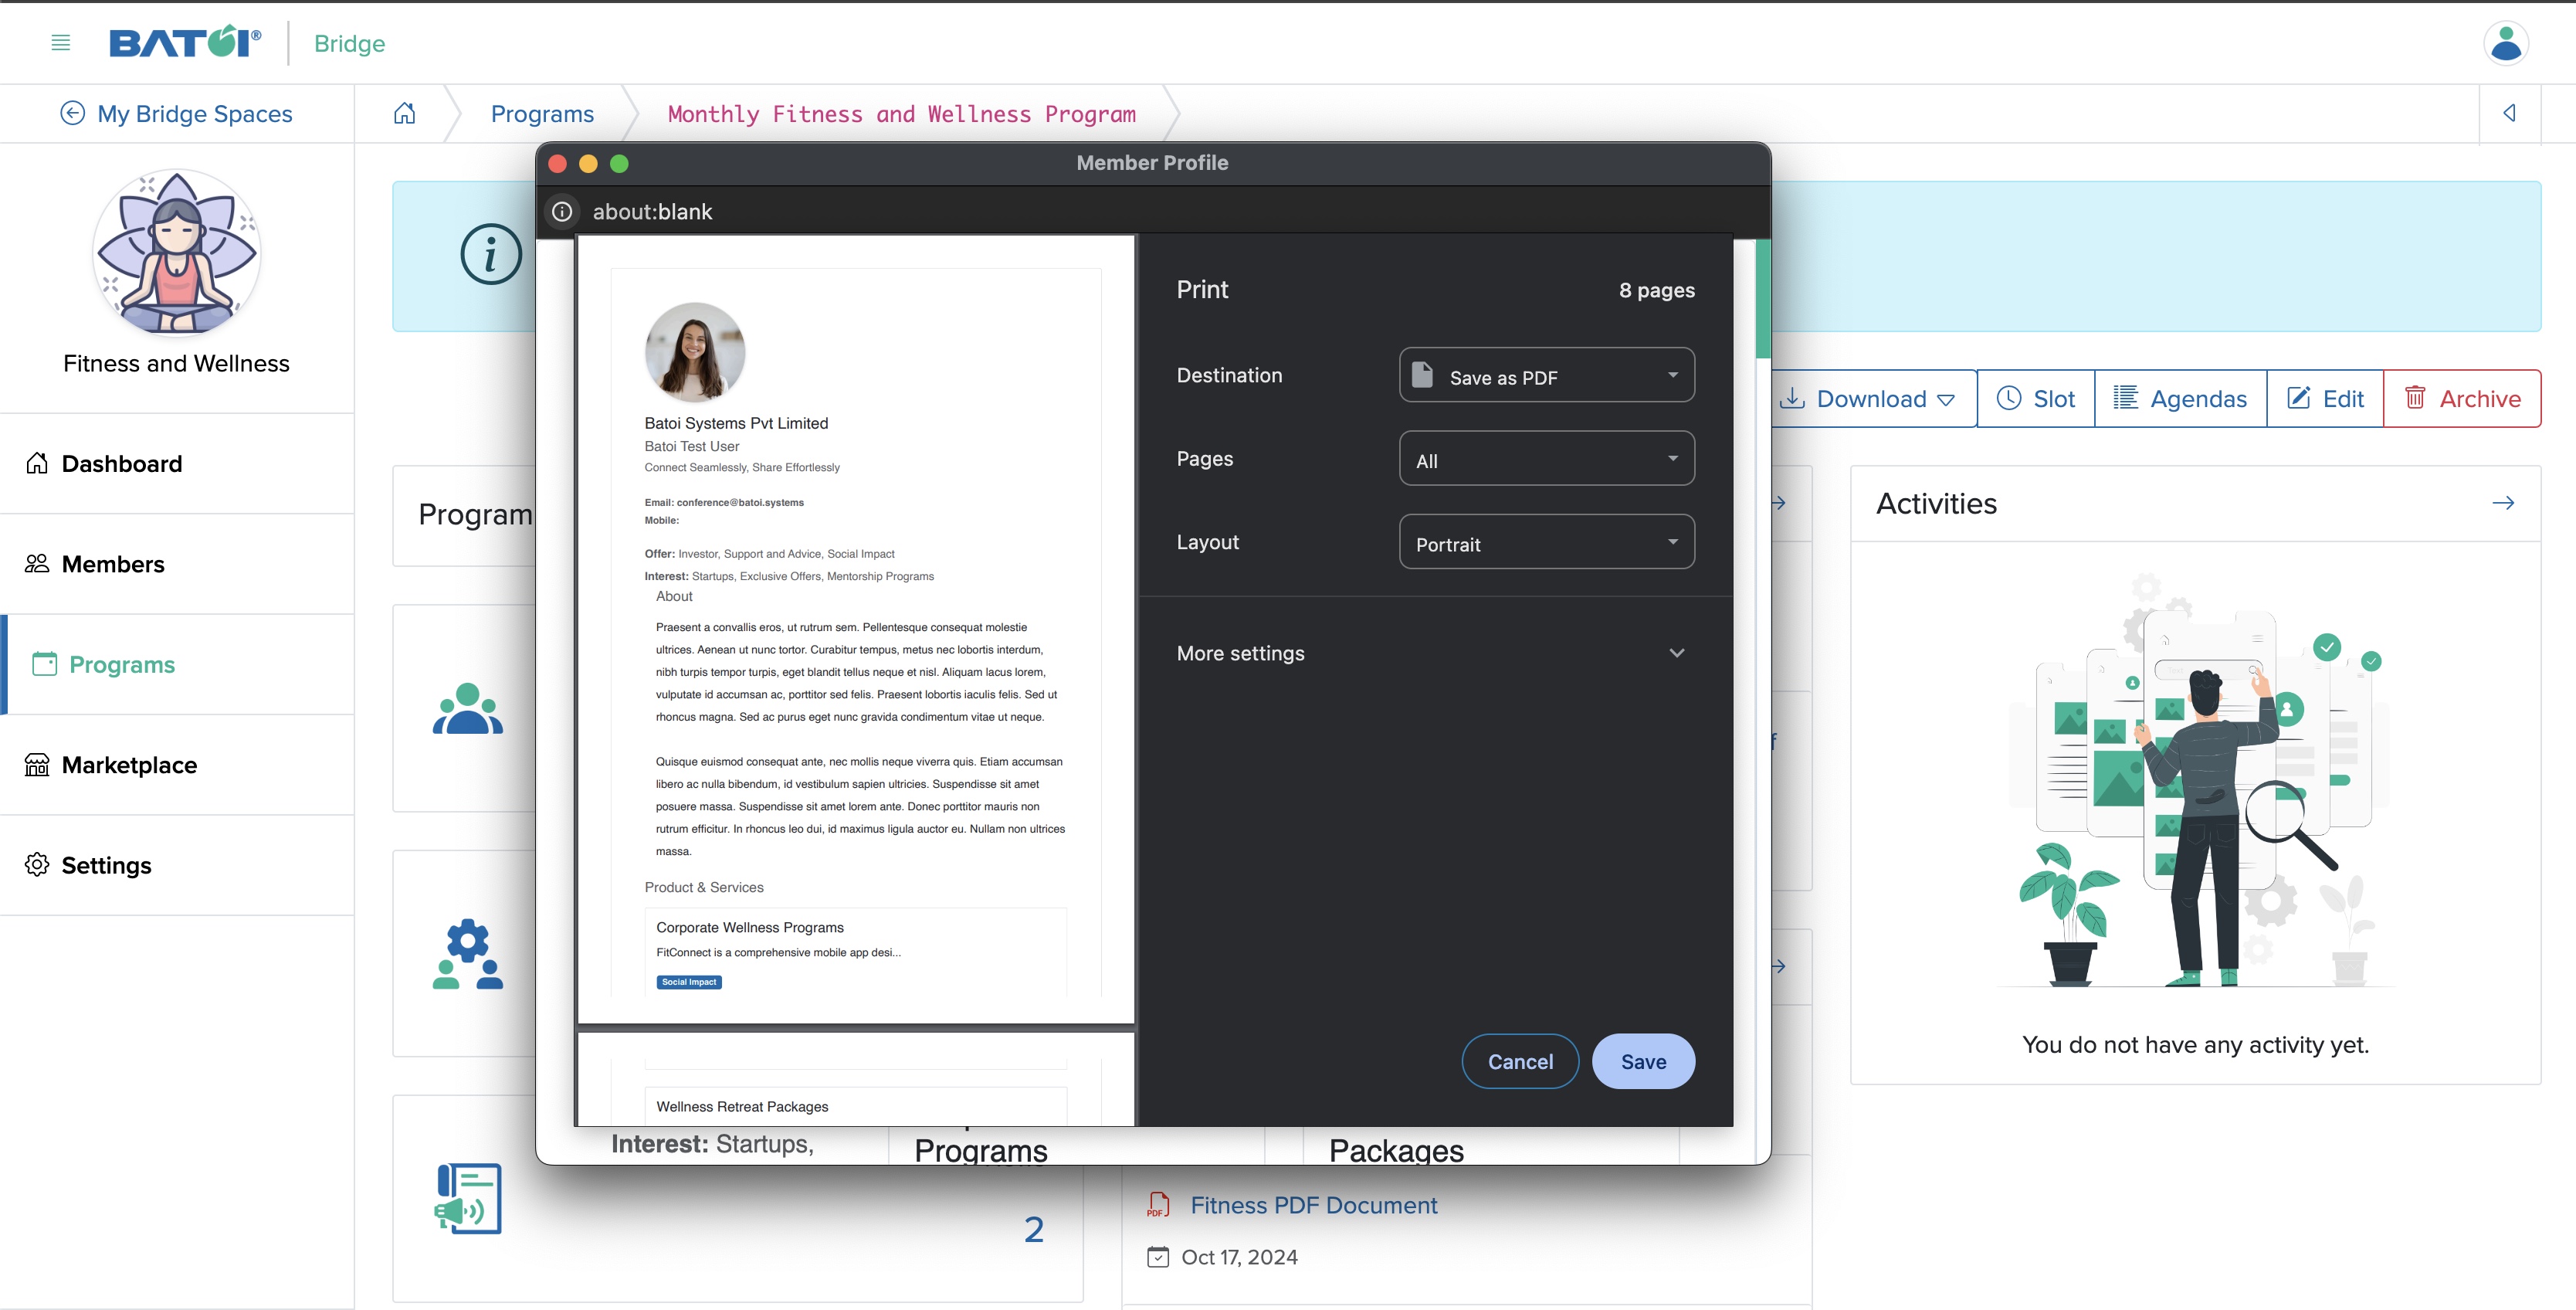
Download Member Profile Details
Click on the Download Member Profile button, as shown in Figure 21 above and a popup window will open with the details of all the meetings meeting sloats so that you can print them using a printer command or save the file in PDF format for later use, as shown in Figure 23 below.
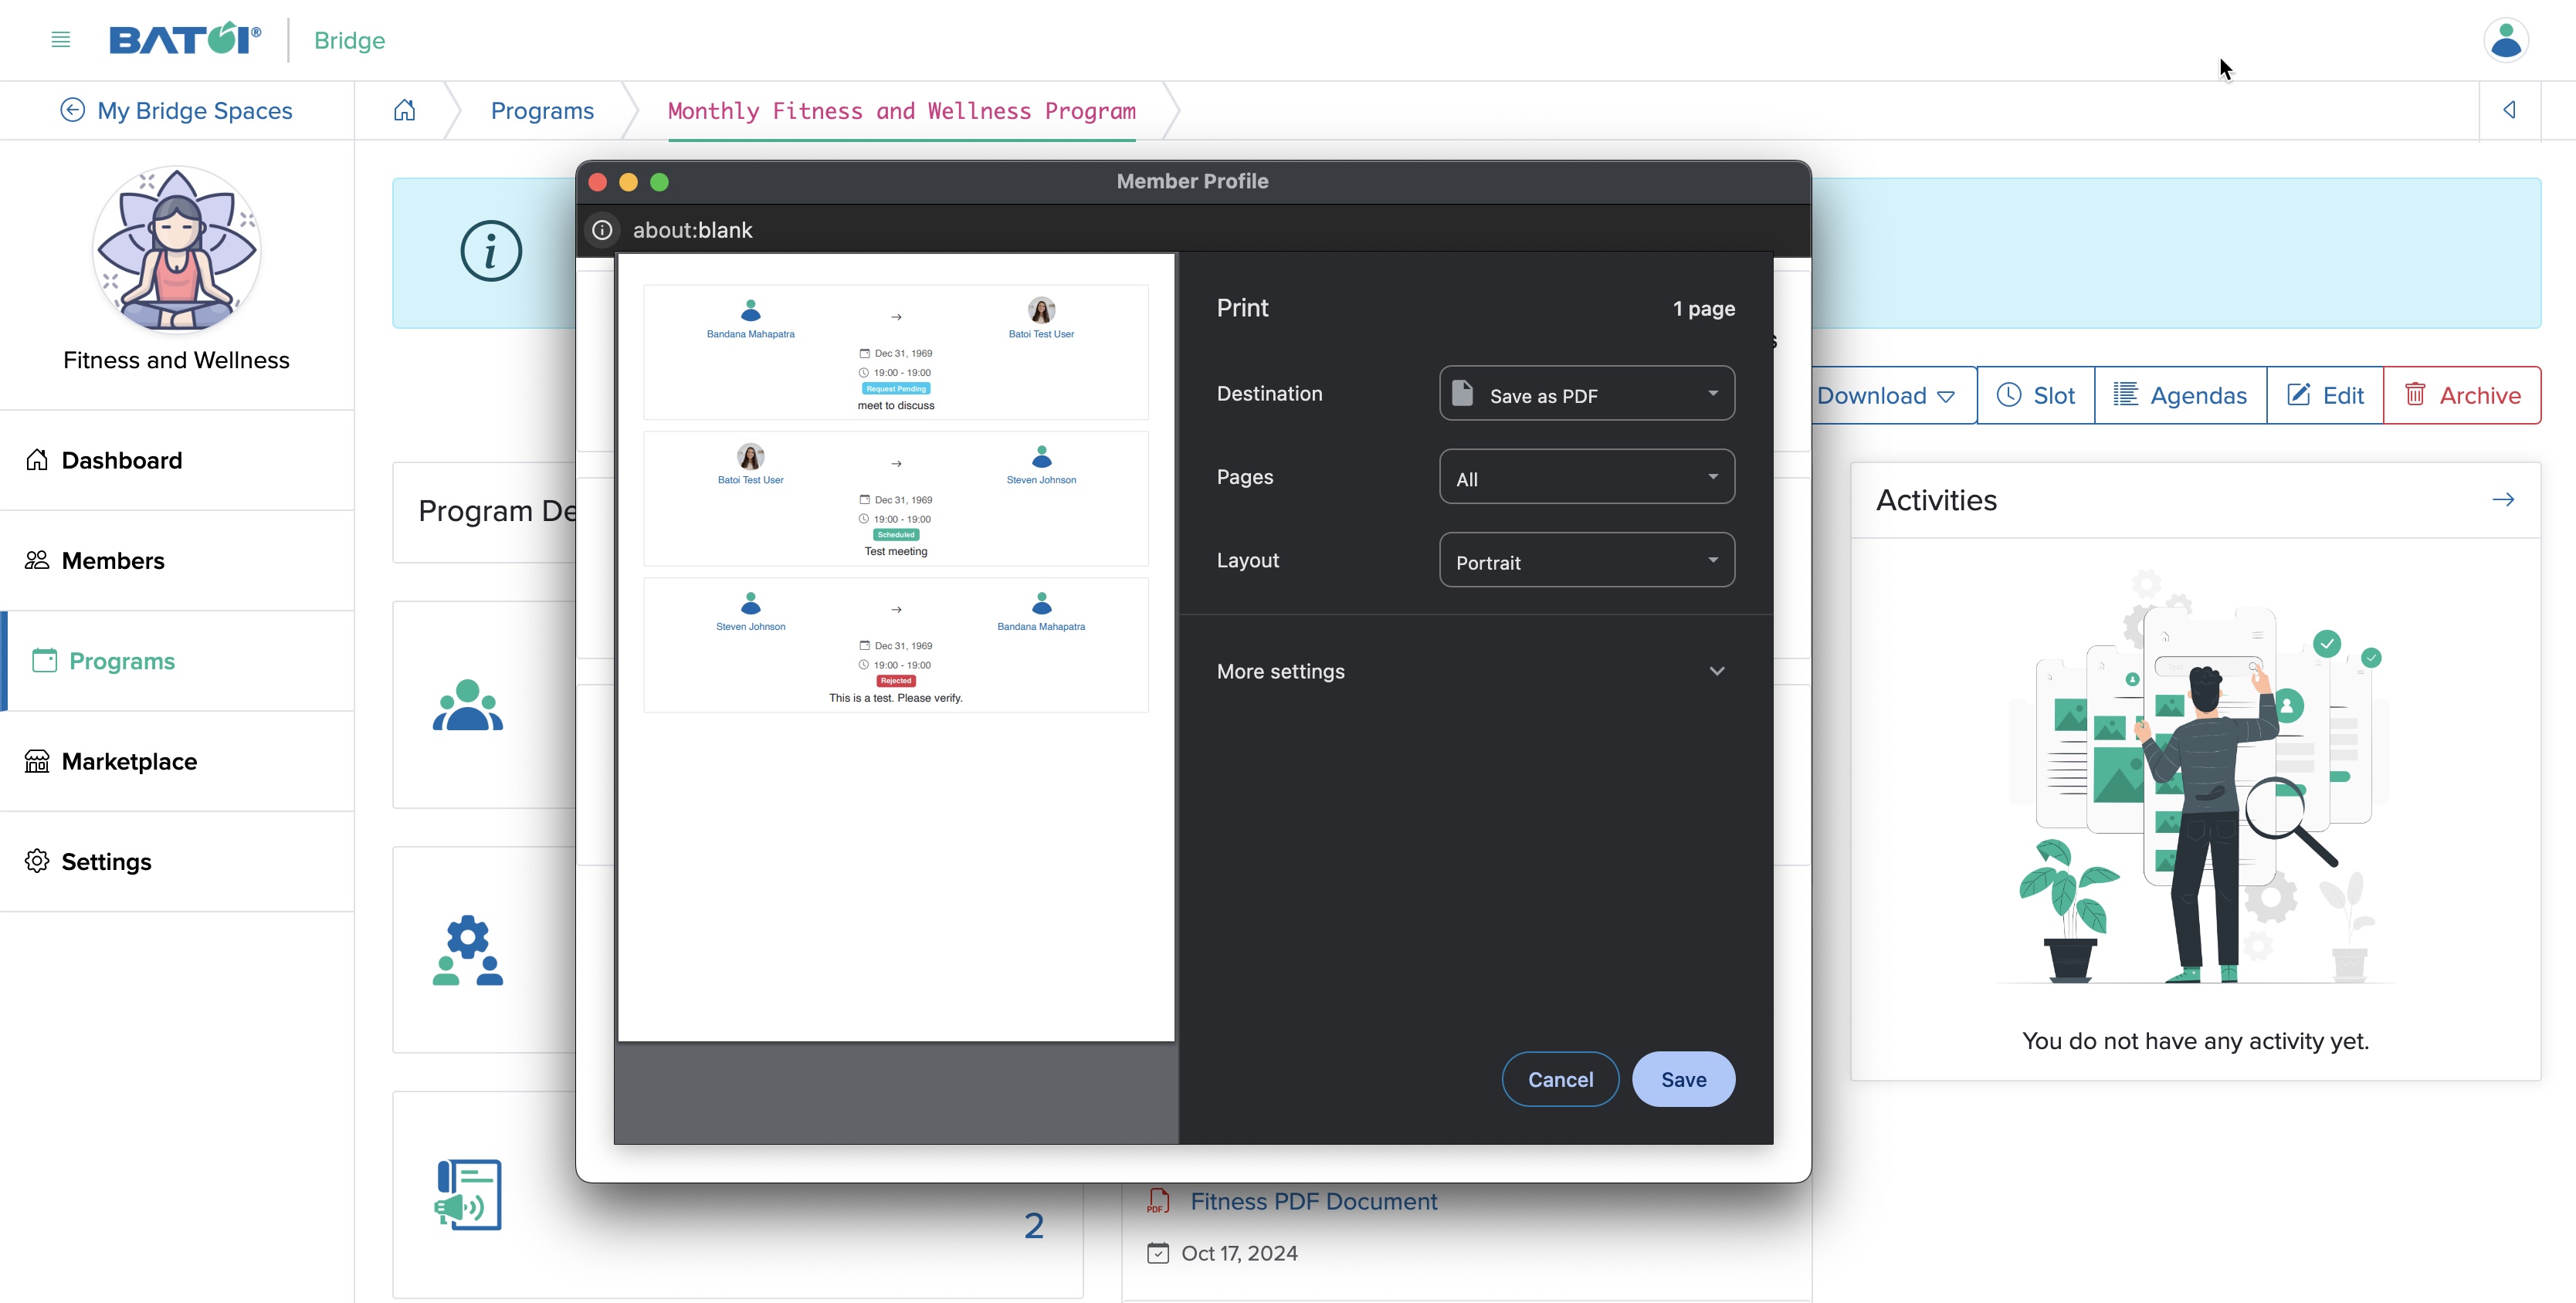
Download Meetings Details
Click on the Download Member Meetings button, as shown in Figure 21 above and a popup window will open with the details of all the meetings meeting sloats so that you can print them using a printer command or save the file in PDF format for later use, as shown in Figure 24 below.
Slots
Click the Slots button available on the program dashboard, as shown in Figure 3 above and you will be redirected to the slot list page where all the meeting slots will be shown data wise in a card format, as shown in Figure 25 below.
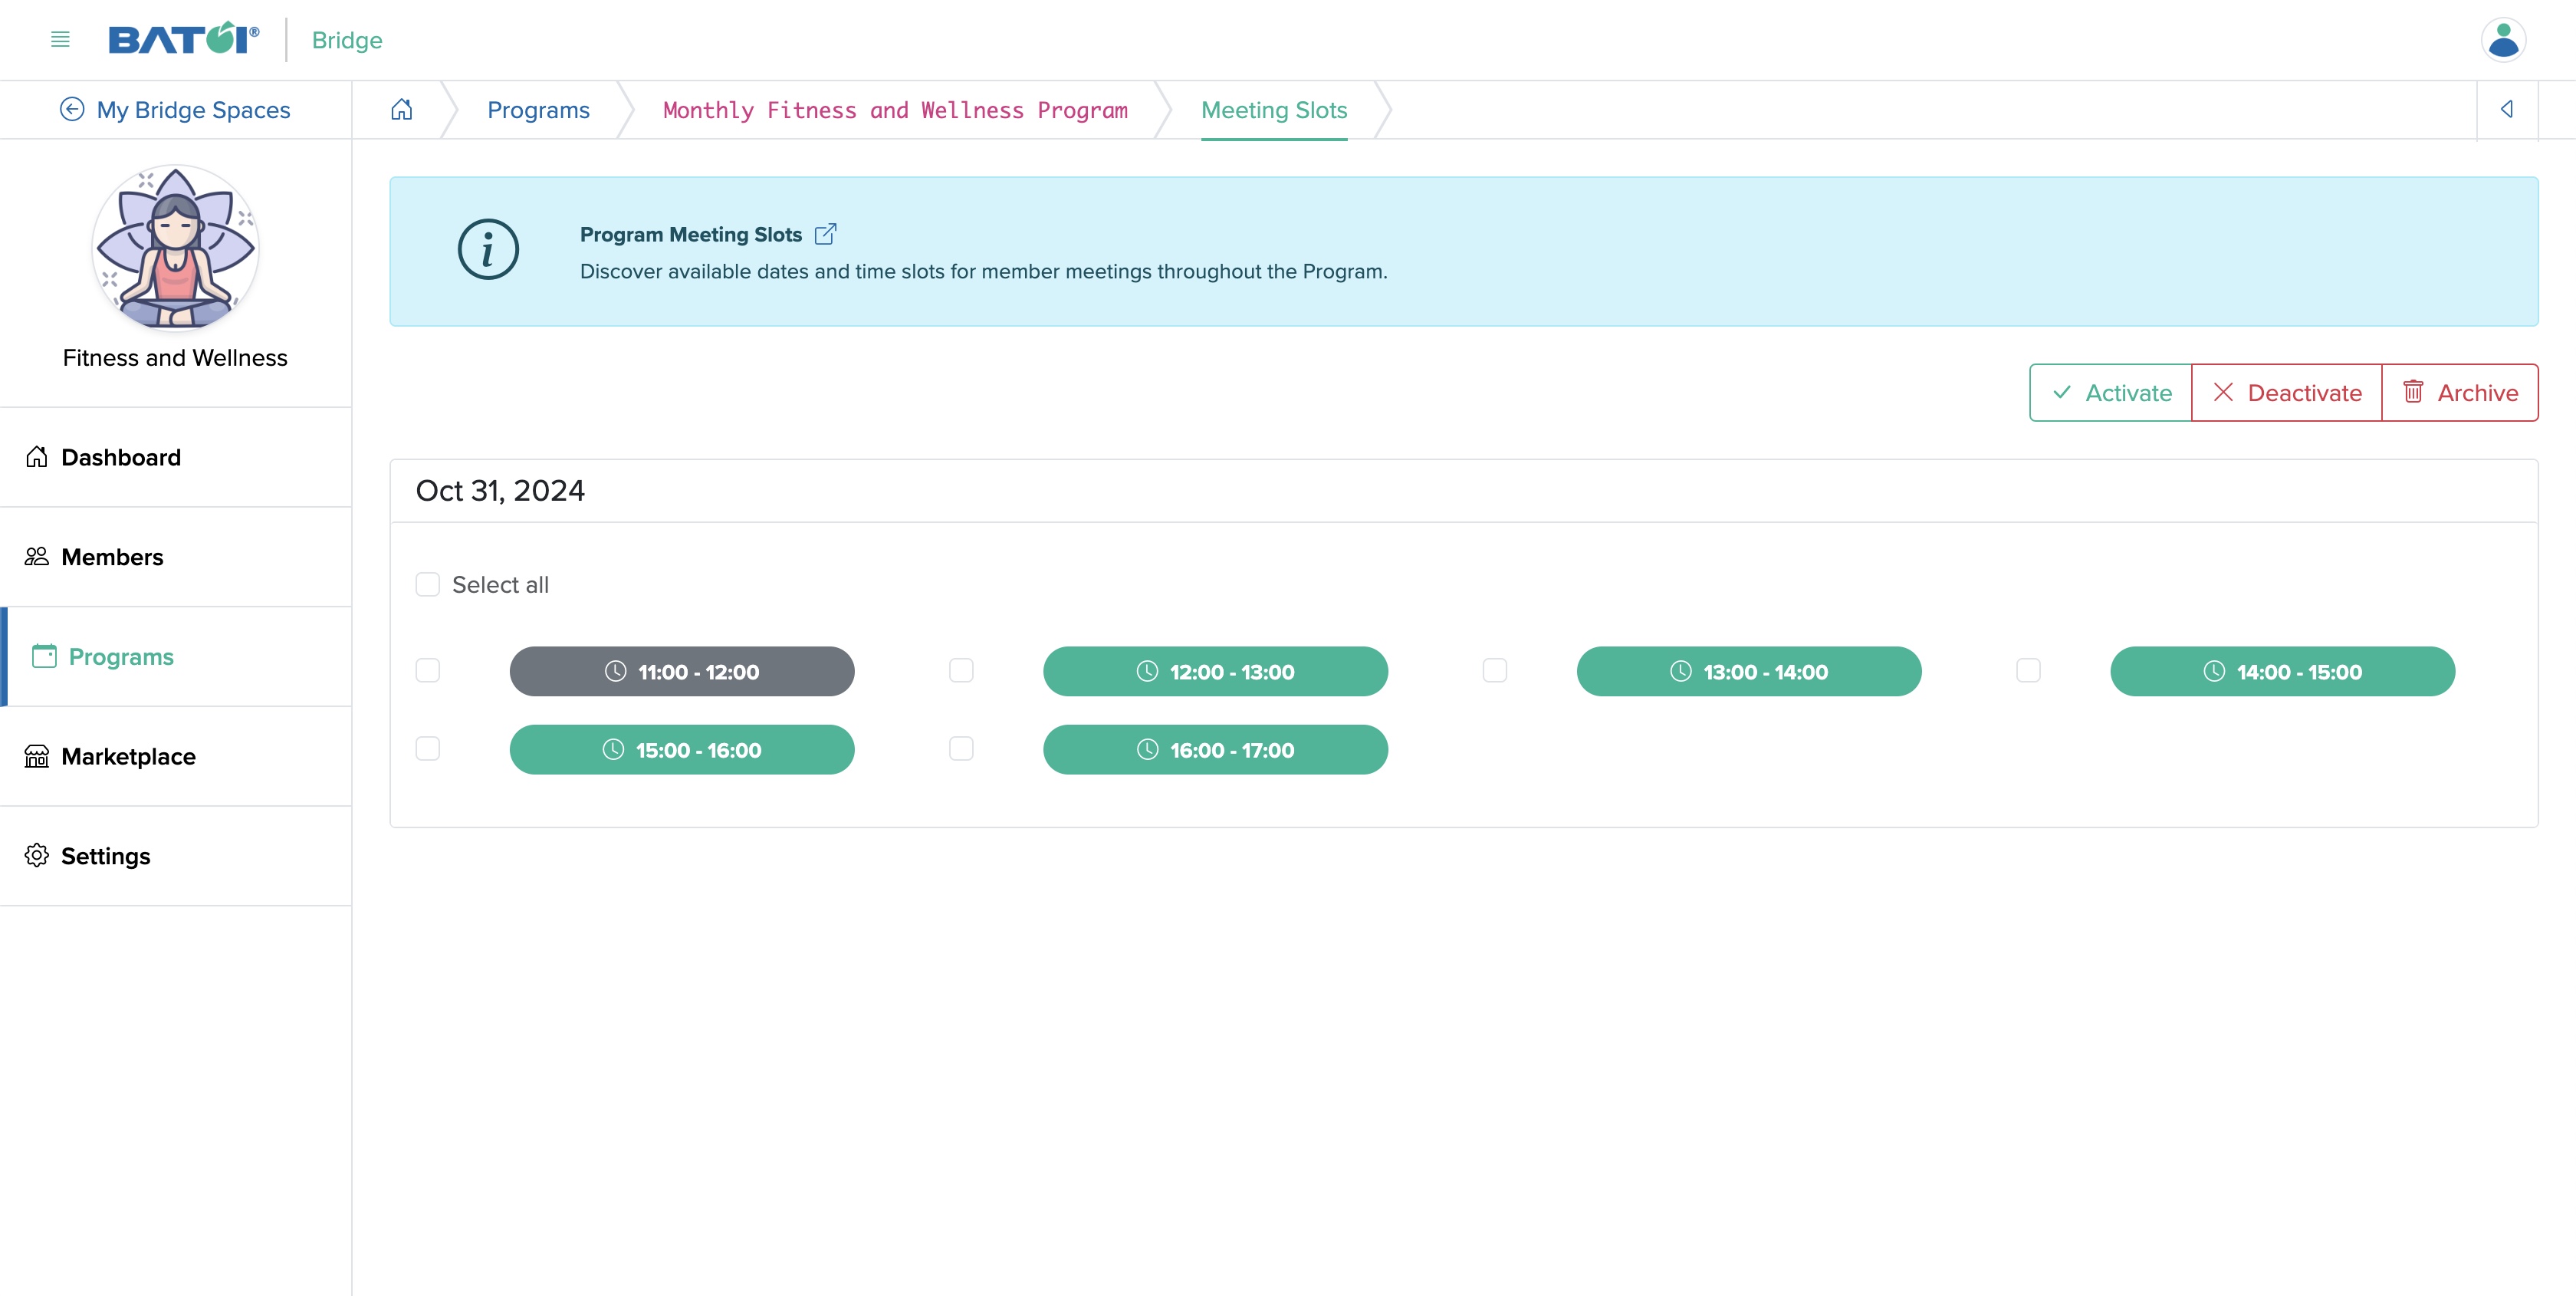
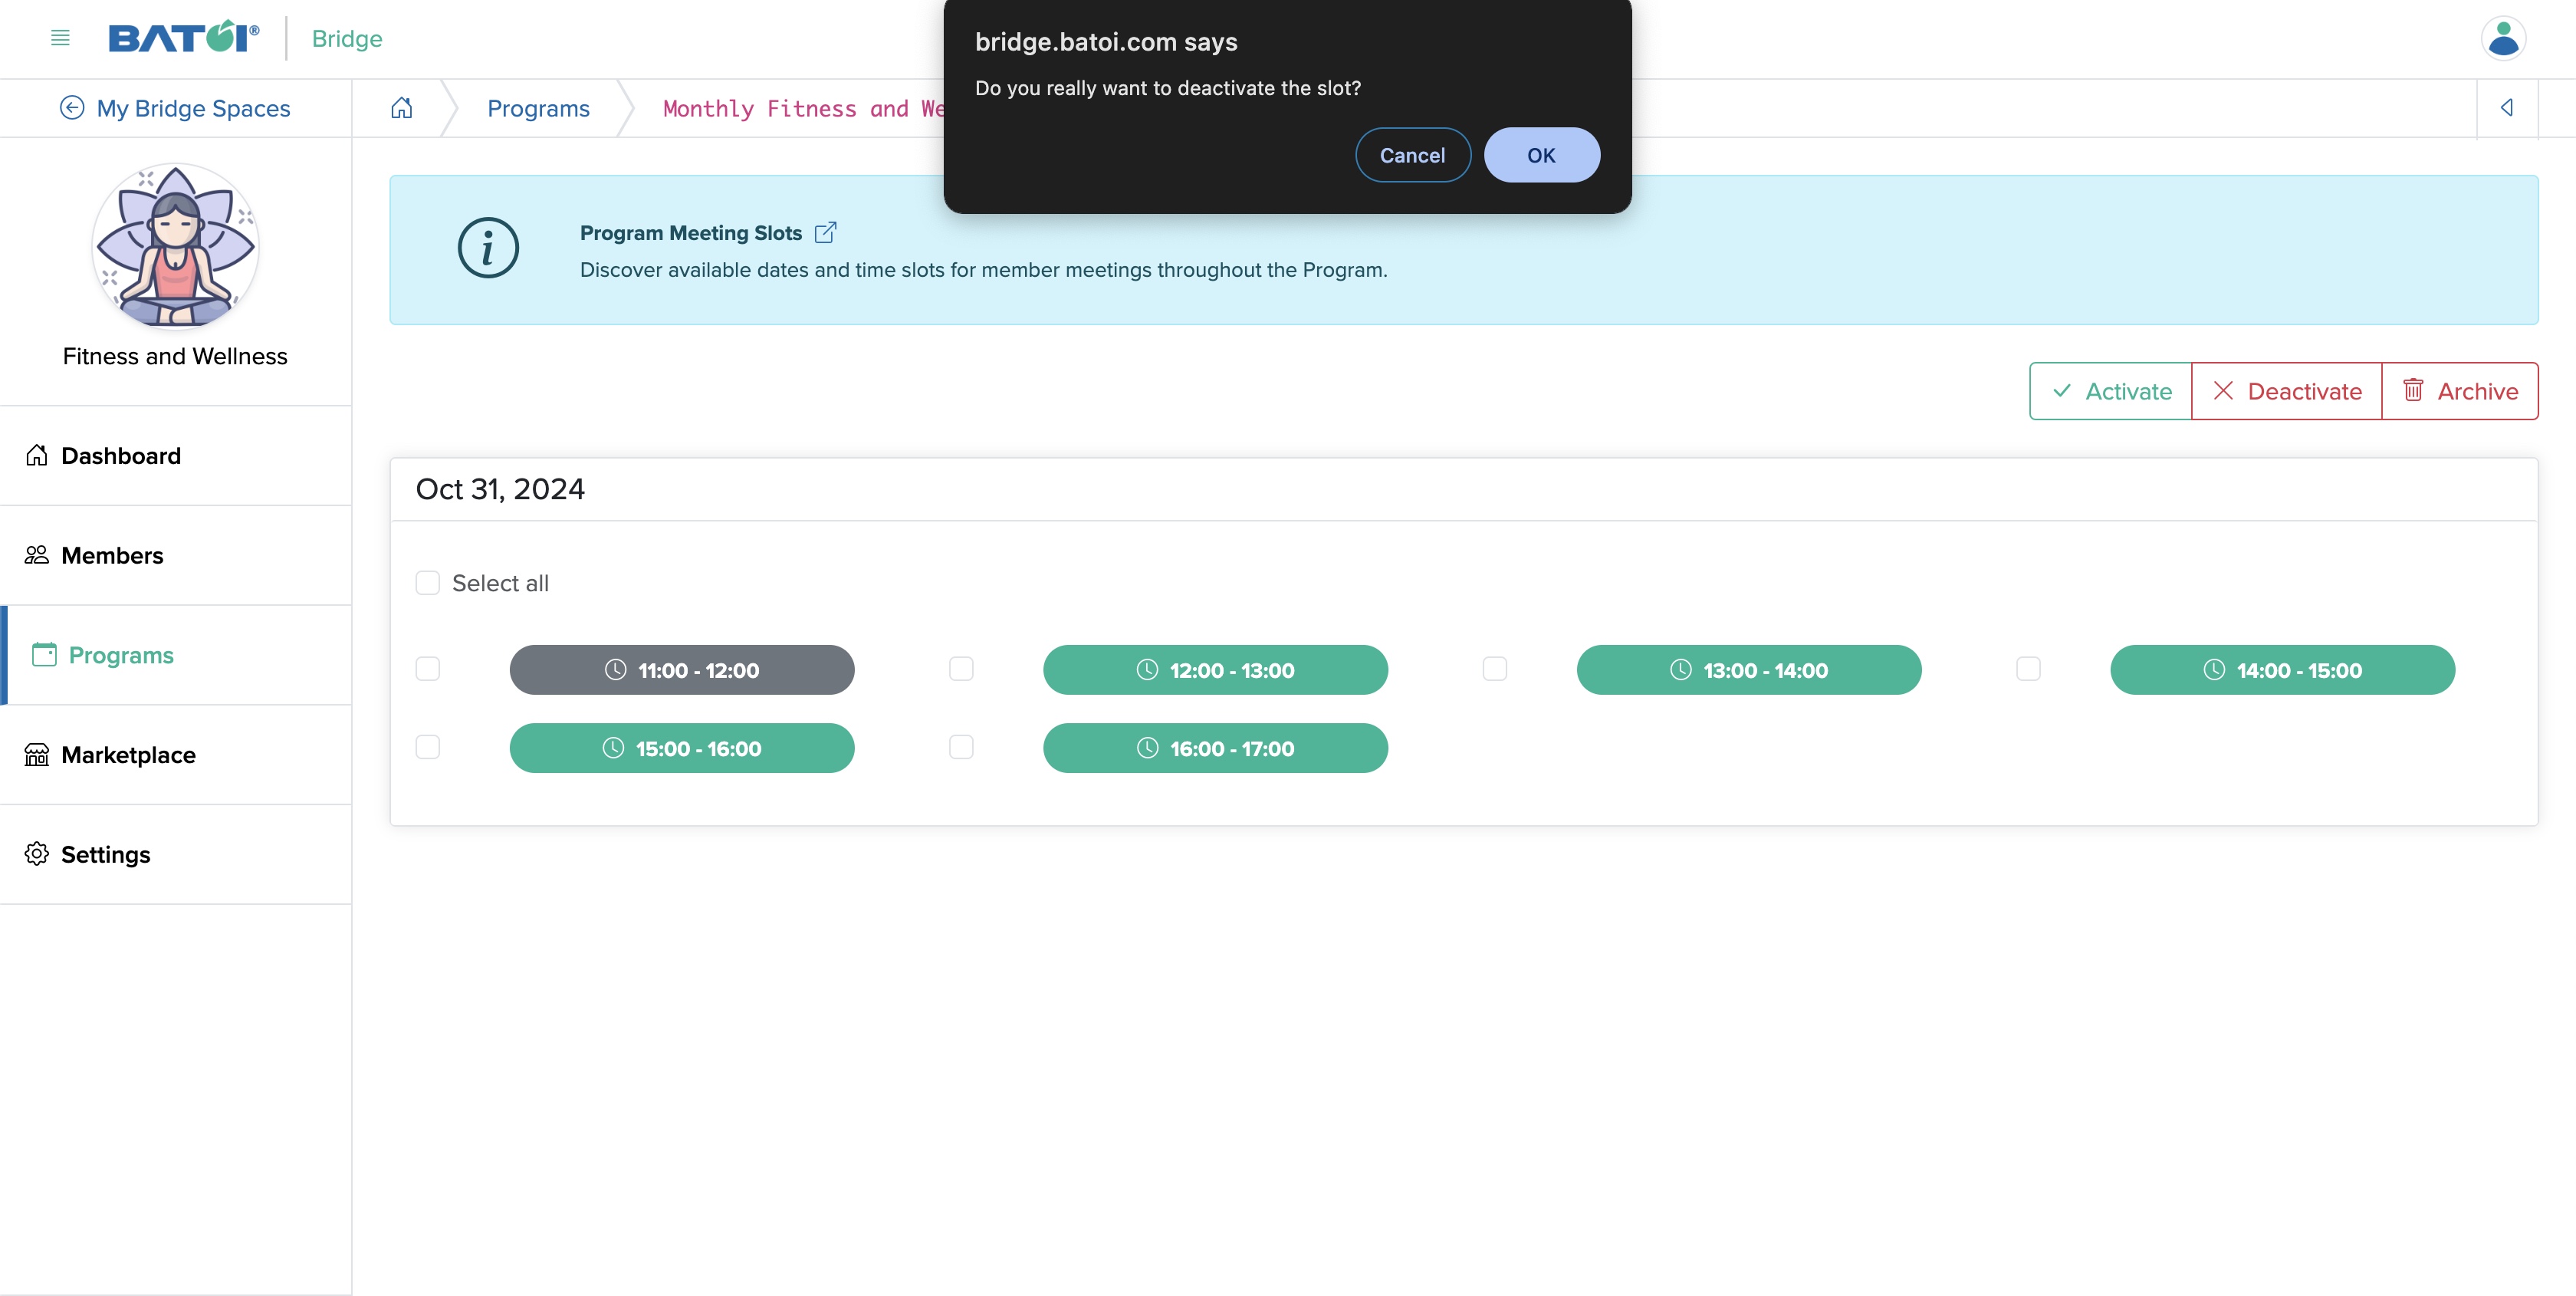
Click on the available slot green colour button to deactivate the particular slot, as shown in Figure 26 below and a popup screen will appear on the top of your screen click on the OK button to deactivate the slot.
Similarly, click on the inactive slot grey colour button to activate it.
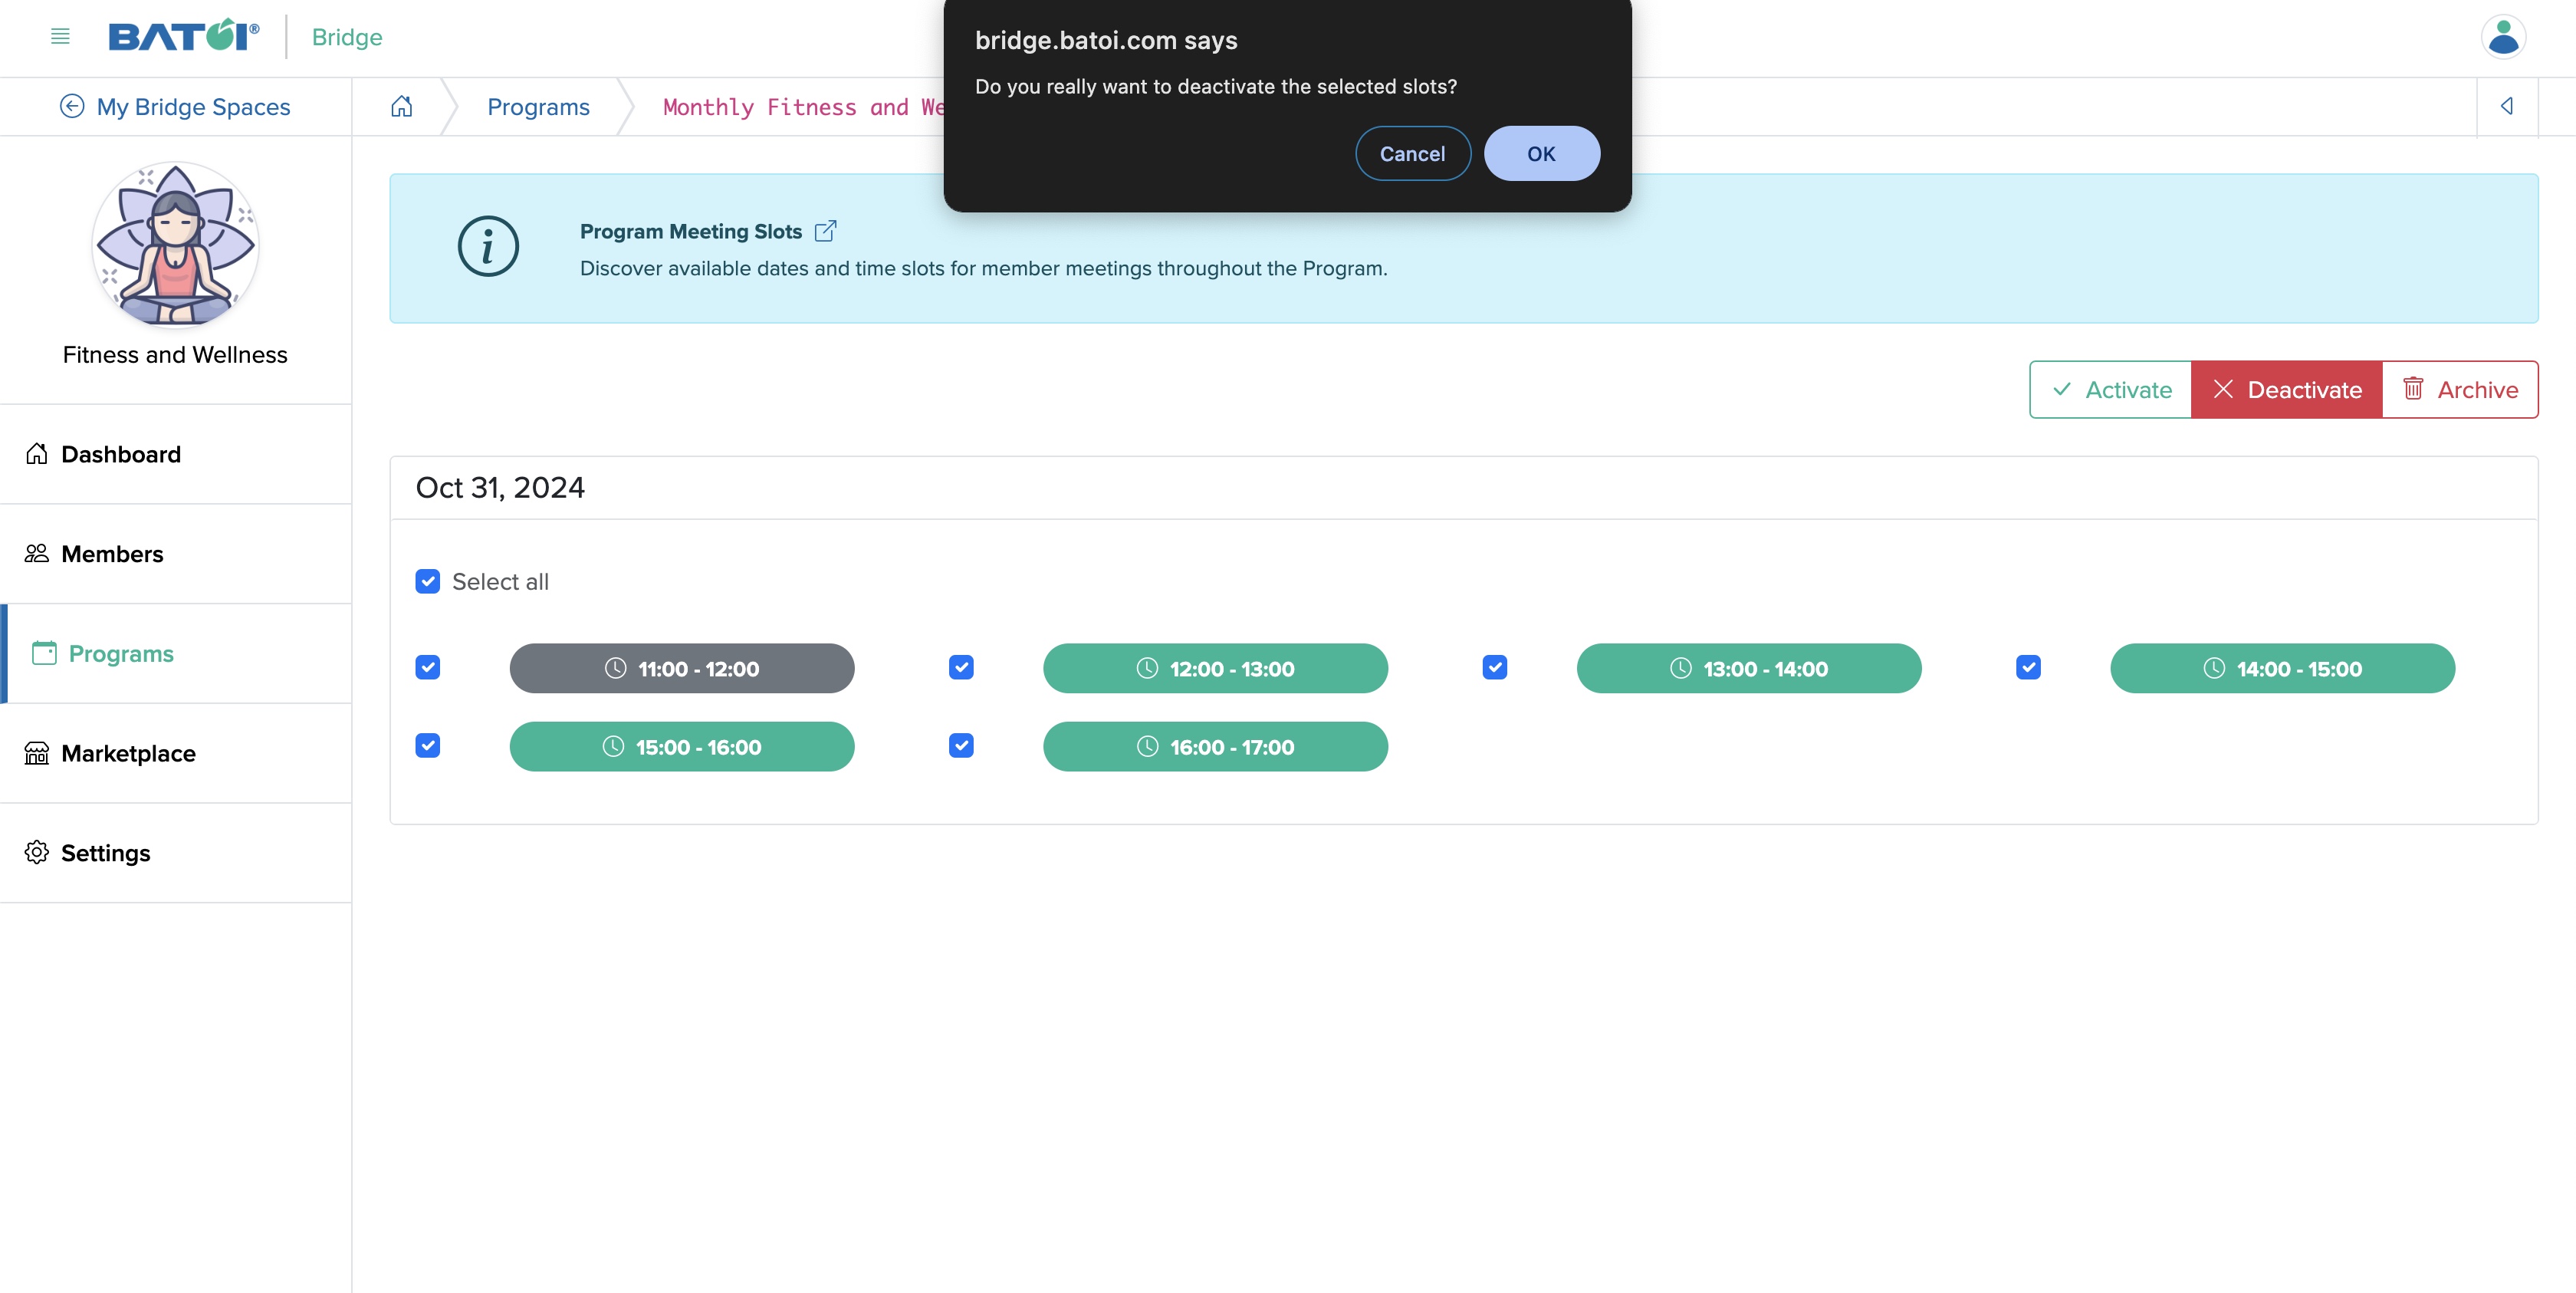
To activate/deactivate multiple slots for a particular day, click on the Select All checkbox and click the Activate or Deactivate button available on the top right side of the screen and a popup screen will appear on the top of your screen and by clicking on the OK button you can activate or deactivate all the slots of that day, as shown in Figure 27 below.
Agenda
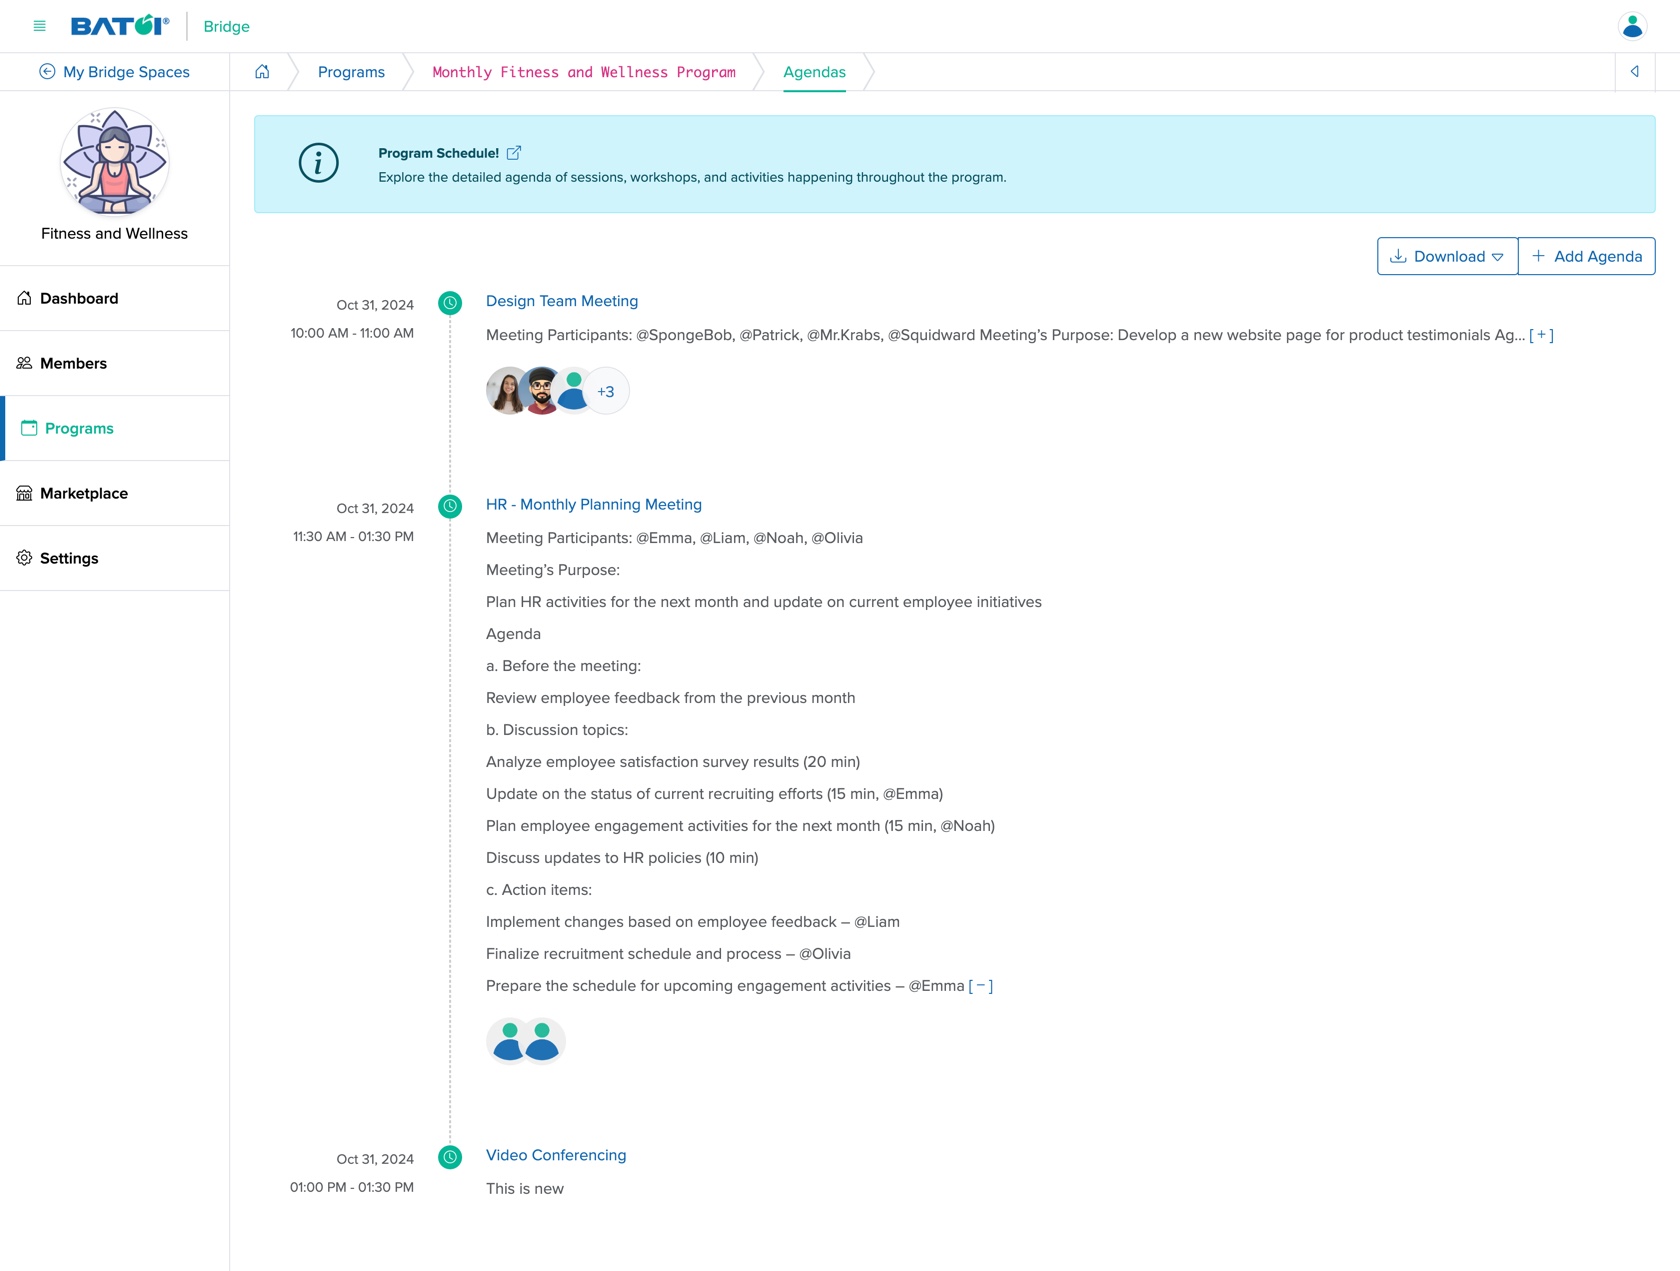
Click the Agenda button available on the program dashboard, as shown in Figure 3 above and you will be redirected to the agenda list page where day-wise agendas will be shown, as shown in Figure 28 below.
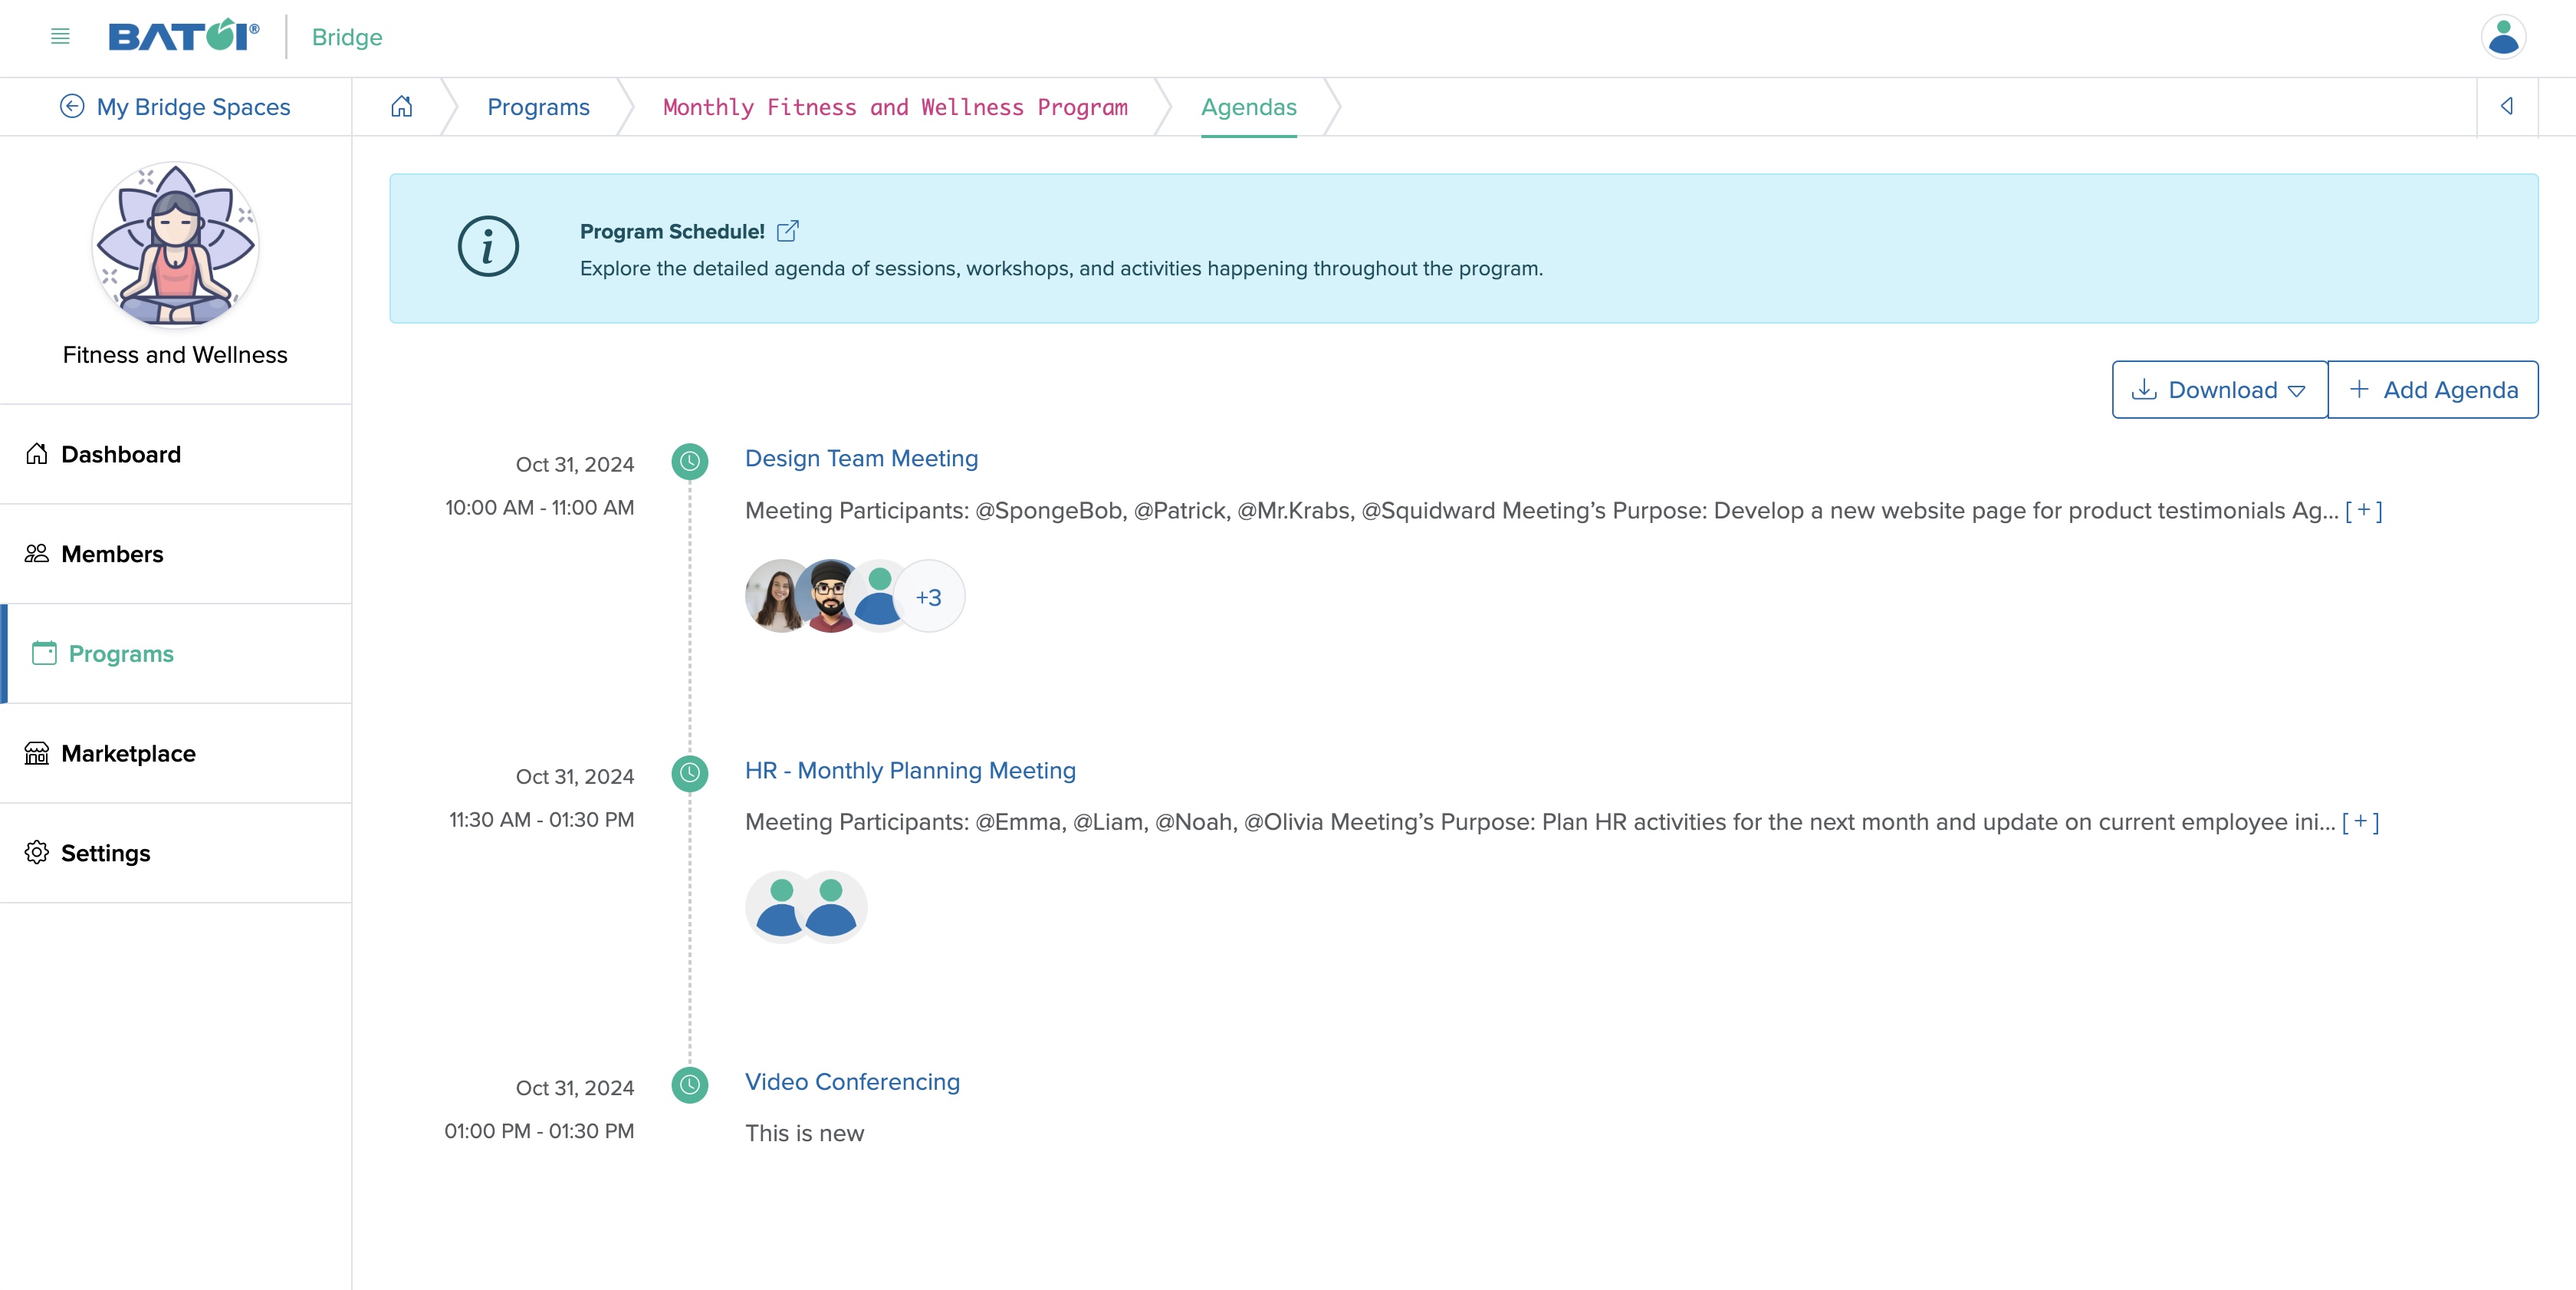
Click the + icon associated with member of each agenda item, as shown in Figure 28 above and the list of other member will be shown and by clicking the Title of each member you will be redirected to the member profile page.
Click the + icon associated with each agenda item, as shown in Figure 28 above and detail agenda will appear, as shown in Figure 29 below.
Add Agenda
Click on the Add Agenda button available at the top of the agenda list page and you will be redirected to the Add Agenda page, as shown in Figure 30 below.
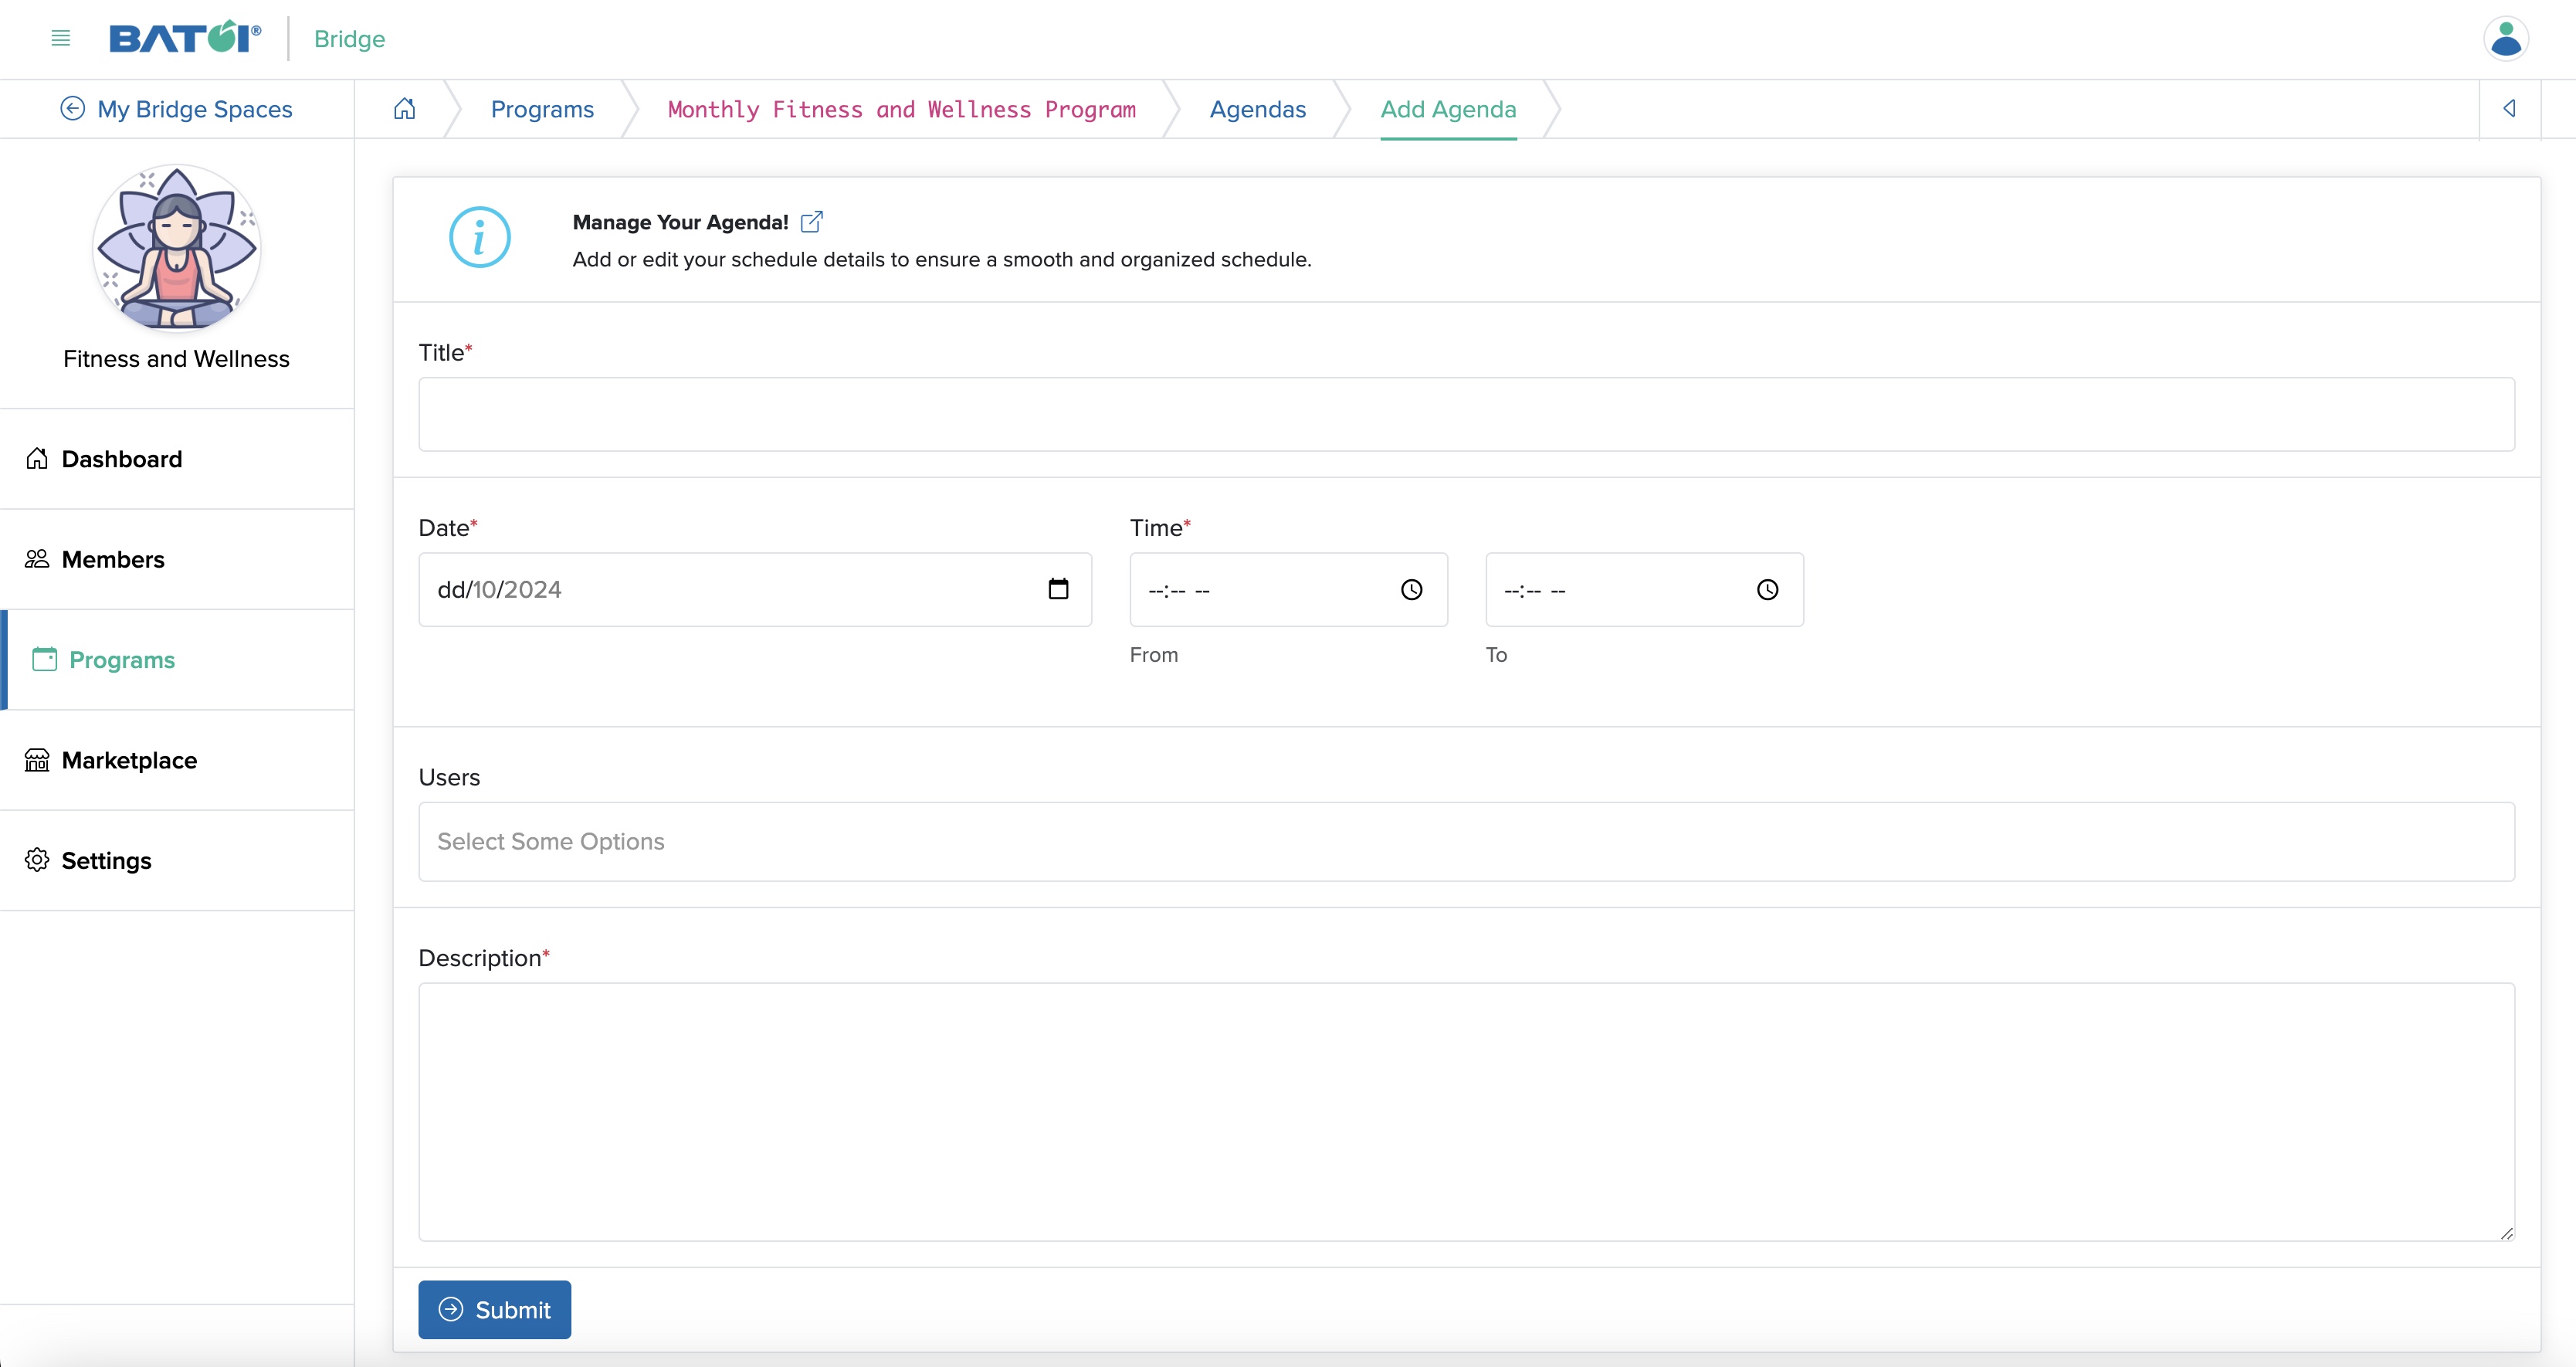
You can enter the below details and click the Submit button to create an agenda, as shown in Figure 30 above.
- Title (Textbox - Mandatory): Enter the Title
- Start Date & Time (Date and Time box - Mandatory): Enter the agenda start date and time
- Users (Select box - Optional): Select Multiple Users from the list
- Description (Textarea - Mandatory): Enter the Description
Edit Agenda
Click on the Title of each agenda on the agenda list page and you will be redirected to the edit agenda page, as shown in Figure 31 below.
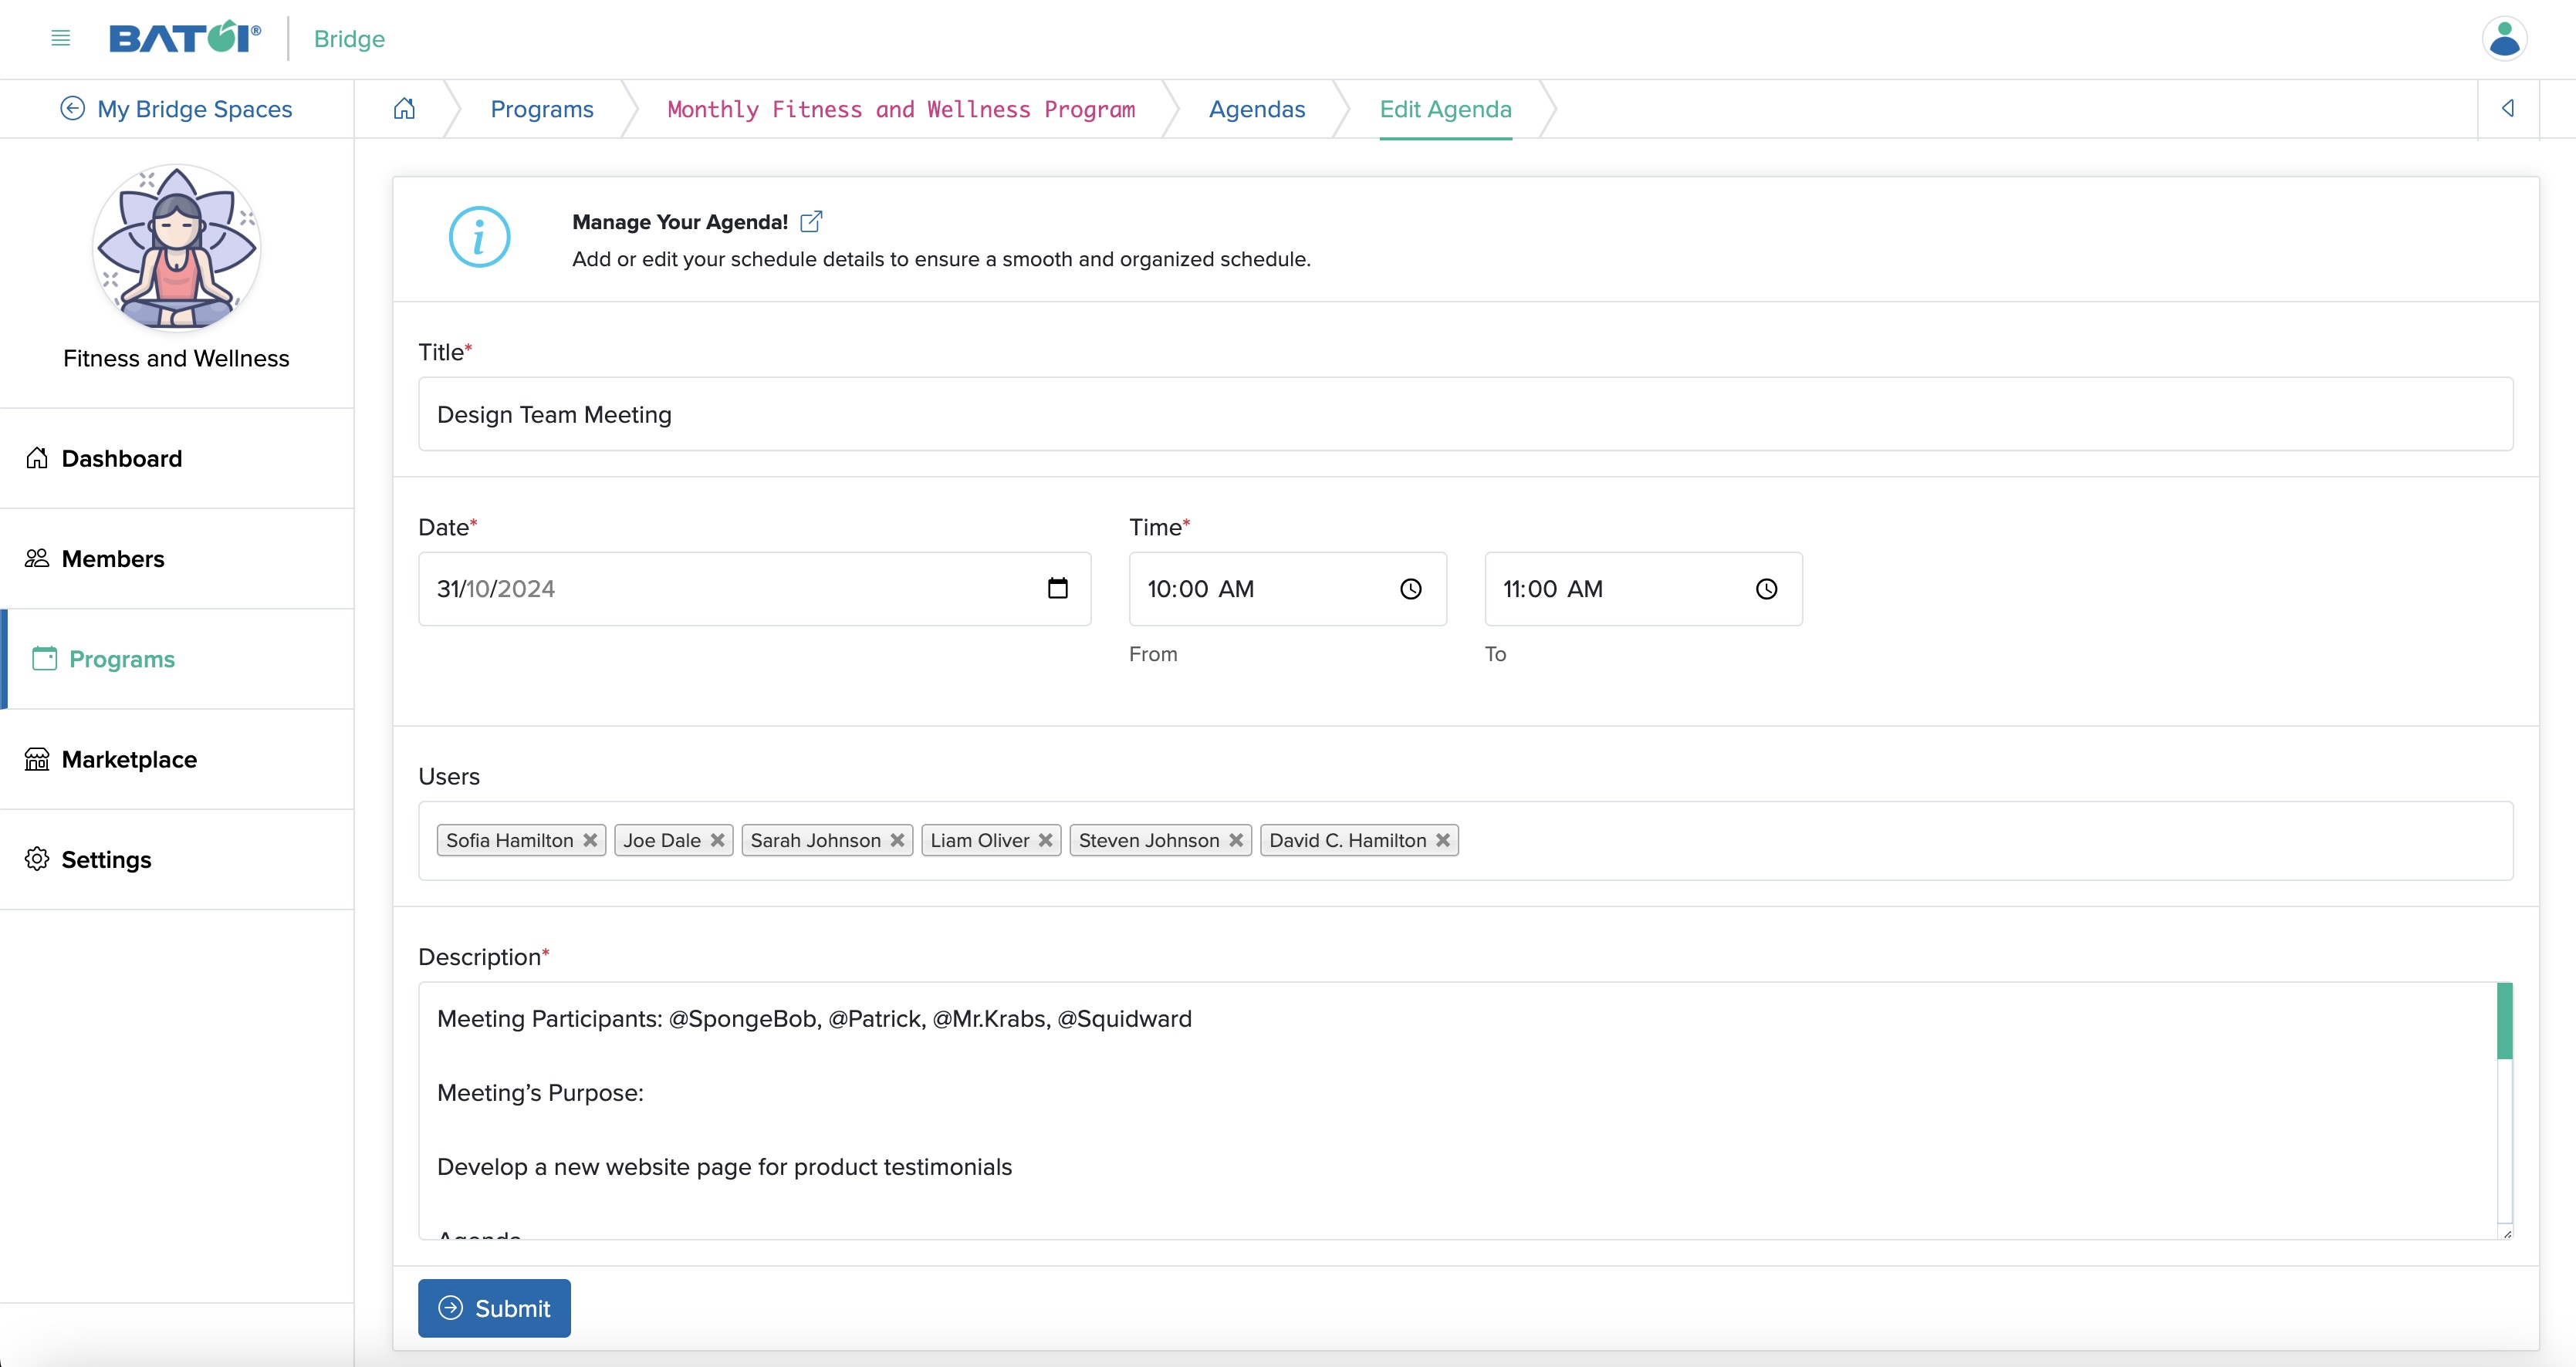
You can update the below details and click the Submit button to modify the agenda, as shown in Figure 31 above.
- Title (Textbox - Mandatory): Enter the Title
- Start Date & Time (Date and Time box - Mandatory): Enter the Agenda start date and time
- Users (Select box - Optional): Select Multiple Users from the list
- Description (Textarea - Mandatory): Enter the Description
Archive Agenda
To archive an agenda, go to the edit page of that particular agenda and click the Archive this Agenda button available at the bottom of the edit page, as shown in Figure 31 above.
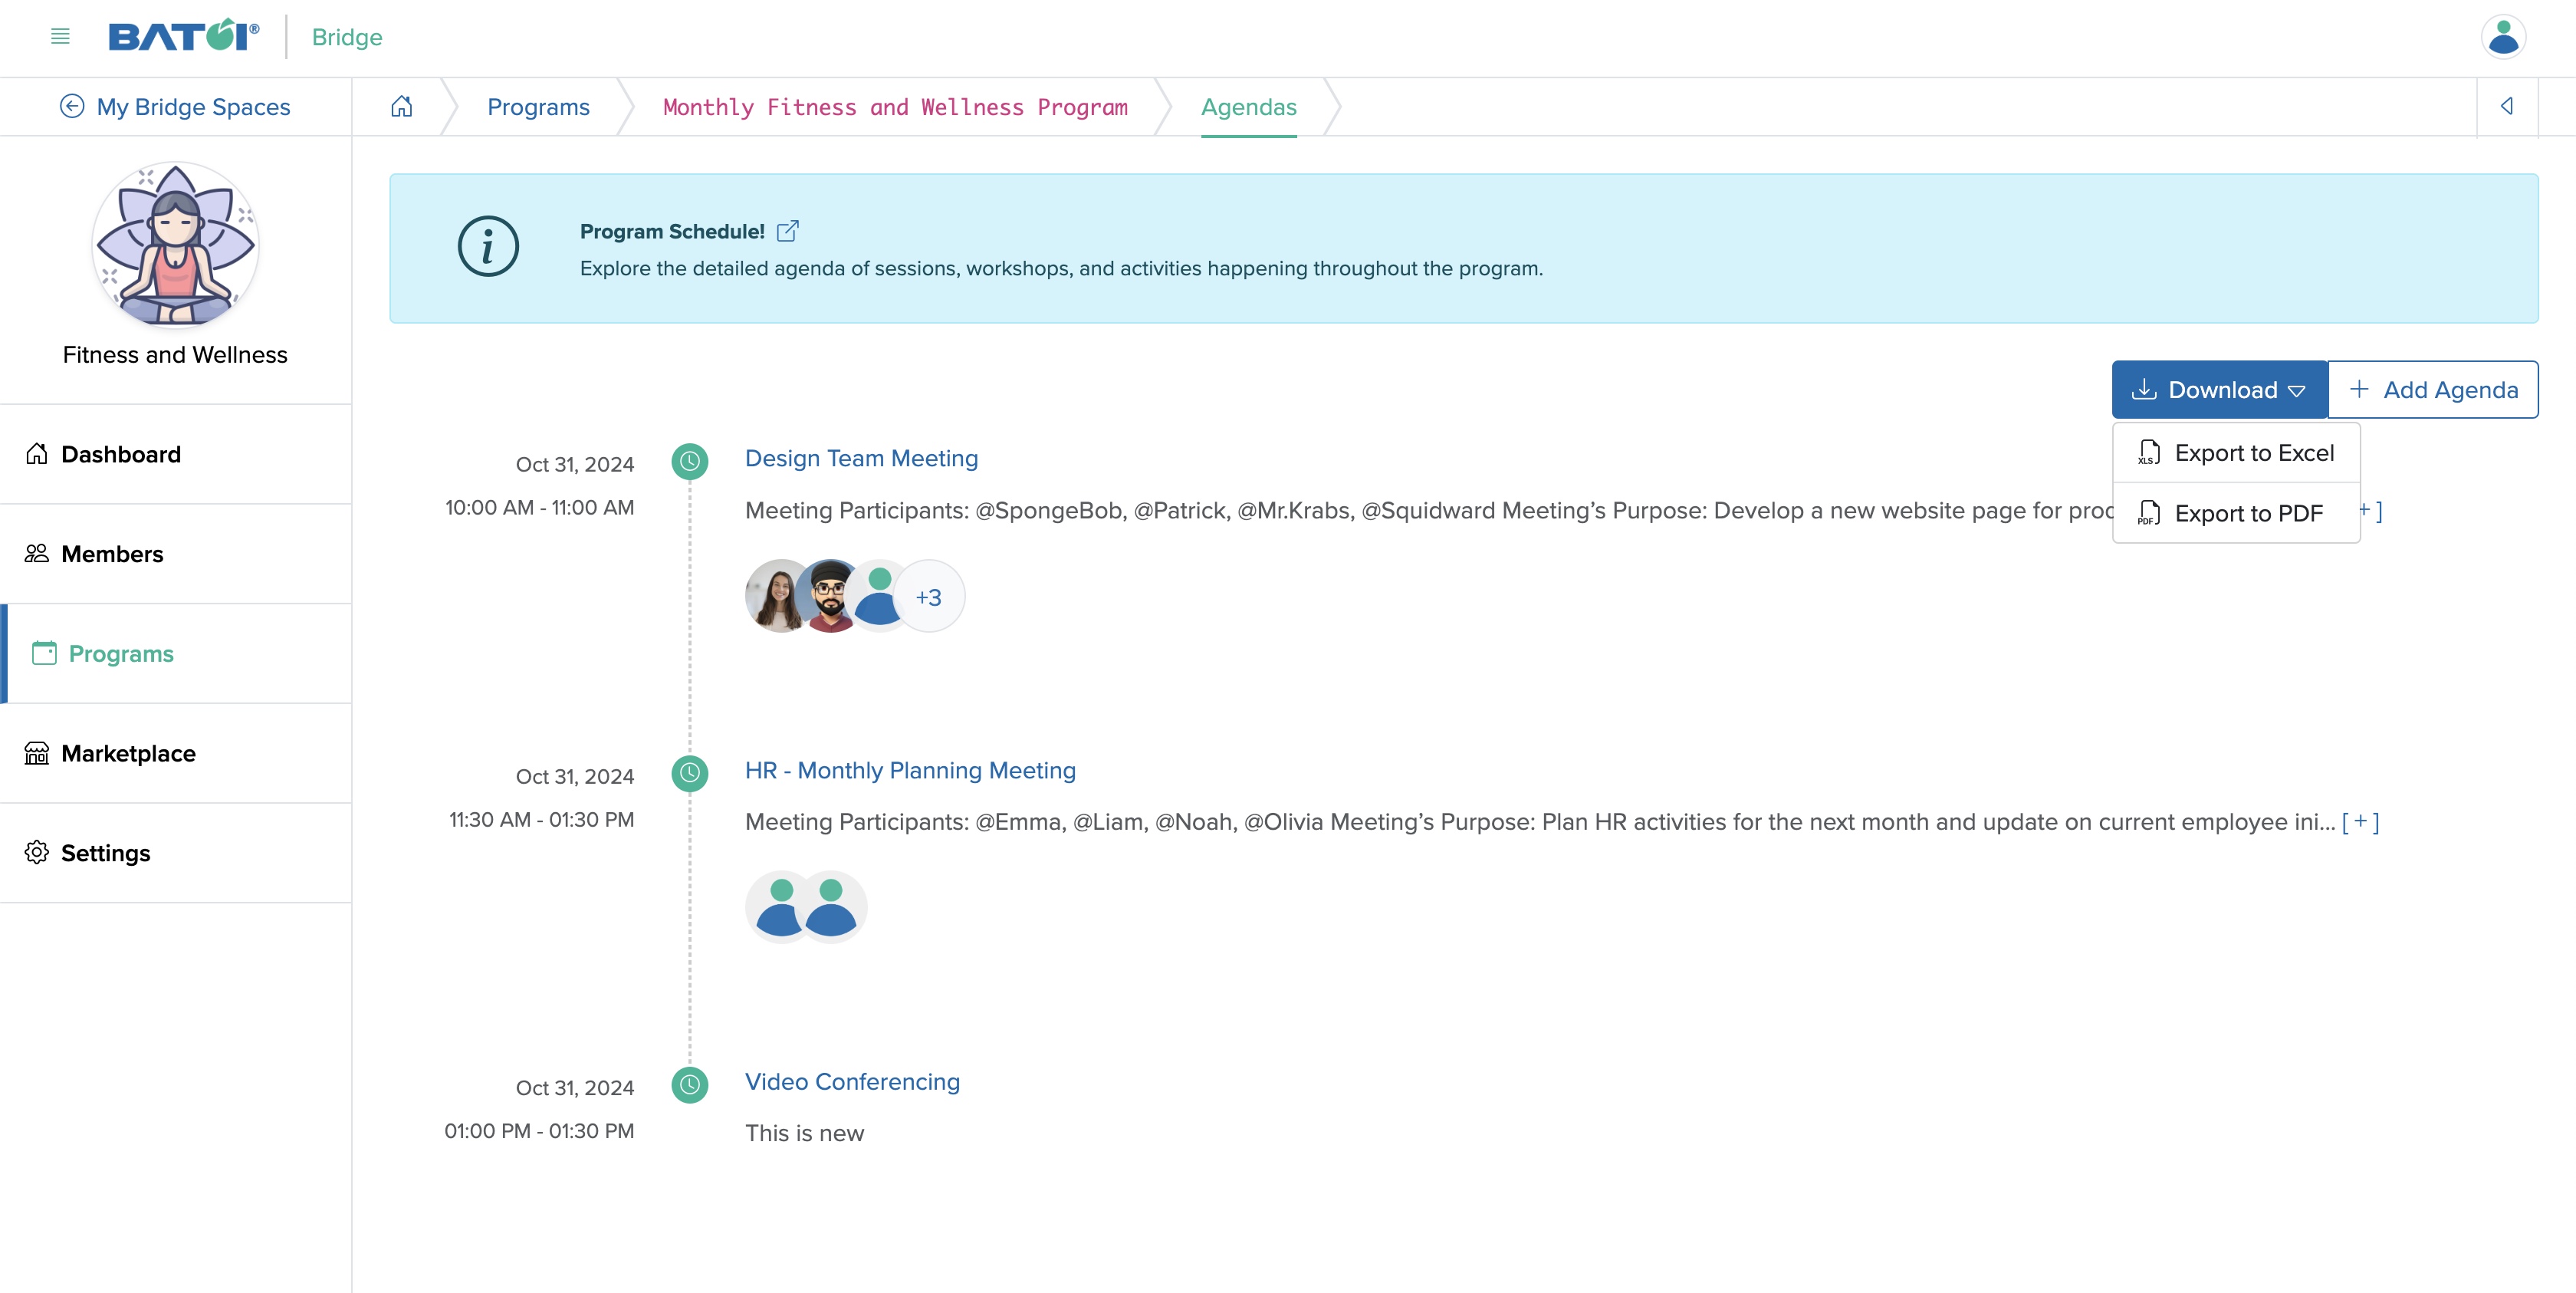
Export Agenda
Click on the Archive button available on the top right side of the agenda list screen, as shown in Figure 28 above and the dropdown option Export to Excel and Export to PDF will appear and you can select the option to download the agenda and your entire agenda will be exported to your local systems, as shown in Figure 32 below.
Edit Program
Click on the Edit Program button available at the top of the program dashboard screen, as shown in Figure 3 above and you will be redirected to the program edit page, as shown in Figure 33 below.
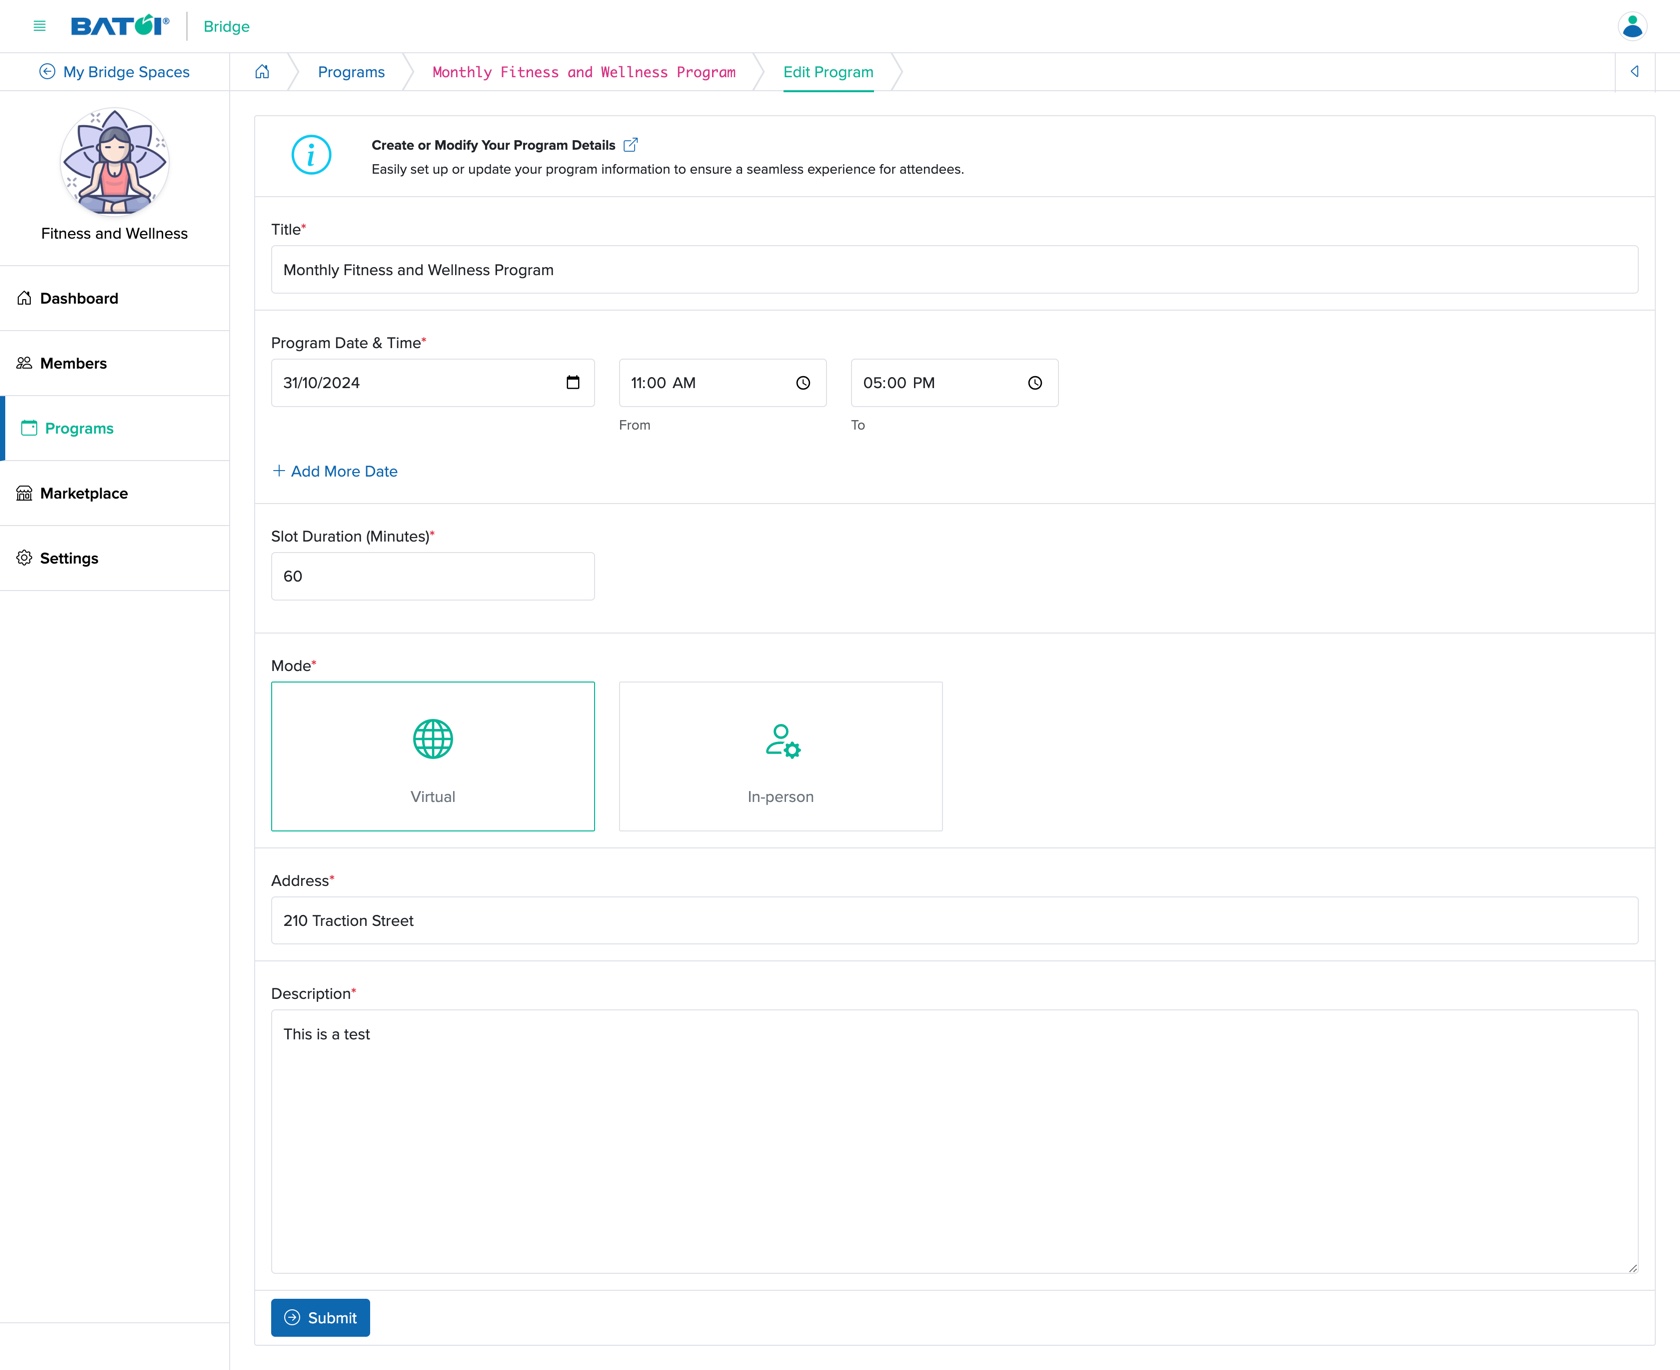
You can edit the below details and click the Submit button to update the program, as shown in Figure 33 above.
- Title (Textbox - Mandatory): Edit the title of the program
- Program Date & Time (Date and Time box - Mandatory): Enter the program start date, start and end time
- Add One More (Link - Optional): Clic to add multiple program date
- Slot Duration (Drop Menu - Mandatory): Select the slot duration from the dropdown list
- Meeting Mode (Select box - Mandatory): Select from the option ‘Virtual’ or ‘In Person’
- Address (Textbox - Mandatory): Enter the program location
- Meeting Description (Textarea - Mandatory): Enter the program description
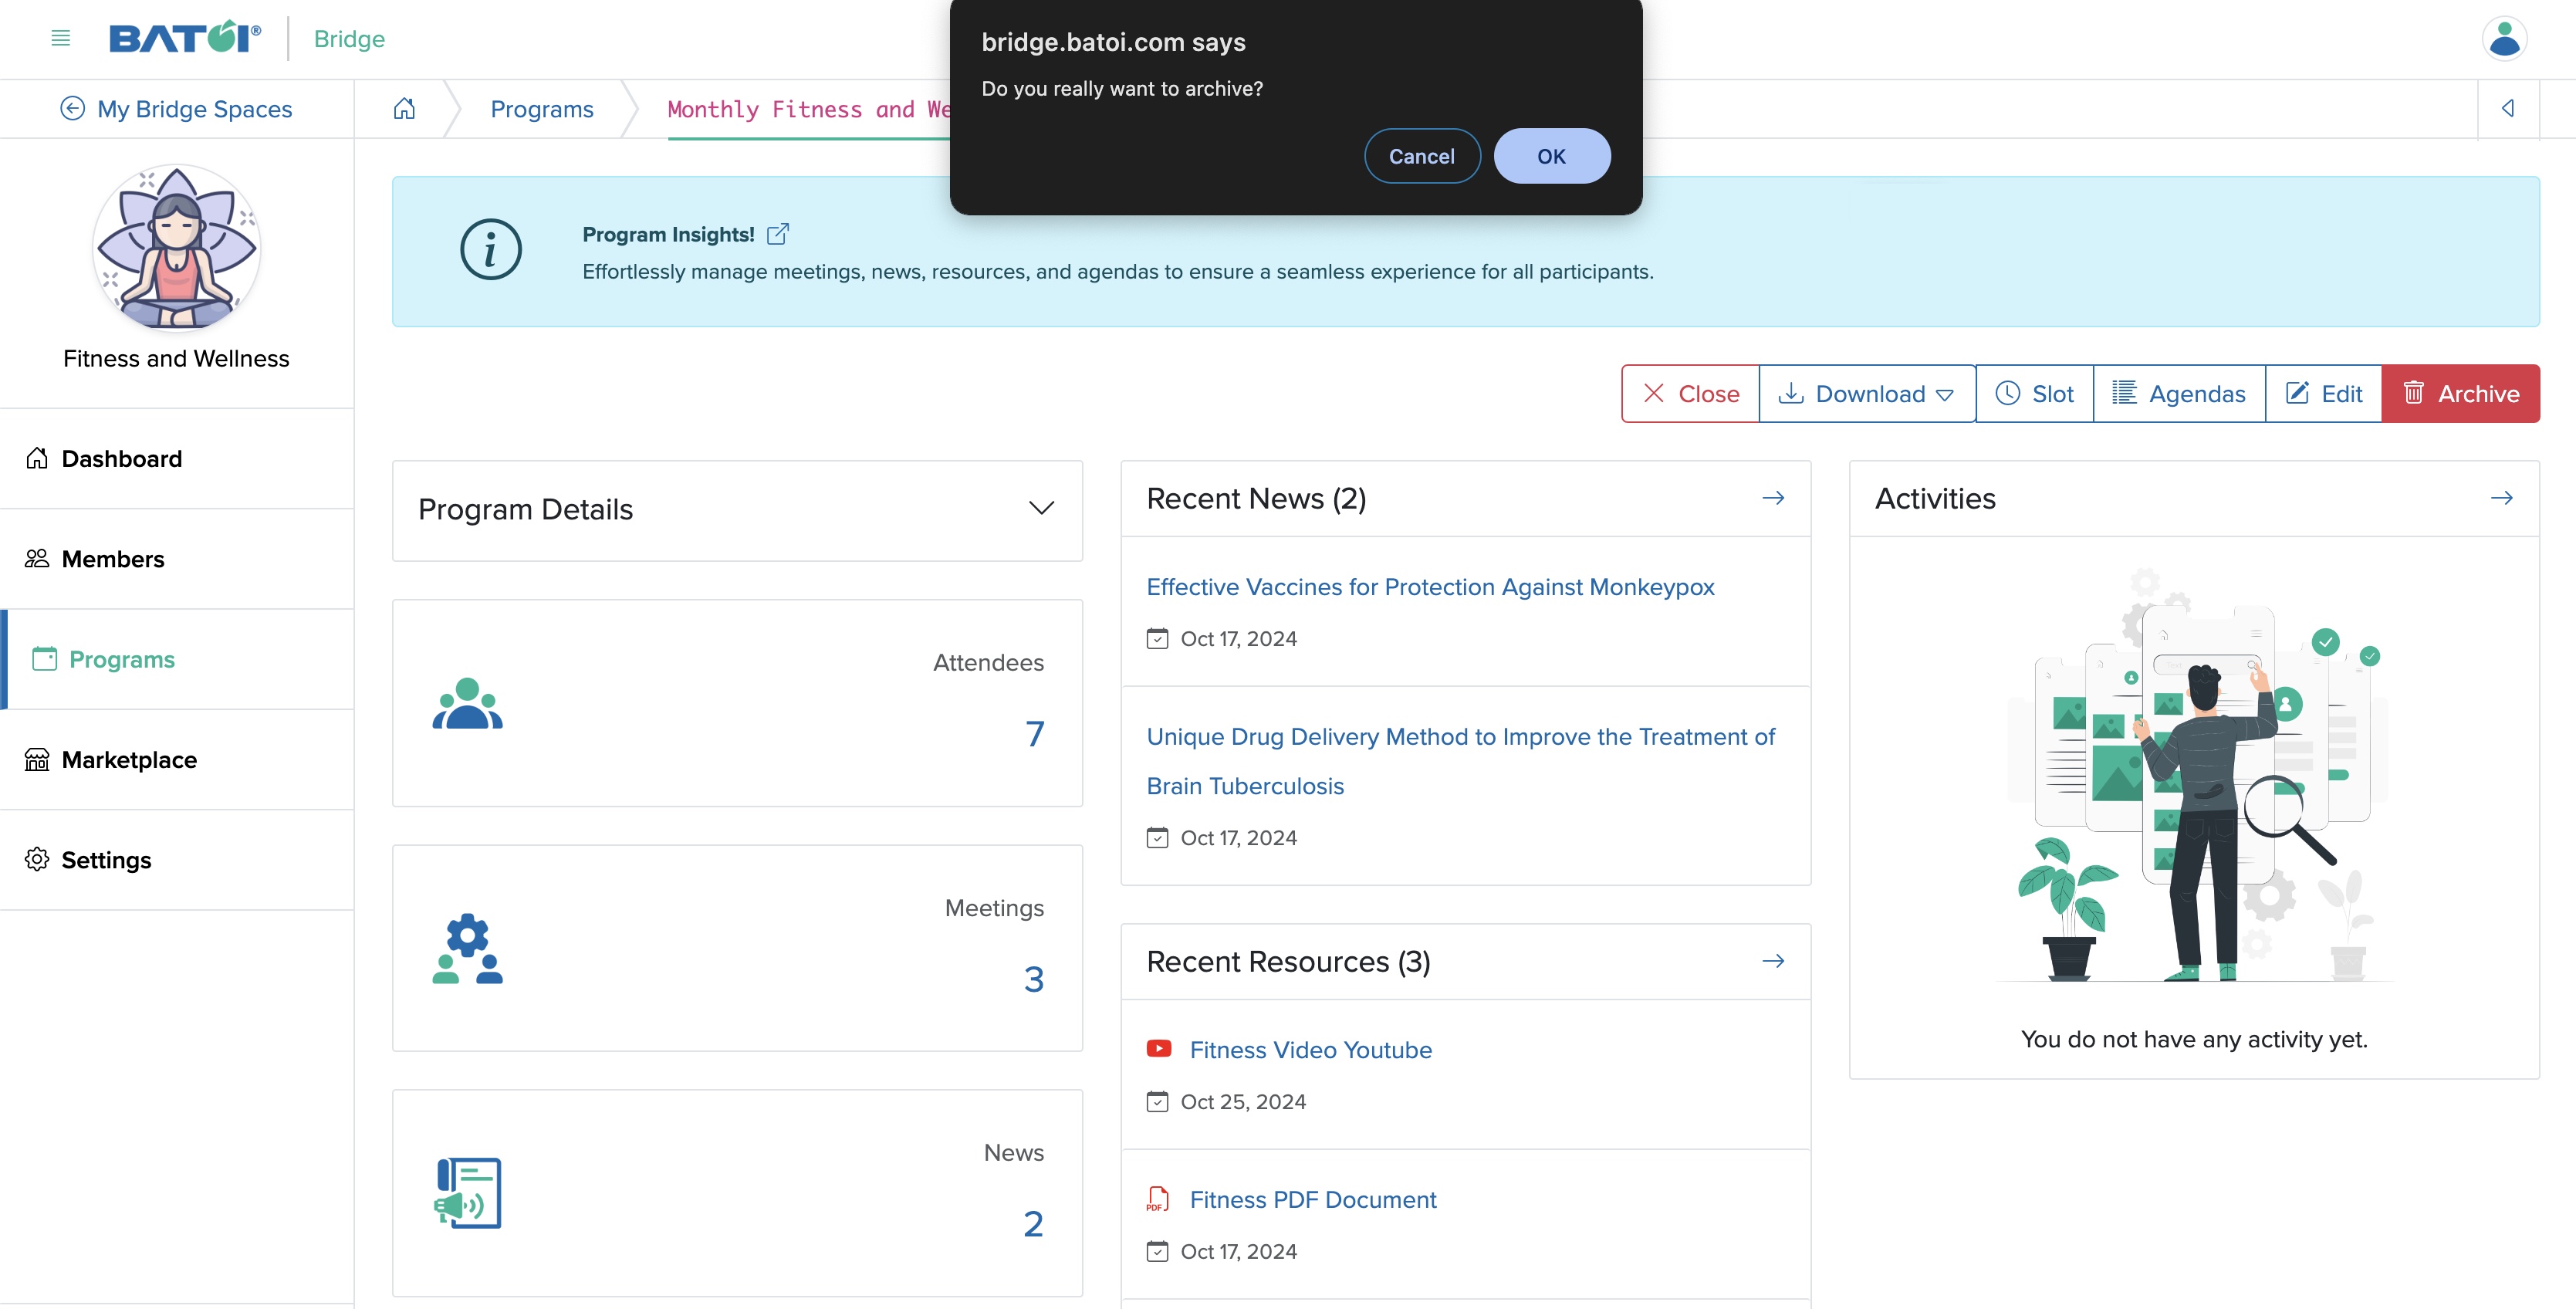
Archive Program
Click on the Archive Program button available at the top of the program dashboard screen, as shown in Figure 34 below and a popup screen will appear on the top of your screen click on the OK button to archive the program.