


Configure Setting as a Batoi Bridge Manager
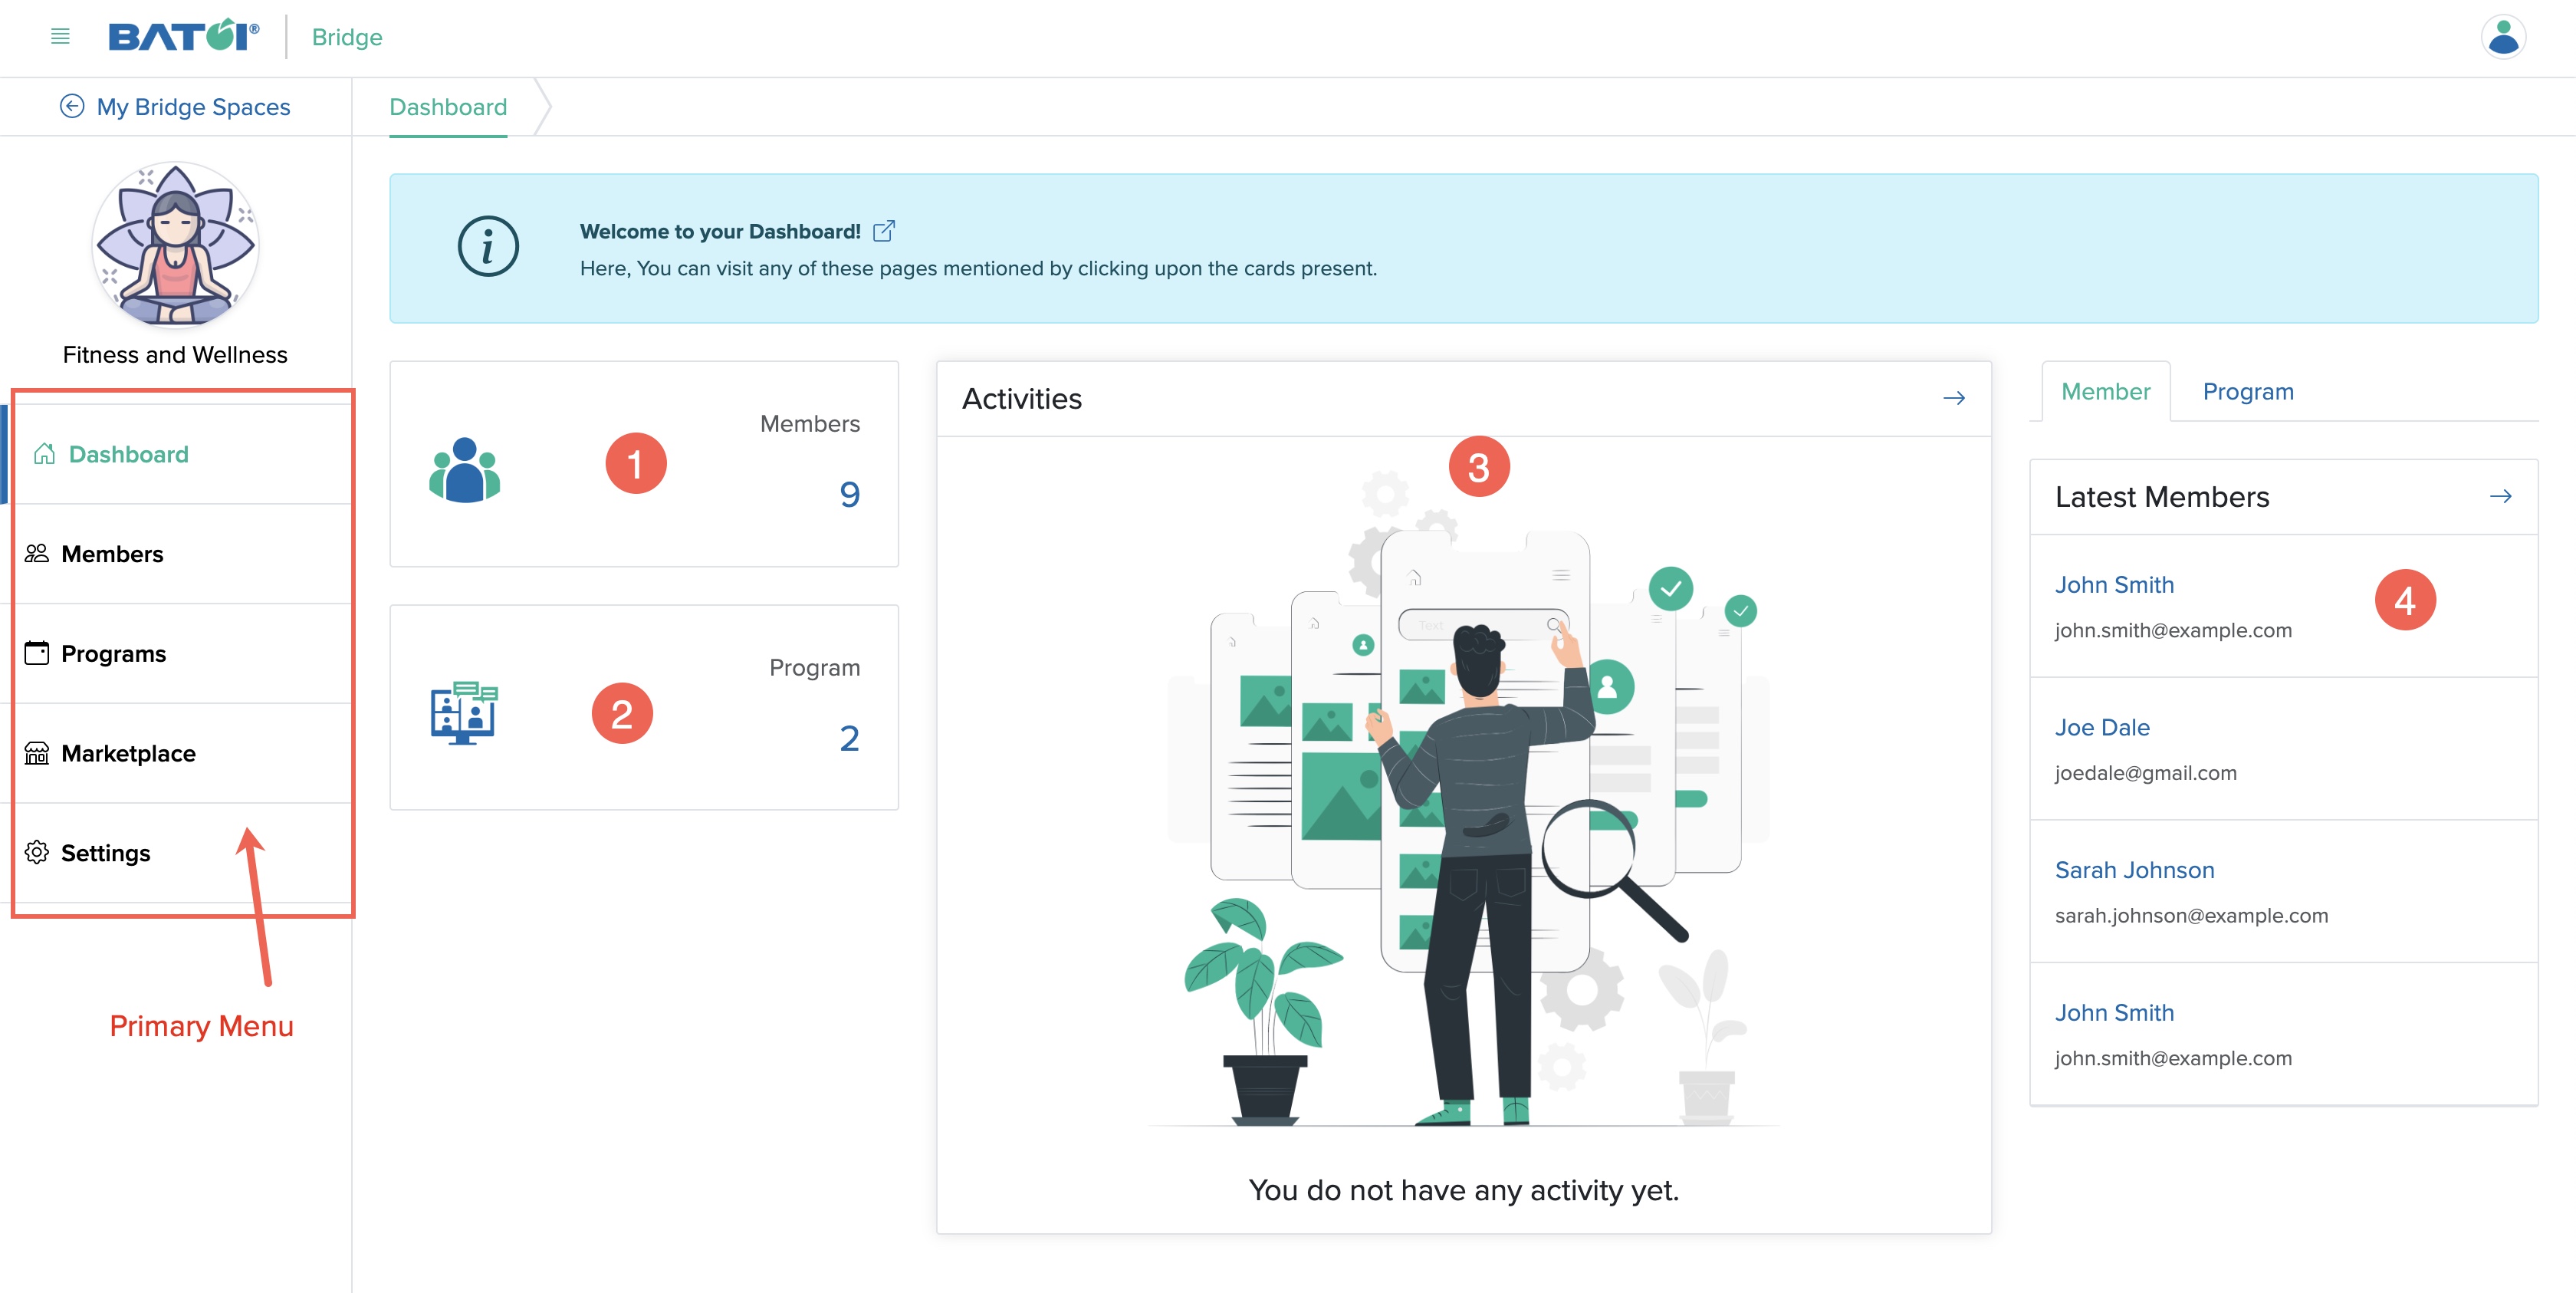
As a Bridge Manager, you need to update the Setting first. Click the Settings menu from the Manager Control Panel dashboard, as shown in Figure 1 above, and the settings page will open, as shown in Figure 2 below.
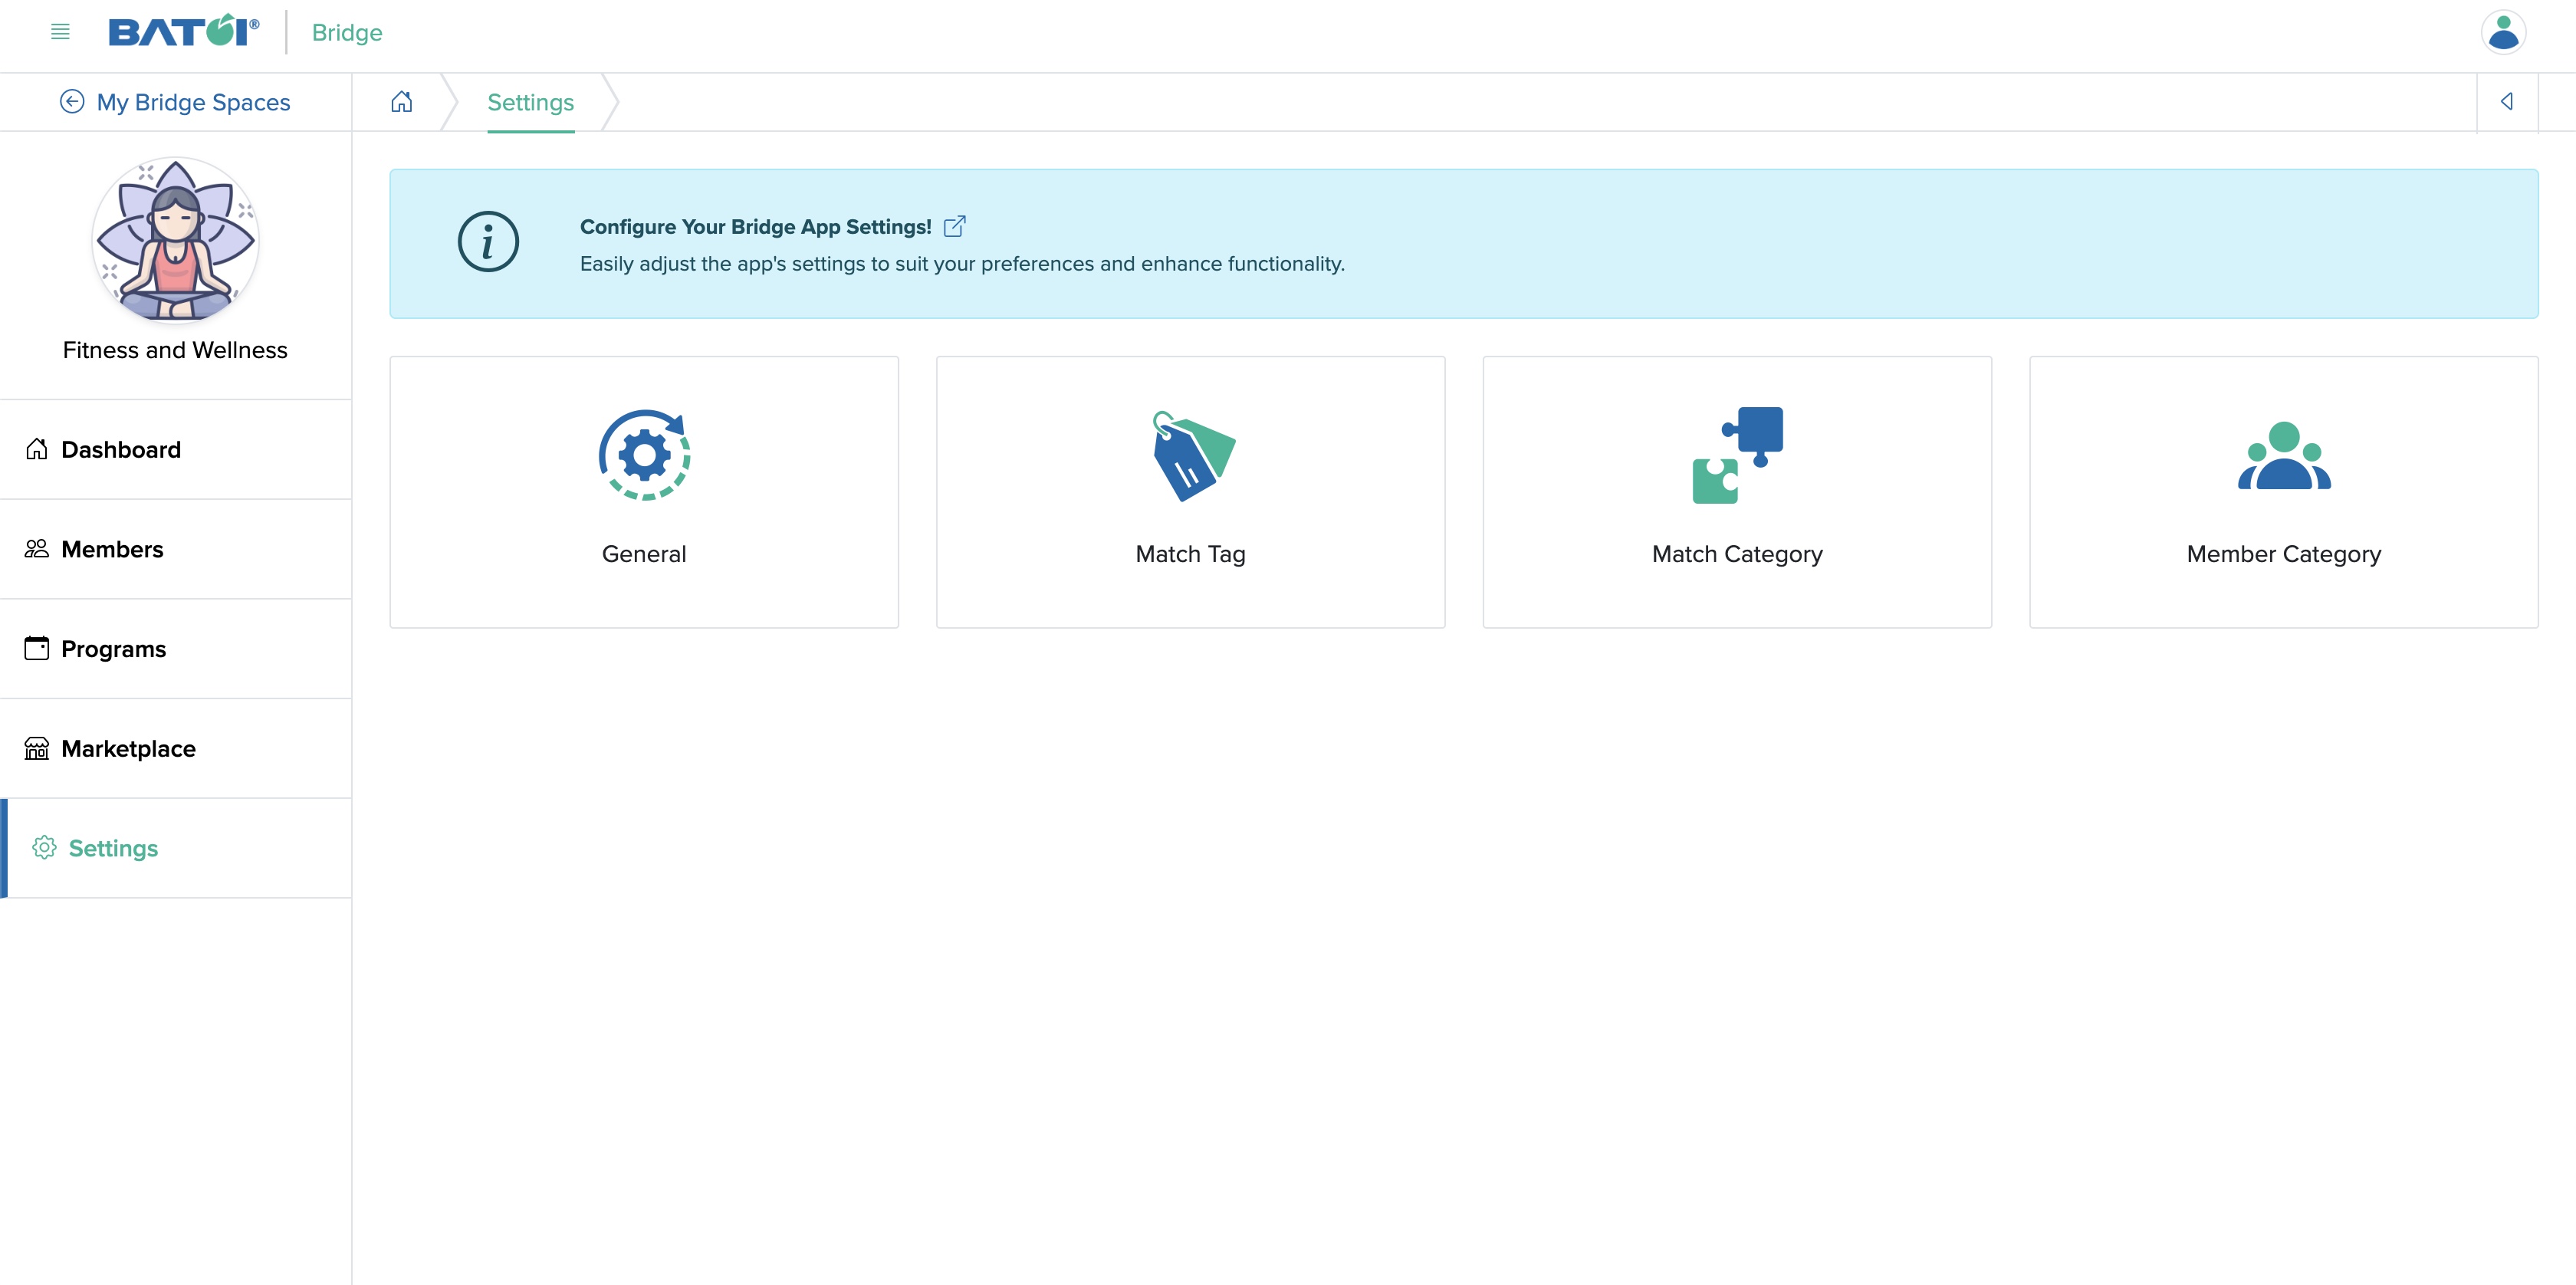
Currently, you will have four types of settings, as shown in Figure 2 above.
- General
- Match Tag
- Match Category
- Member Category
General
Click on the General card, as shown in Figure 2 above, and you will be redirected to the General settings page, as shown in Figure 3 below.
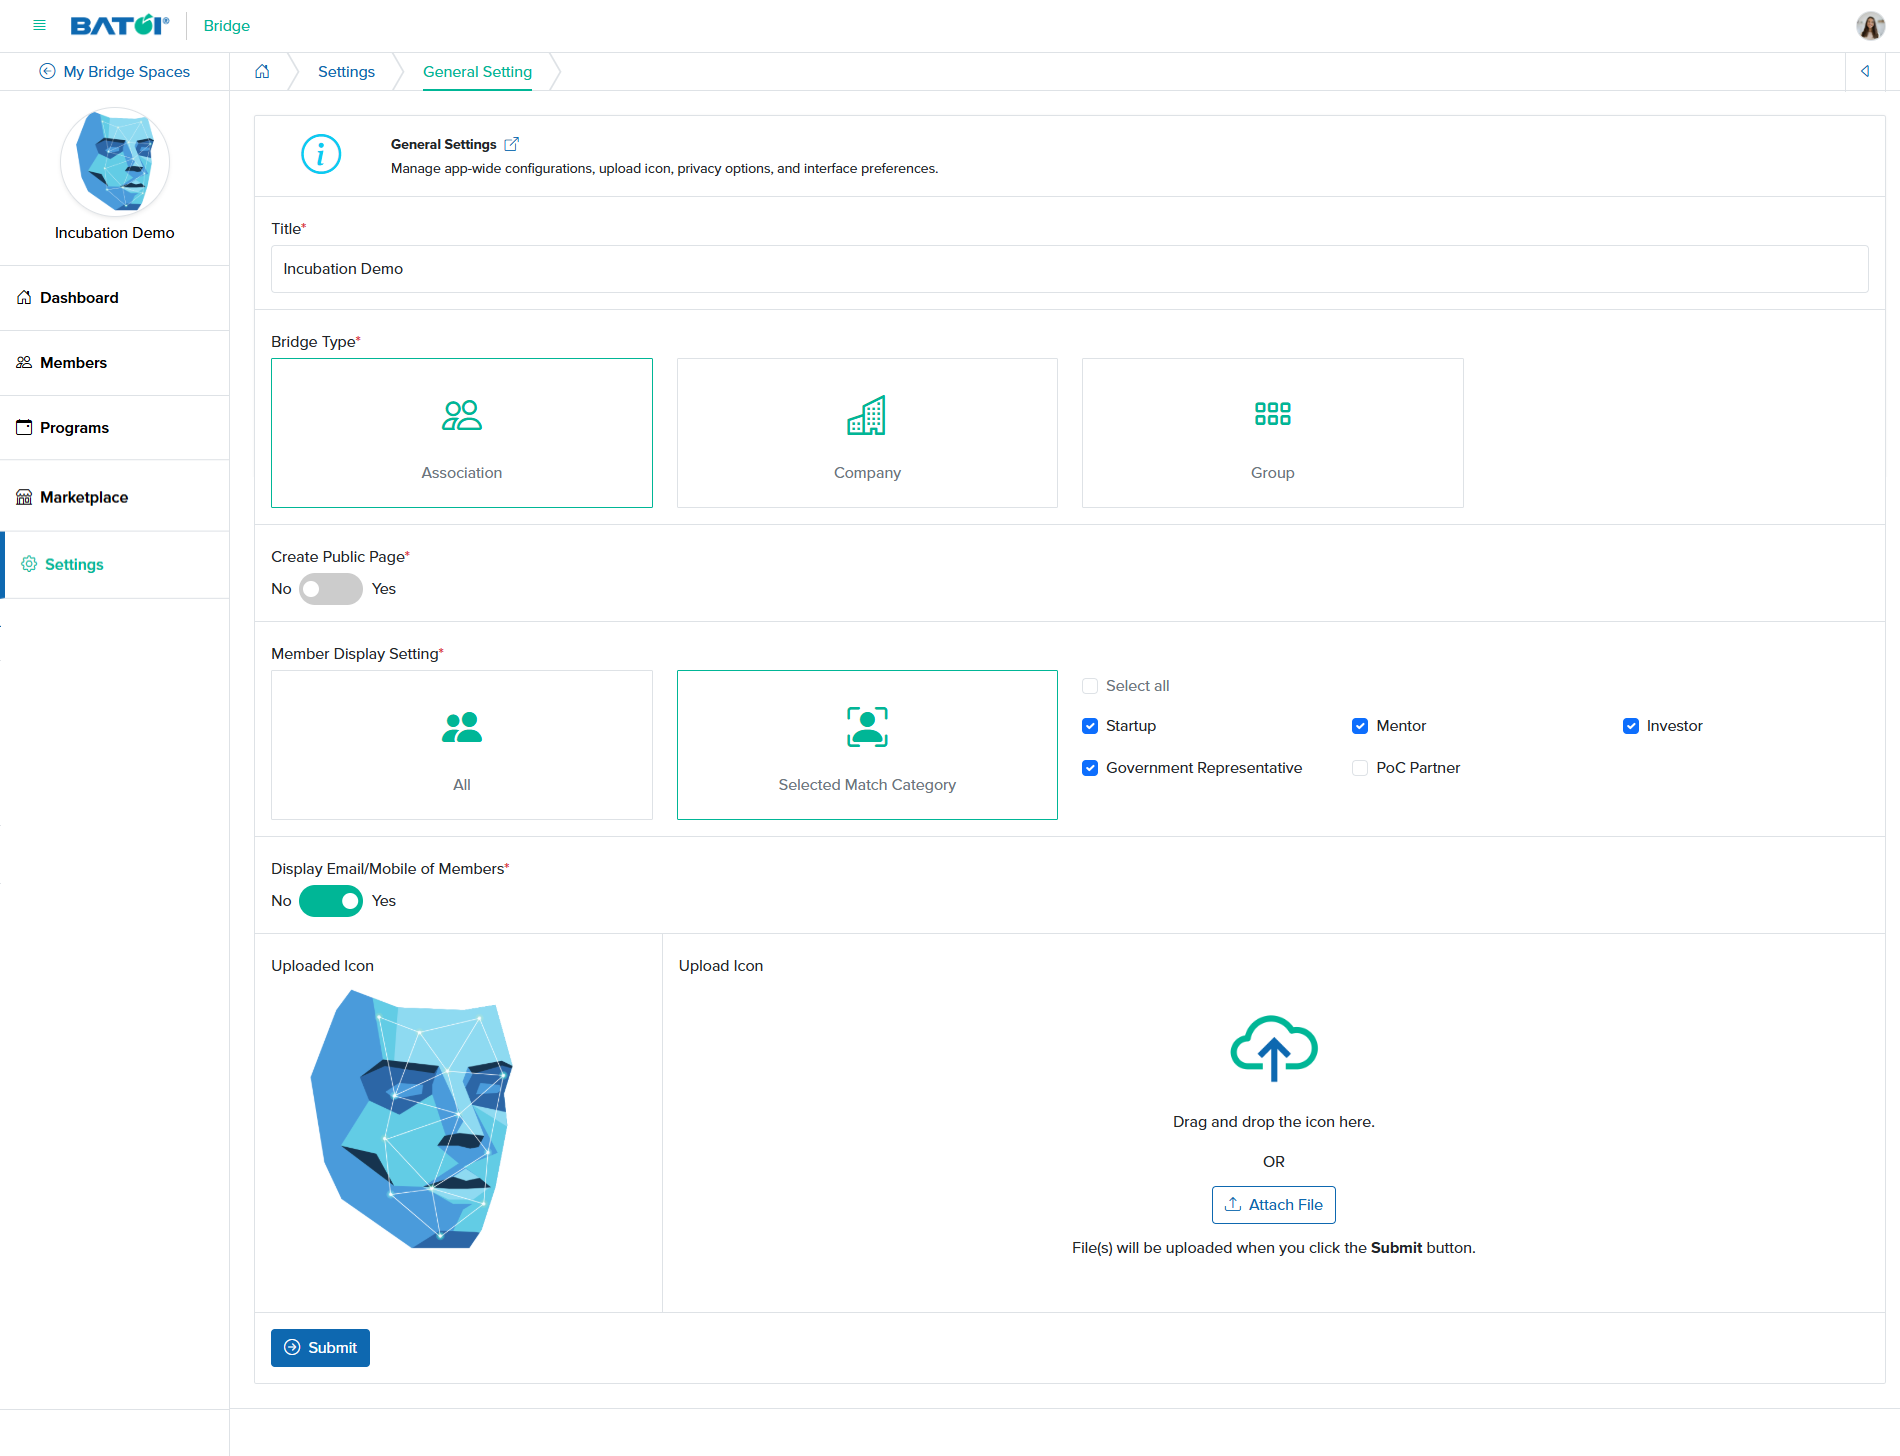
You can edit the below details and click the Submit button to save the general settings for the particular Bridge, as shown in Figure 3 above. The details that can be updated are:
- Title (Textbox - Mandatory): Title of the Bridge
- Type (Single Select Box - Mandatory): Select the type of the Bridge
- Create Public Page (Radio Button - Mandatory): Select if you want a public page for the Bridge or not (If selected Yes, then the Handle textbox will appear)
- Association
- Company
- Group
- Handle (Text box - Mandatory): Type your handle name for public view
- Display Email of Member (Radio Button - Mandatory): Select if you want to display the member's email ID or not
- Upload Icon (File Upload - Optional): Upload your handle logo or icon
As shown in Figure 3 above, click the Back icon at the top right of the screen to return to the settings main page.
Match Tag
Click on the Match Tag card, as shown in Figure 2 above, and you will be redirected to the Match Tag list page, as shown in Figure 4 below.
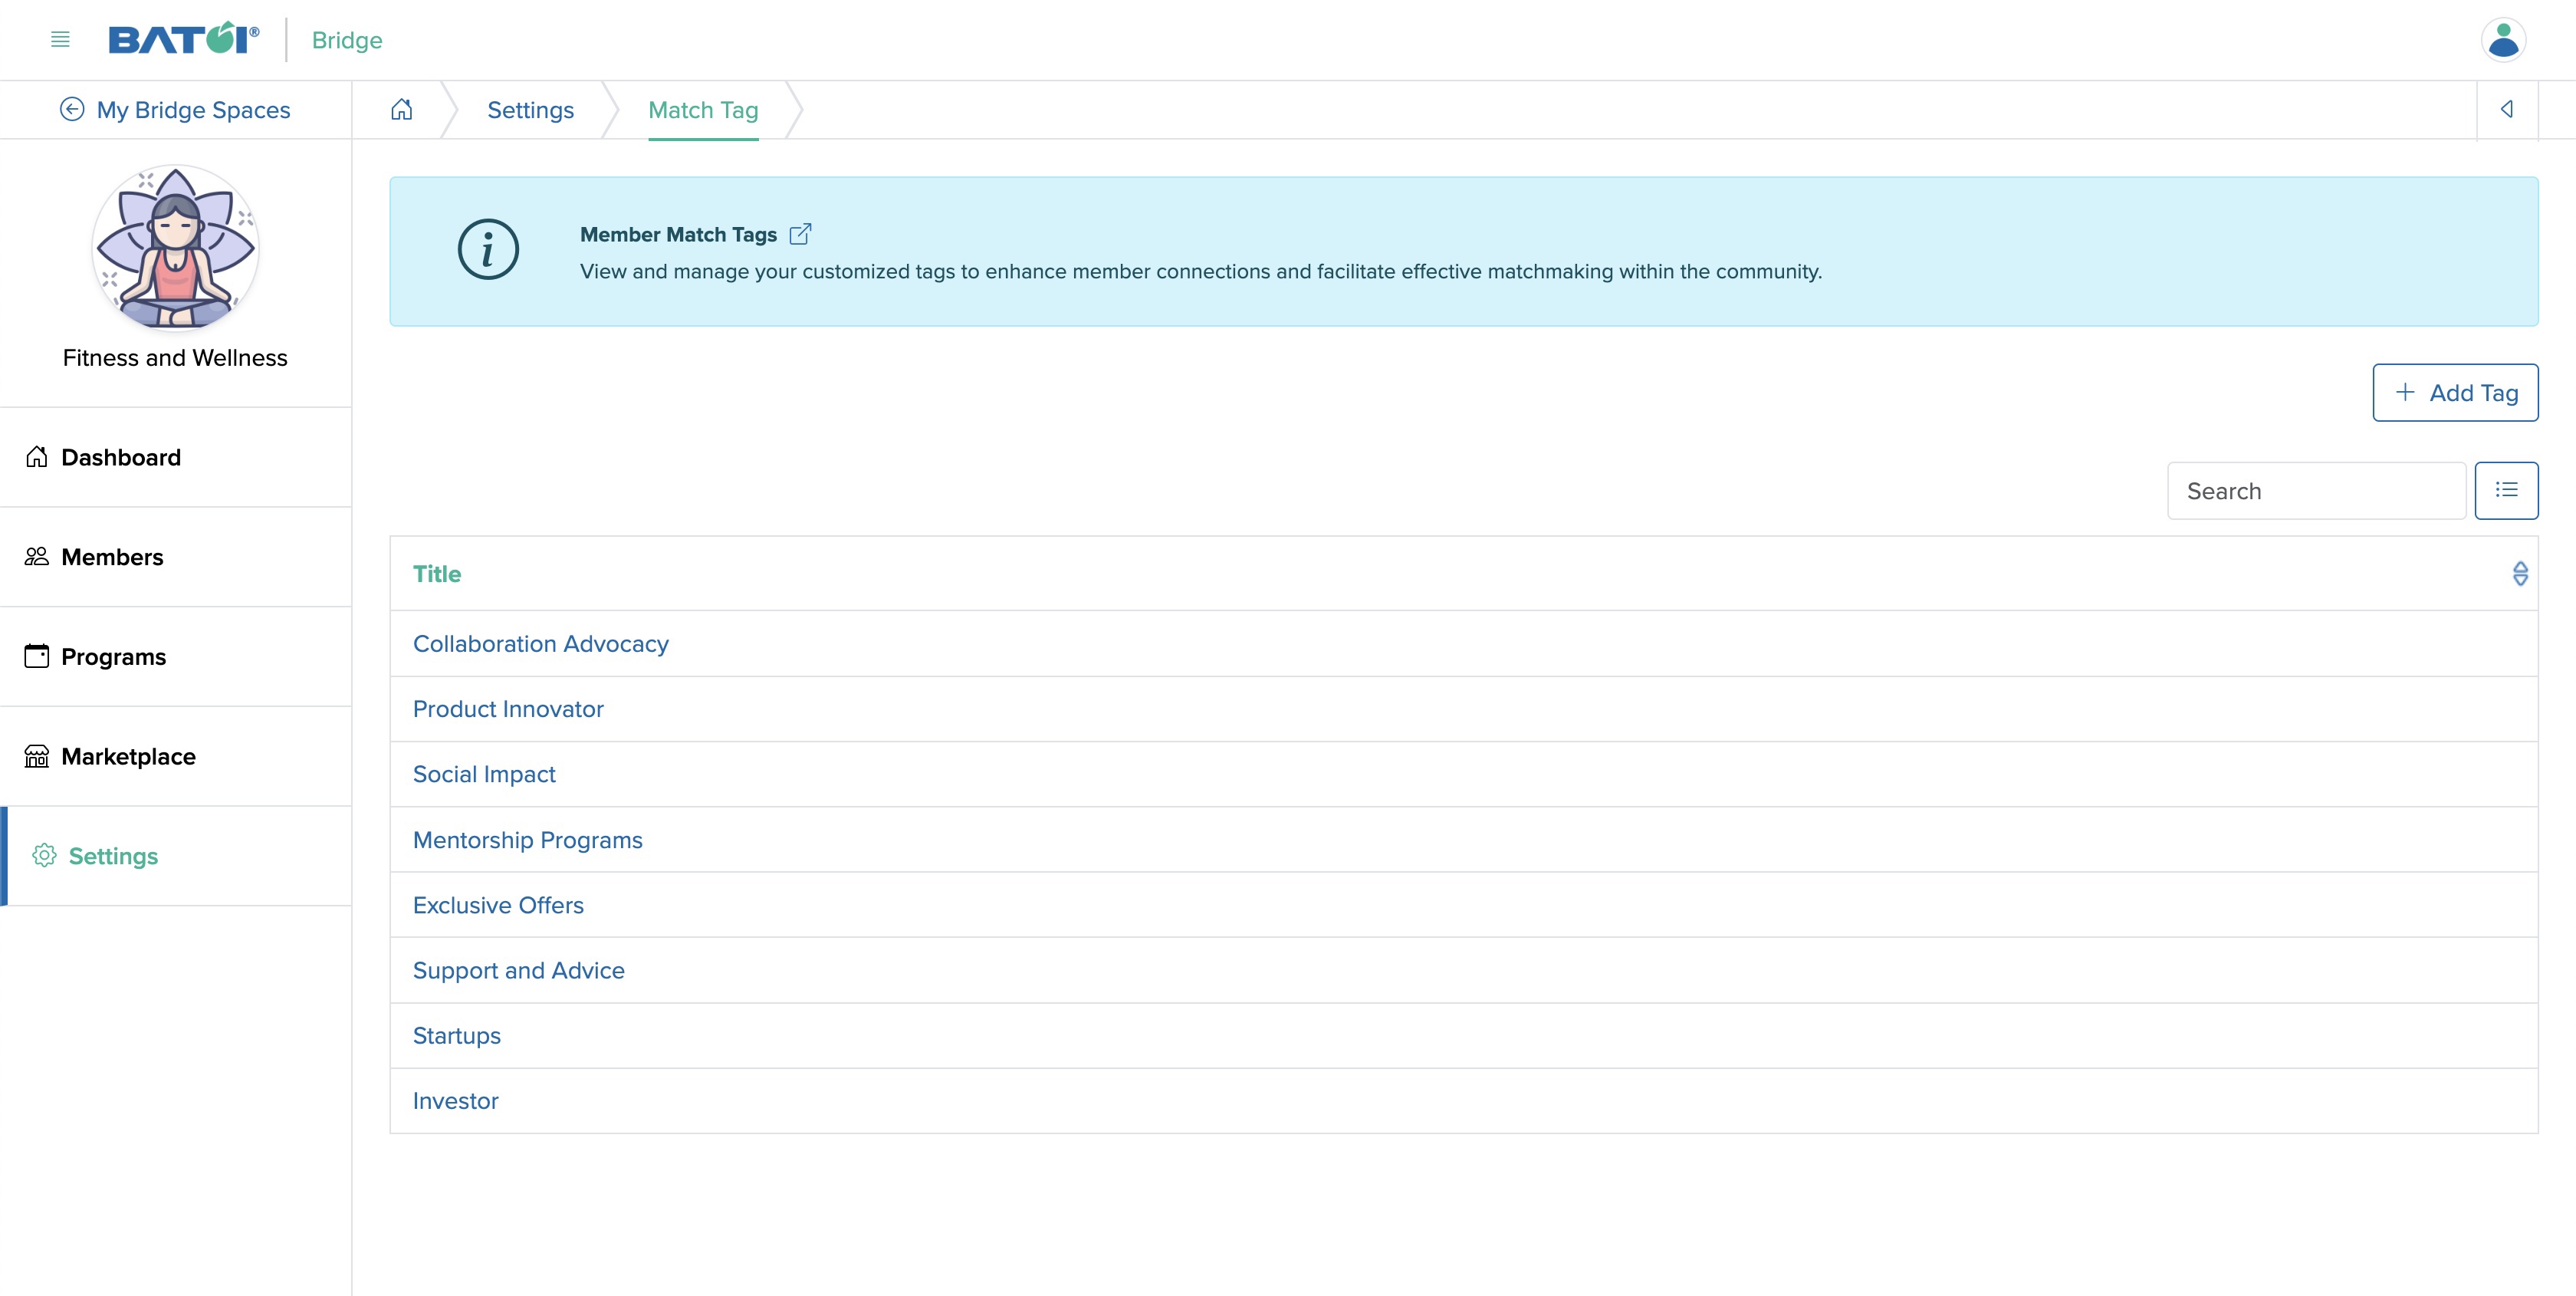
Add Match Tag
Click on the + Add Tag button available on the top of the screen, as shown in Figure 4 above and you will be redirected to the match tag add page, as shown in Figure 5 below.
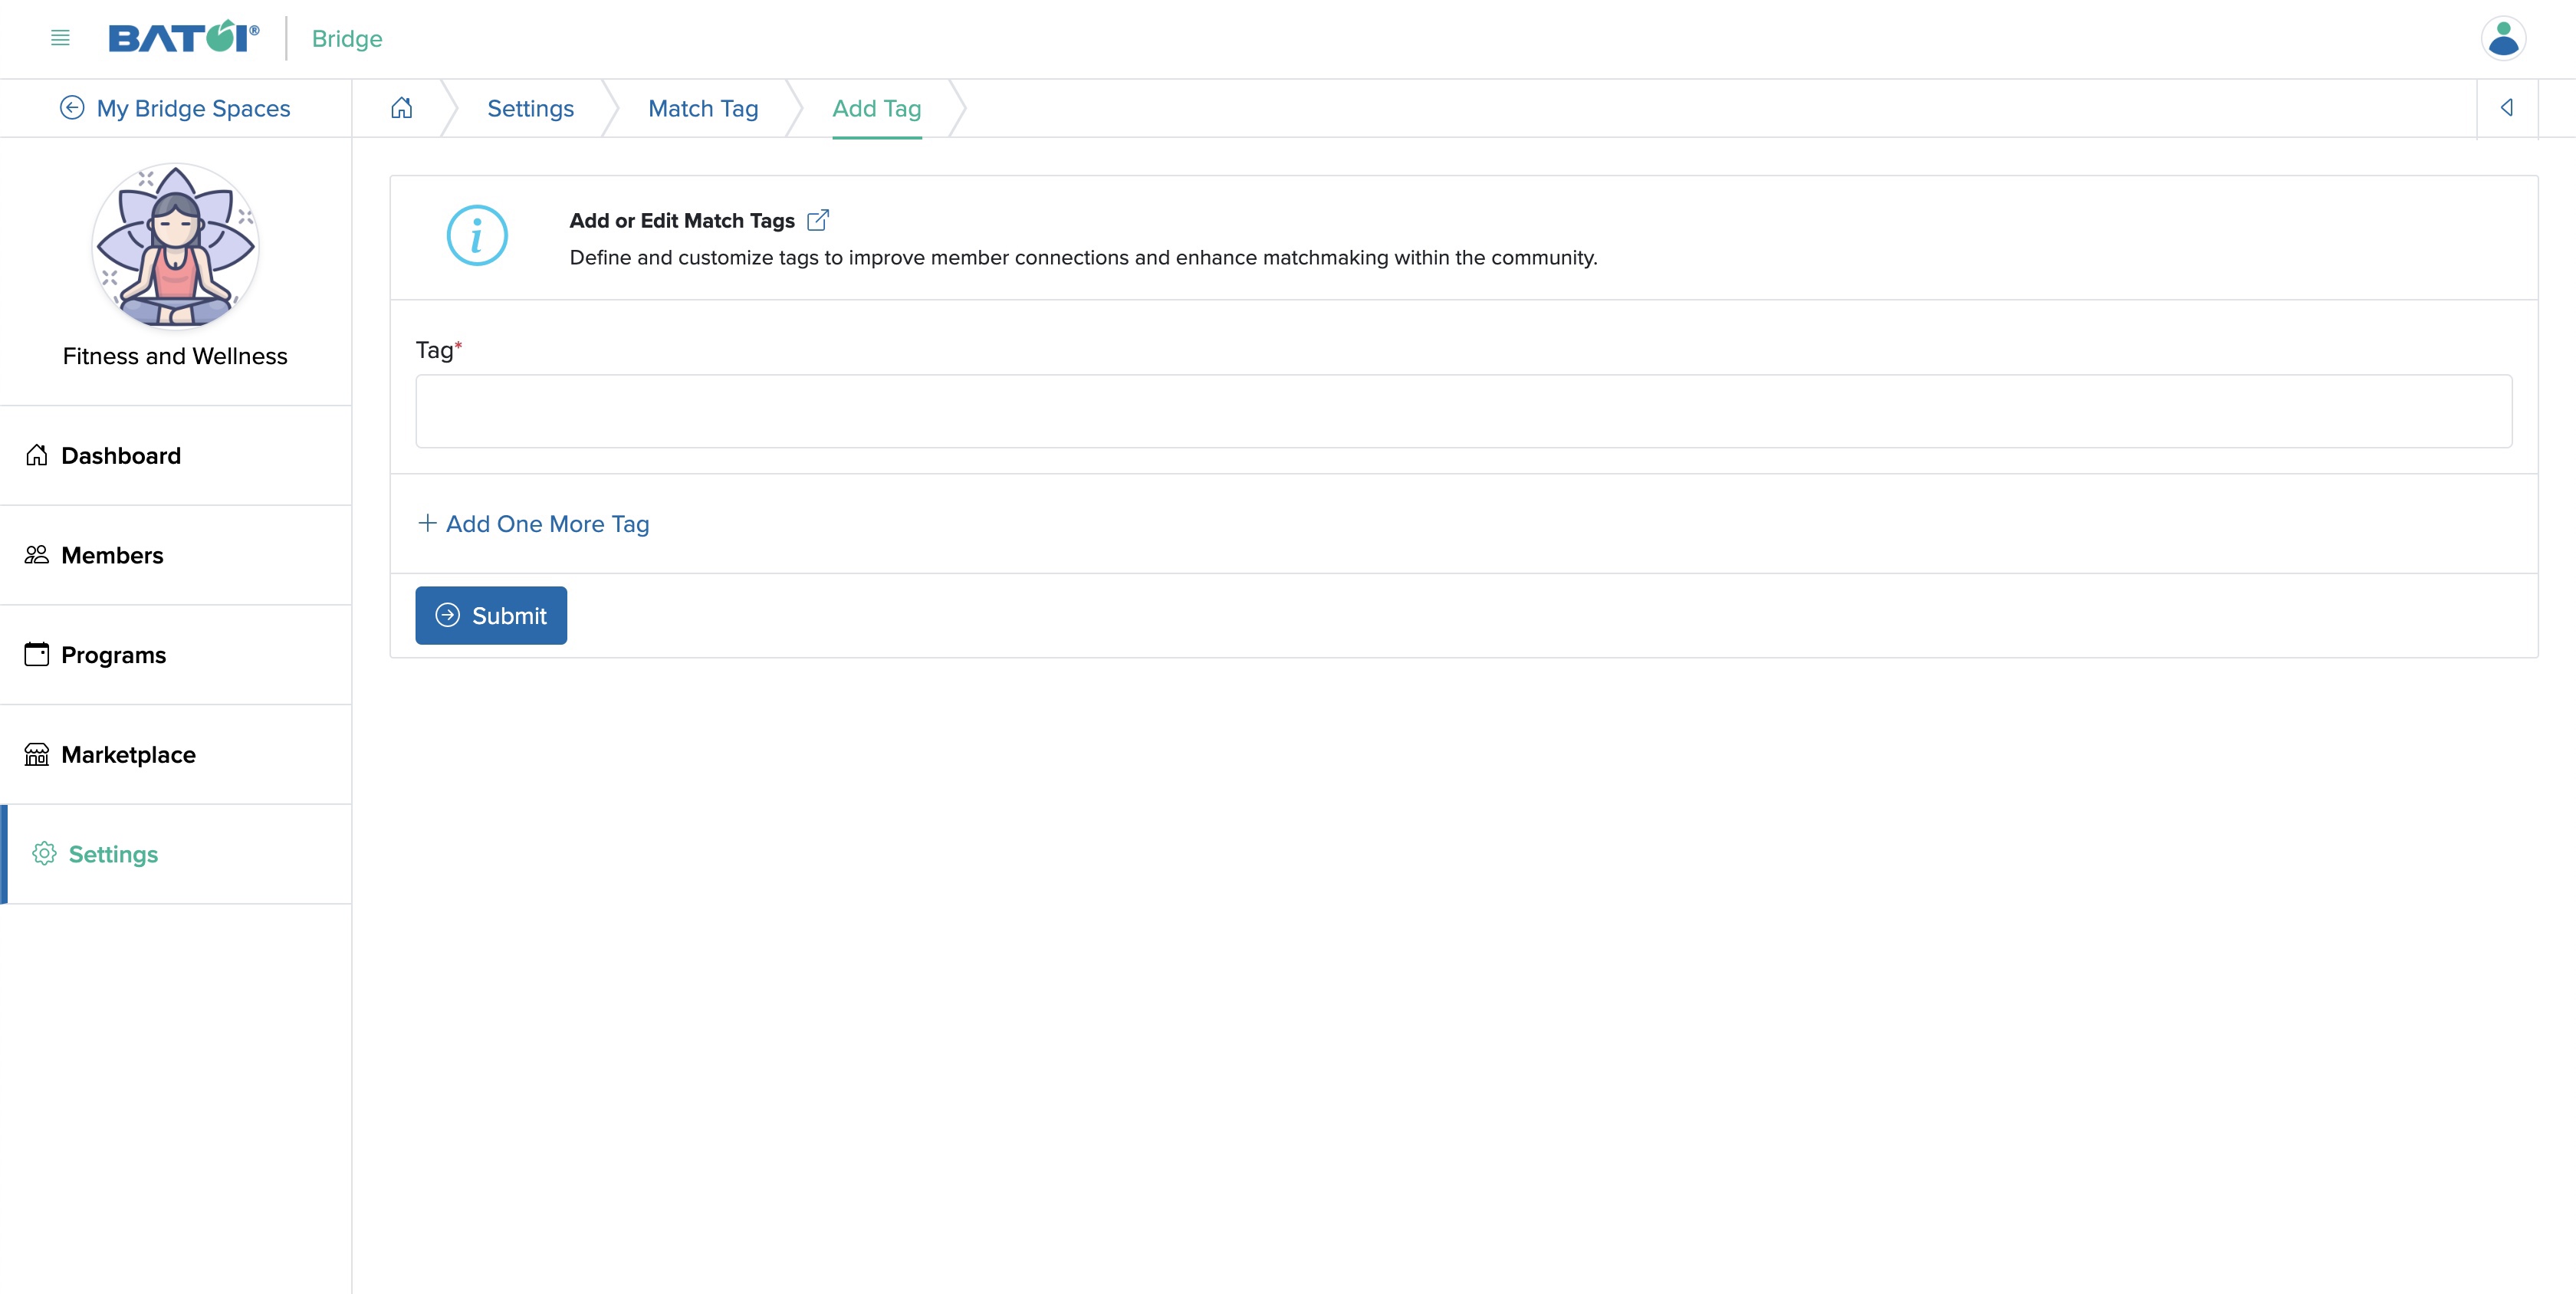
You can add your matching tags on the text box as shown above. To add multiple match tag at a time, click on the + Add One More Tag link just below the textbox and click the Submit button once you added all your matching tags, as shown in Figure 5 above.
As shown in Figure 5 above, click the Back icon at the top right of the screen to return to the match tag list page.
Edit Match Tag
Click on the individual match tag Title from the list page, as shown in Figure 4 above and you will be redirected to the match tag edit page, as shown in Figure 6 below.
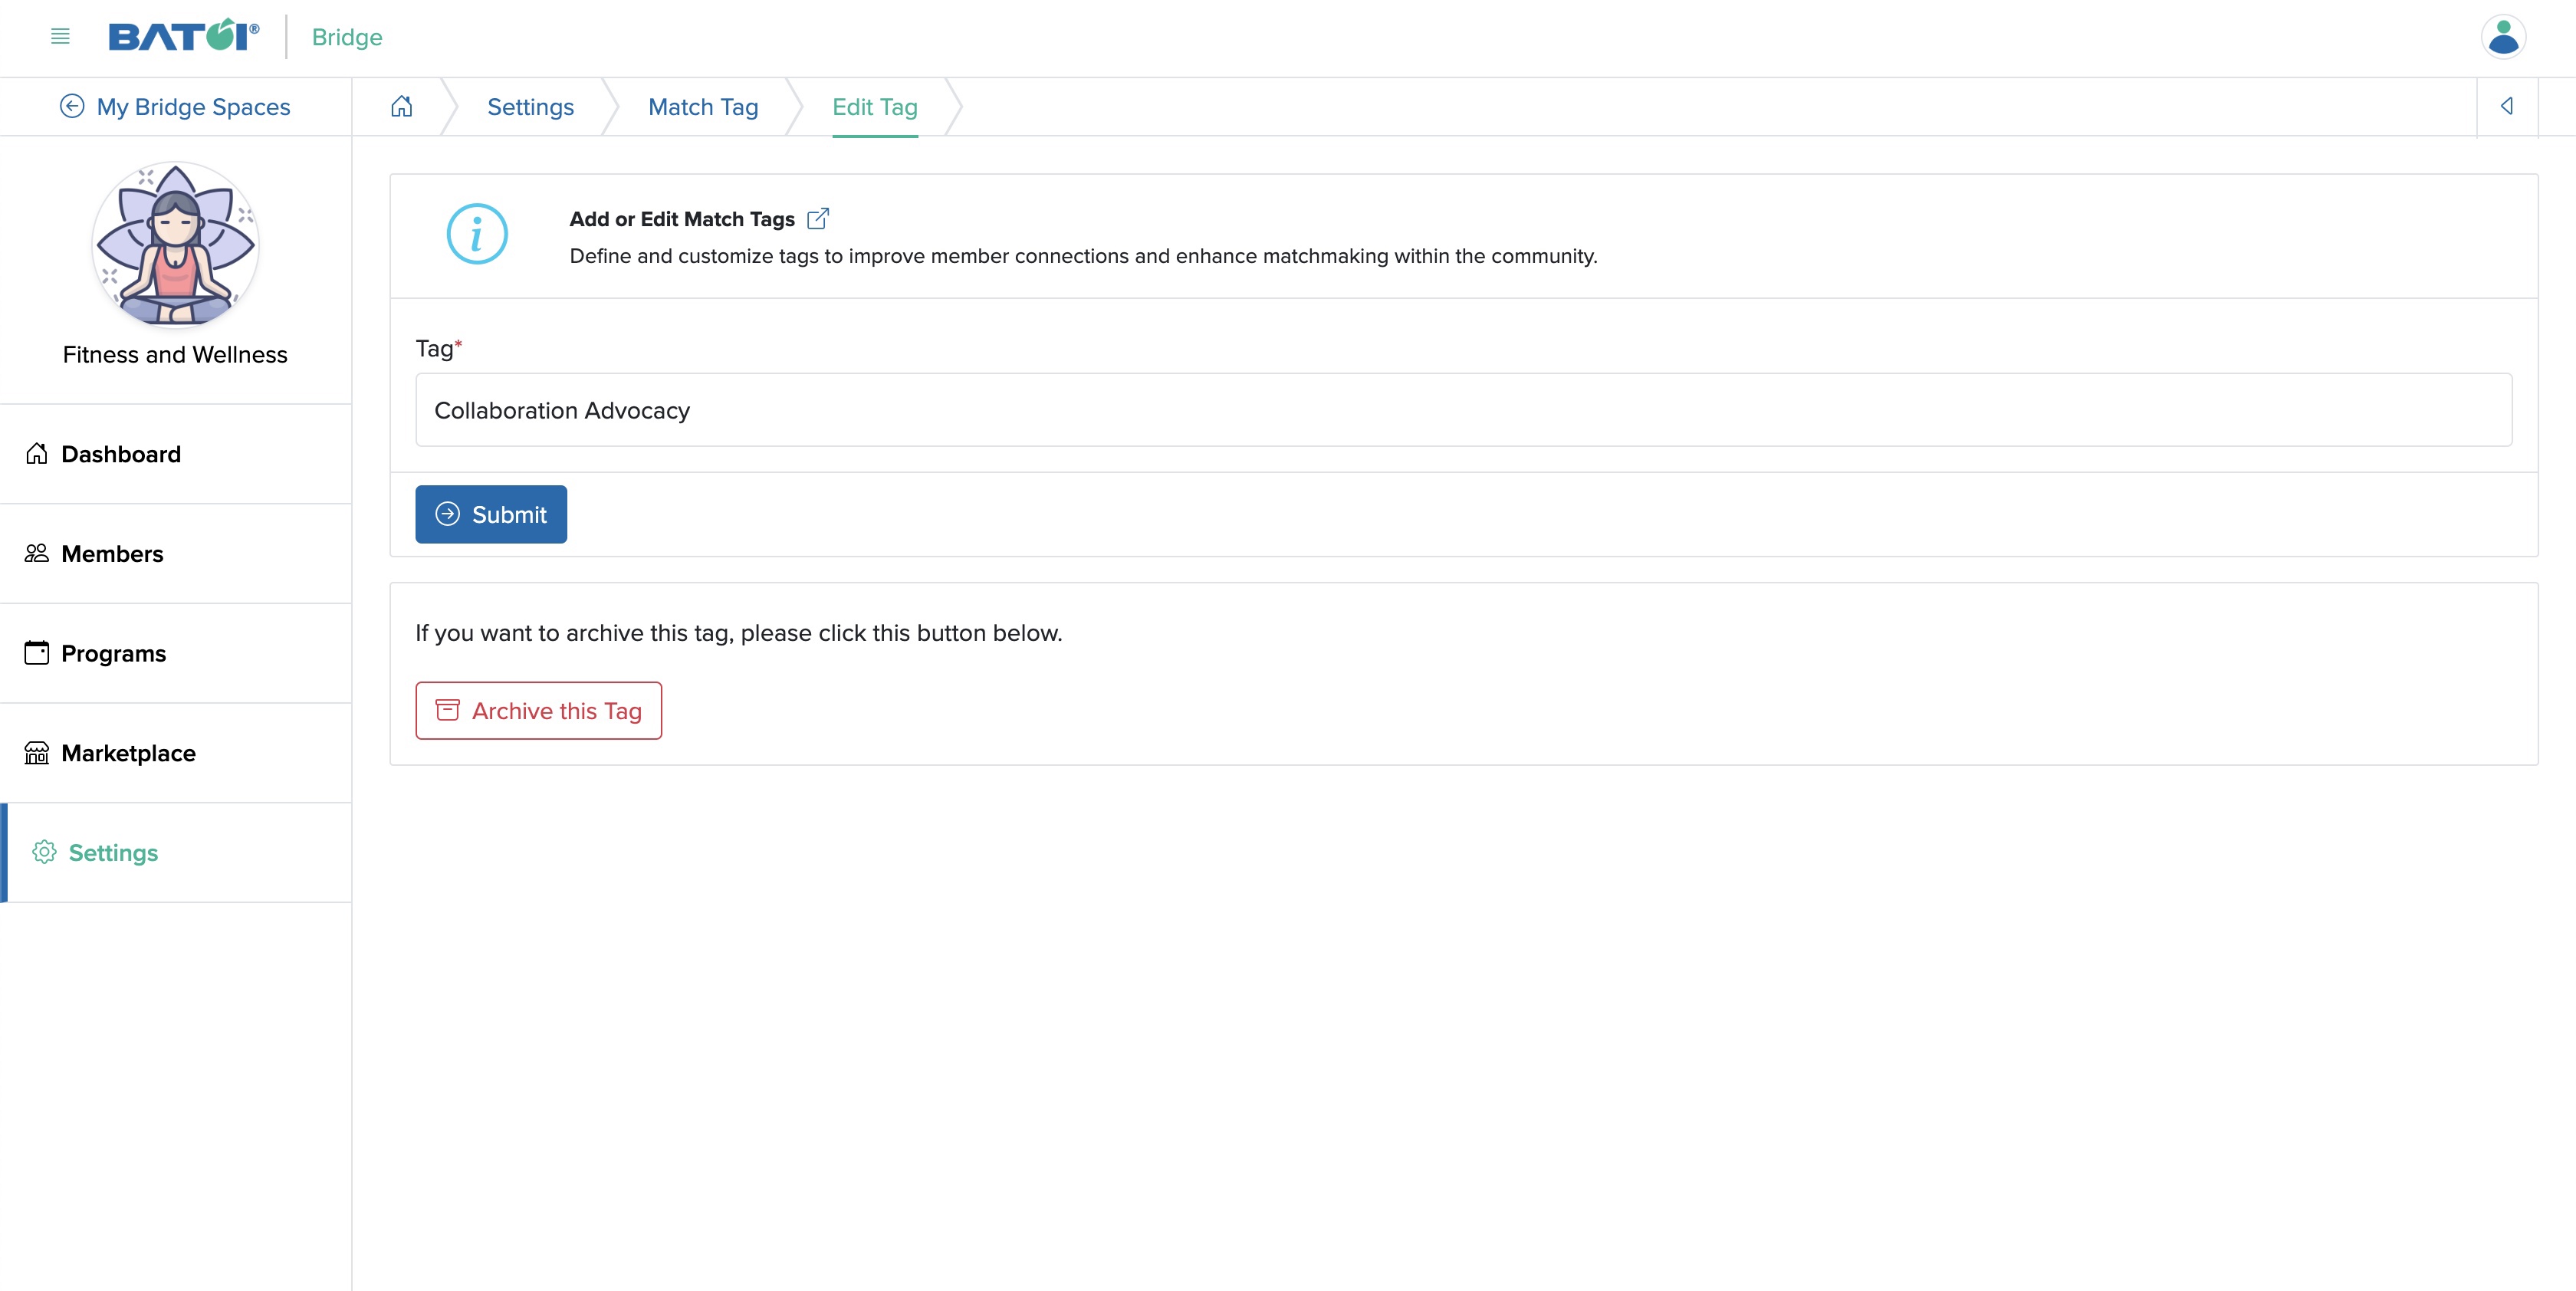
You can update the match tag and click the Submit button to save the changes, as shown in Figure 6 above.
Archive Match Tag
To archive a match tag, go to the edit page of that particular match tag and click the Archive this Tag button available at the bottom of the edit page, as shown in Figure 6 above.
Match Category
Click on the Match Category card, as shown in Figure 2 above, and you will be redirected to the Match Category list page, as shown in Figure 7 below.
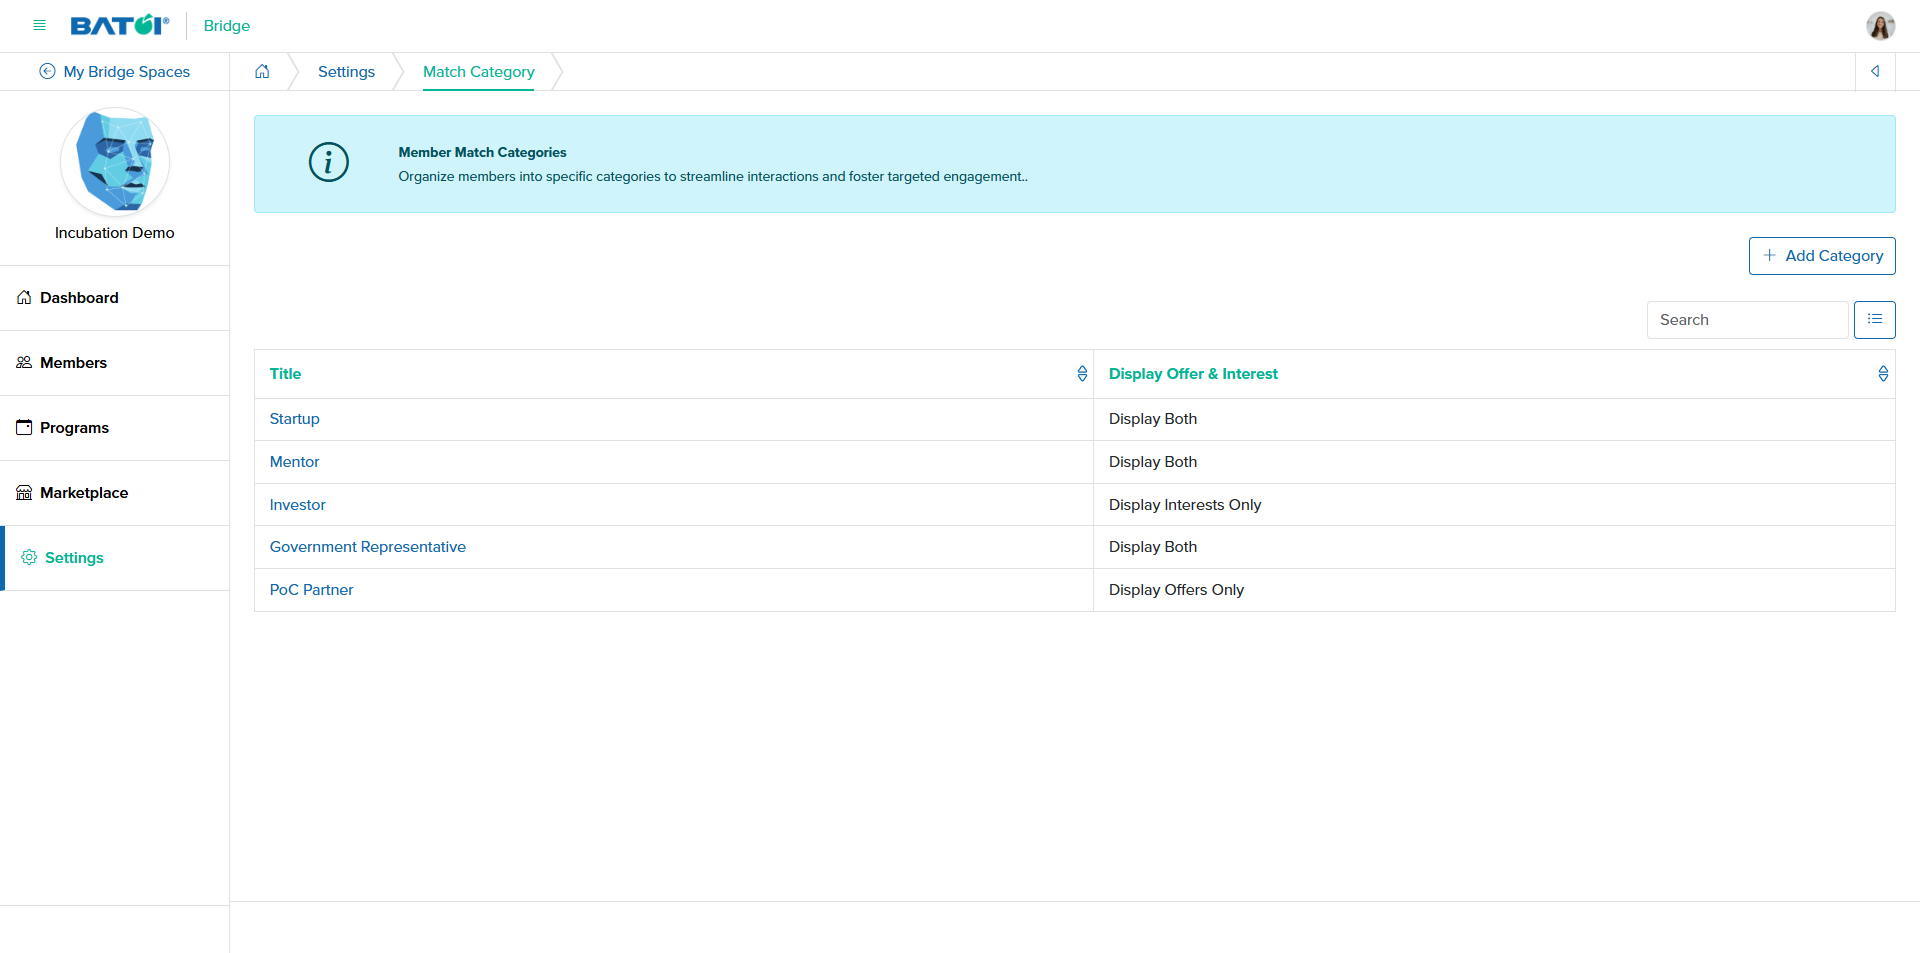
Add Match Category
Click on the + Add Category button available on the top of the screen, as shown in Figure 7 above and you will be redirected to the match category add page, as shown in Figure 8 below.
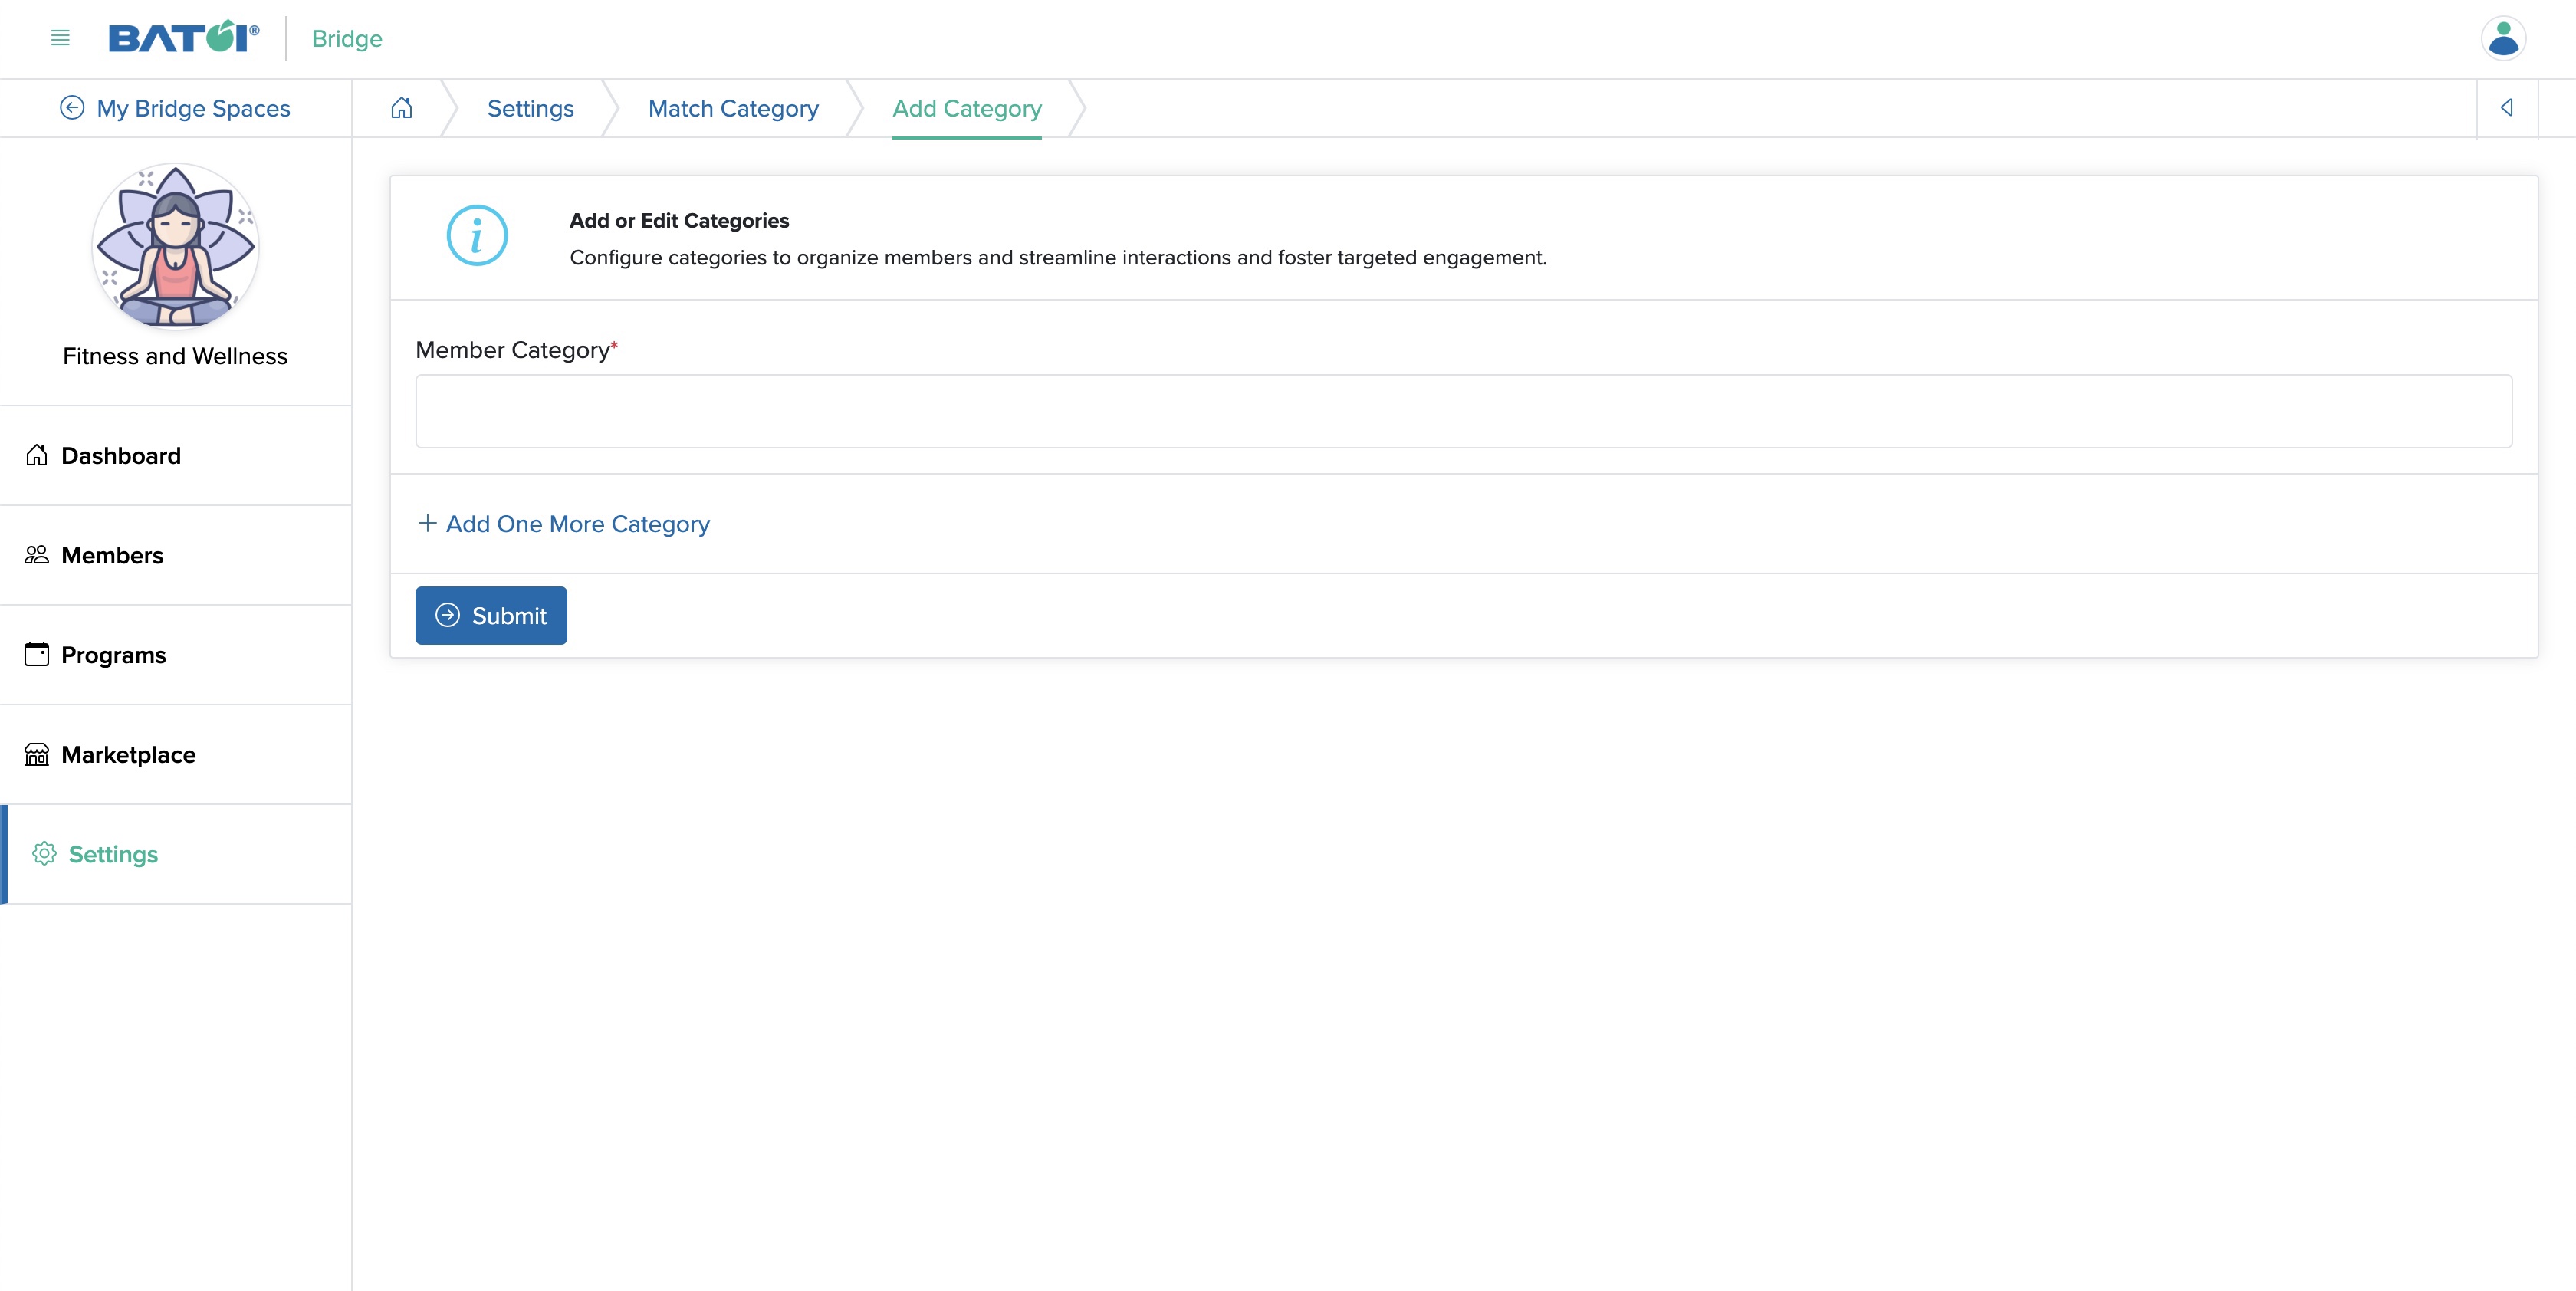
You can add your matching category on the text box as shown above. To add multiple match categories at a time, click on the + Add One More Category link just below the textbox and click the Submit button once you added all your matching categories, as shown in Figure 8 above.
As shown in Figure 8 above, click the Back icon at the top right of the screen to return to the match category list page.
Edit Match Category
Click on the individual match category Title from the list page, as shown in Figure 8 above and you will be redirected to the match category edit page, as shown in Figure 9 below.
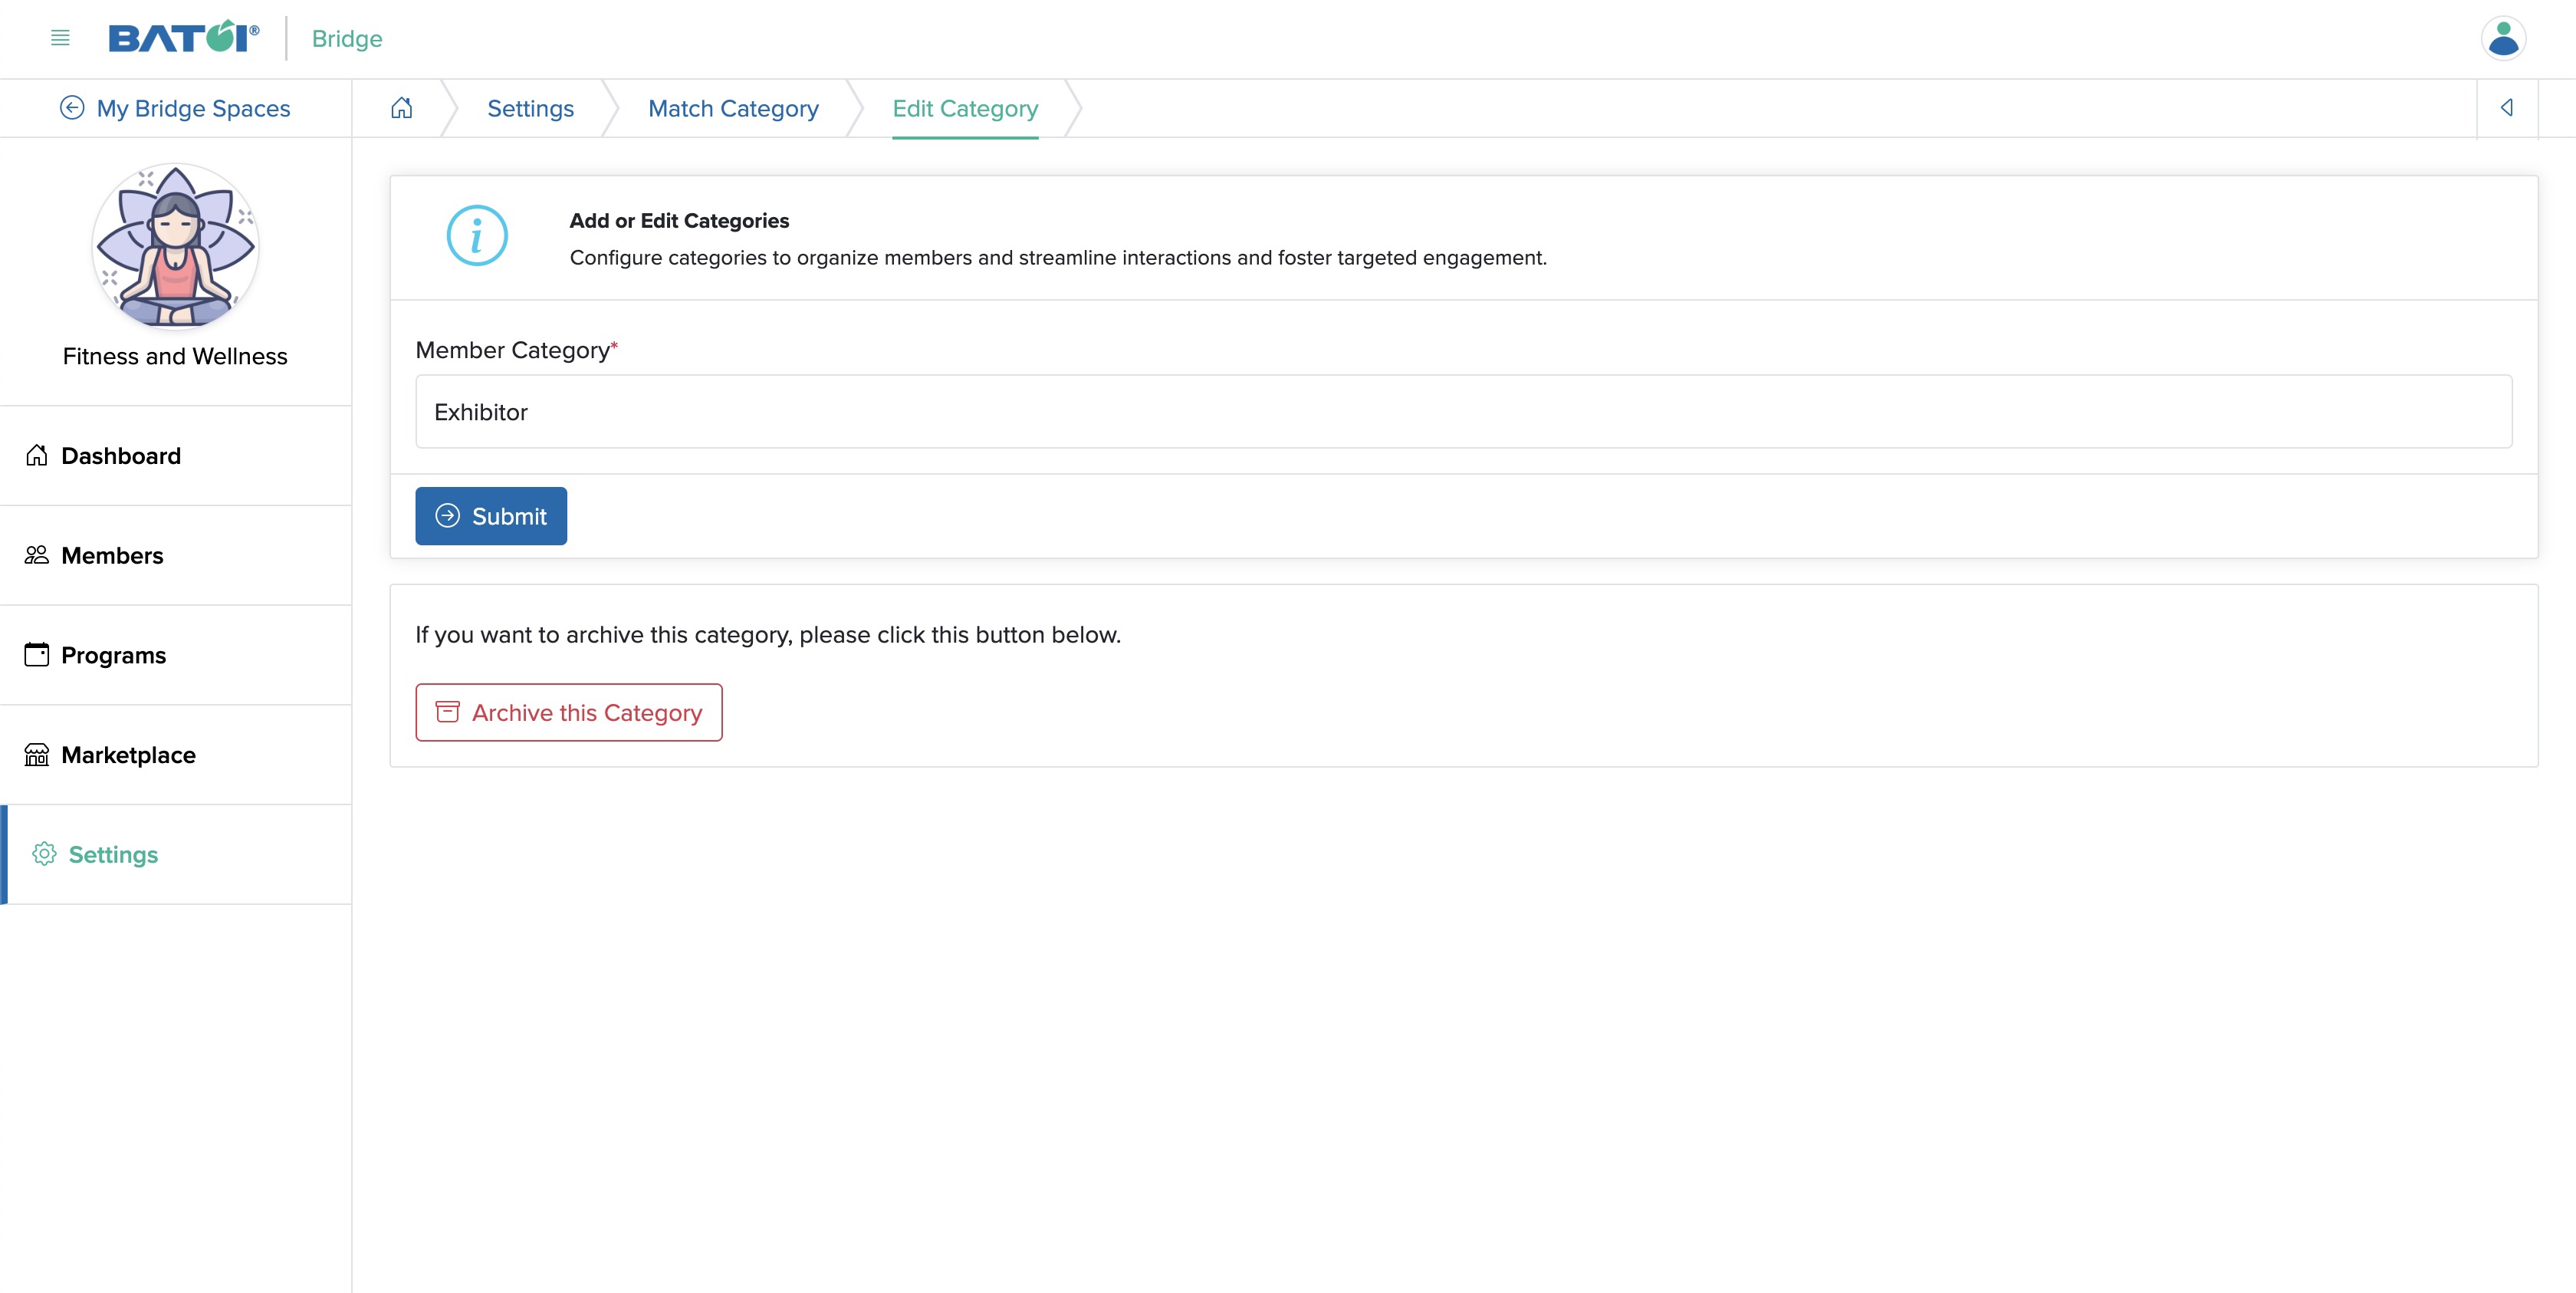
You can update the match category and click the Submit button to save the changes, as shown in Figure 9 above.
Archive Match Category
To archive a match category, go to the edit page of that particular match category and click the Archive this Category button available at the bottom of the edit page, as shown in Figure 9 above.